Overview
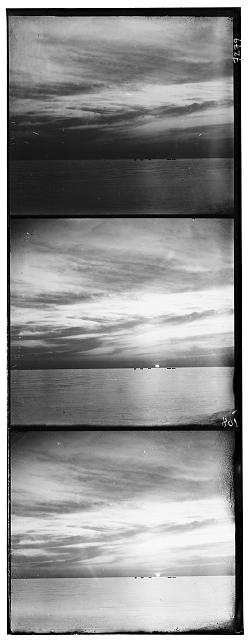
The main objective of this project was to take black and white glass plate images, captured by Russian photographer Sergei Mikhailovich Prokudin-Gorskii, and align and merge them to create color images. Despite not having access to a color camera, as one had not been invented during his time, Prokudin-Gorskii chose to capture the images using red, green, and blue filters. Thus we are able to take a colored glimpse into the world of early 20th century Russia.
Naive Algorithm on Small Images
On the small images in the given input dataset (< 400px by 400px), I ran a naive algorithm which tested every displacement between -15px and 15px in both the y and x directions. I used the blue channel as a reference and aligned the red and green channels against it. I then scored every displacement using the sum of squared differences and chose the displacement with the minimum score.
score = Σ Σ (red_image - blue_image)^2
Note there are two sums; 1 for the y-axis and 1 for the x-axis
Because of the small image size, the algorithm's runtime was fairly quick. You can find the results below.
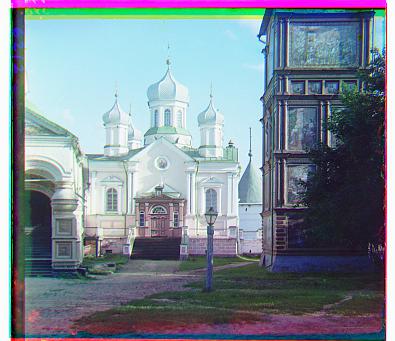
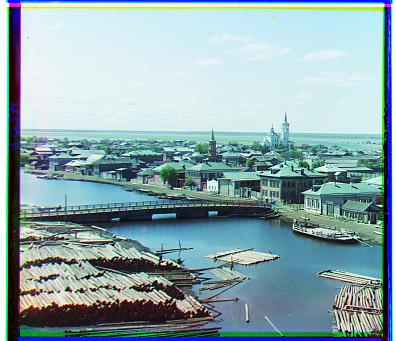
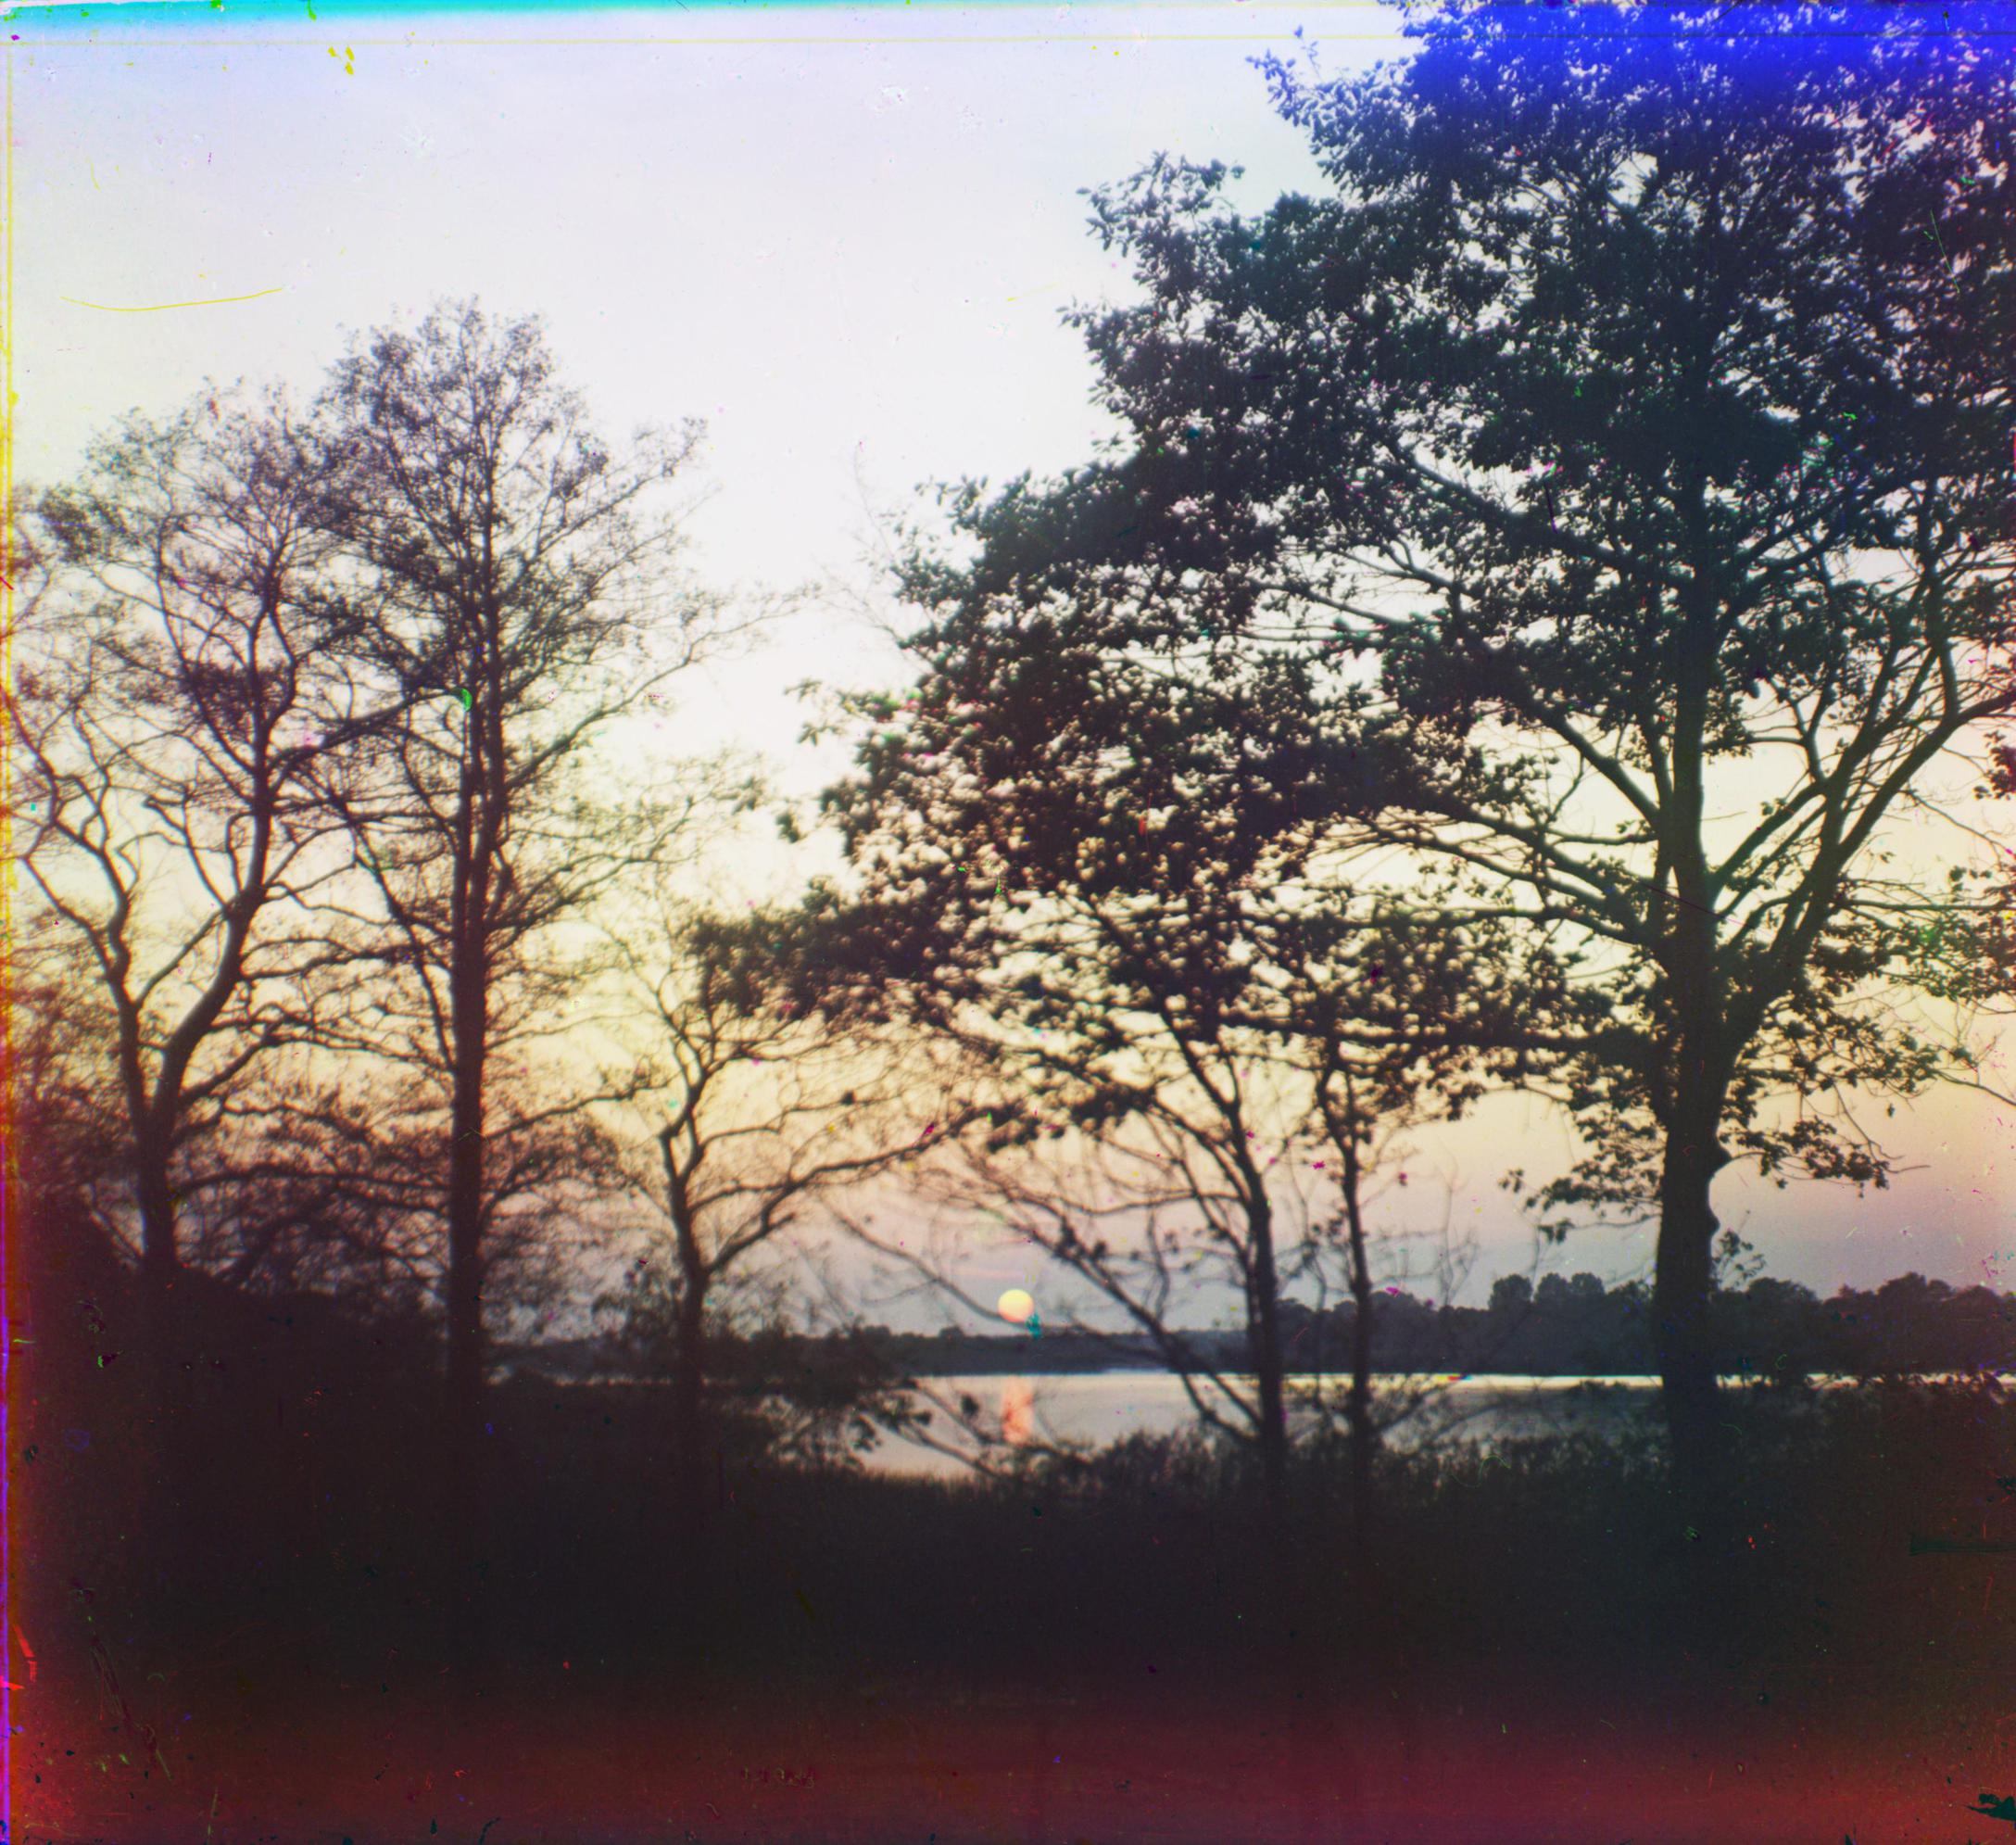
R: (12, 3) G: (5, 2)
R: (3, 2) G: (-3, 2)
R: (8, 0) G: (3, 1)
R: (7, 3) G: (3, 3)
All displacements are in form (dy, dx)
Image Pyramid on Large Images
On the large images in the given input dataset (> 3000px by 3000px), the naive algorithm would be much too slow as the image area was increased by over 50x compared to the smaller images. Thus, as suggested by the project spec, I ran an image pyramid whereby I recursively applied my displacement algorithm on consecutively rescaled versions of the original image, cutting the resolution in half at each step of the way.
When I hit a minimum threshold width of 128px, I stopped rescaling the image. Then I performed a search for displacement over values between -3px and 3px and returned the result to the previous recursive call. This recursive call then upscales the returned displacement by 2 and applies it to the image after which the displacement search is performed again on the newly displaced image. This is repeated until the original image is processed.
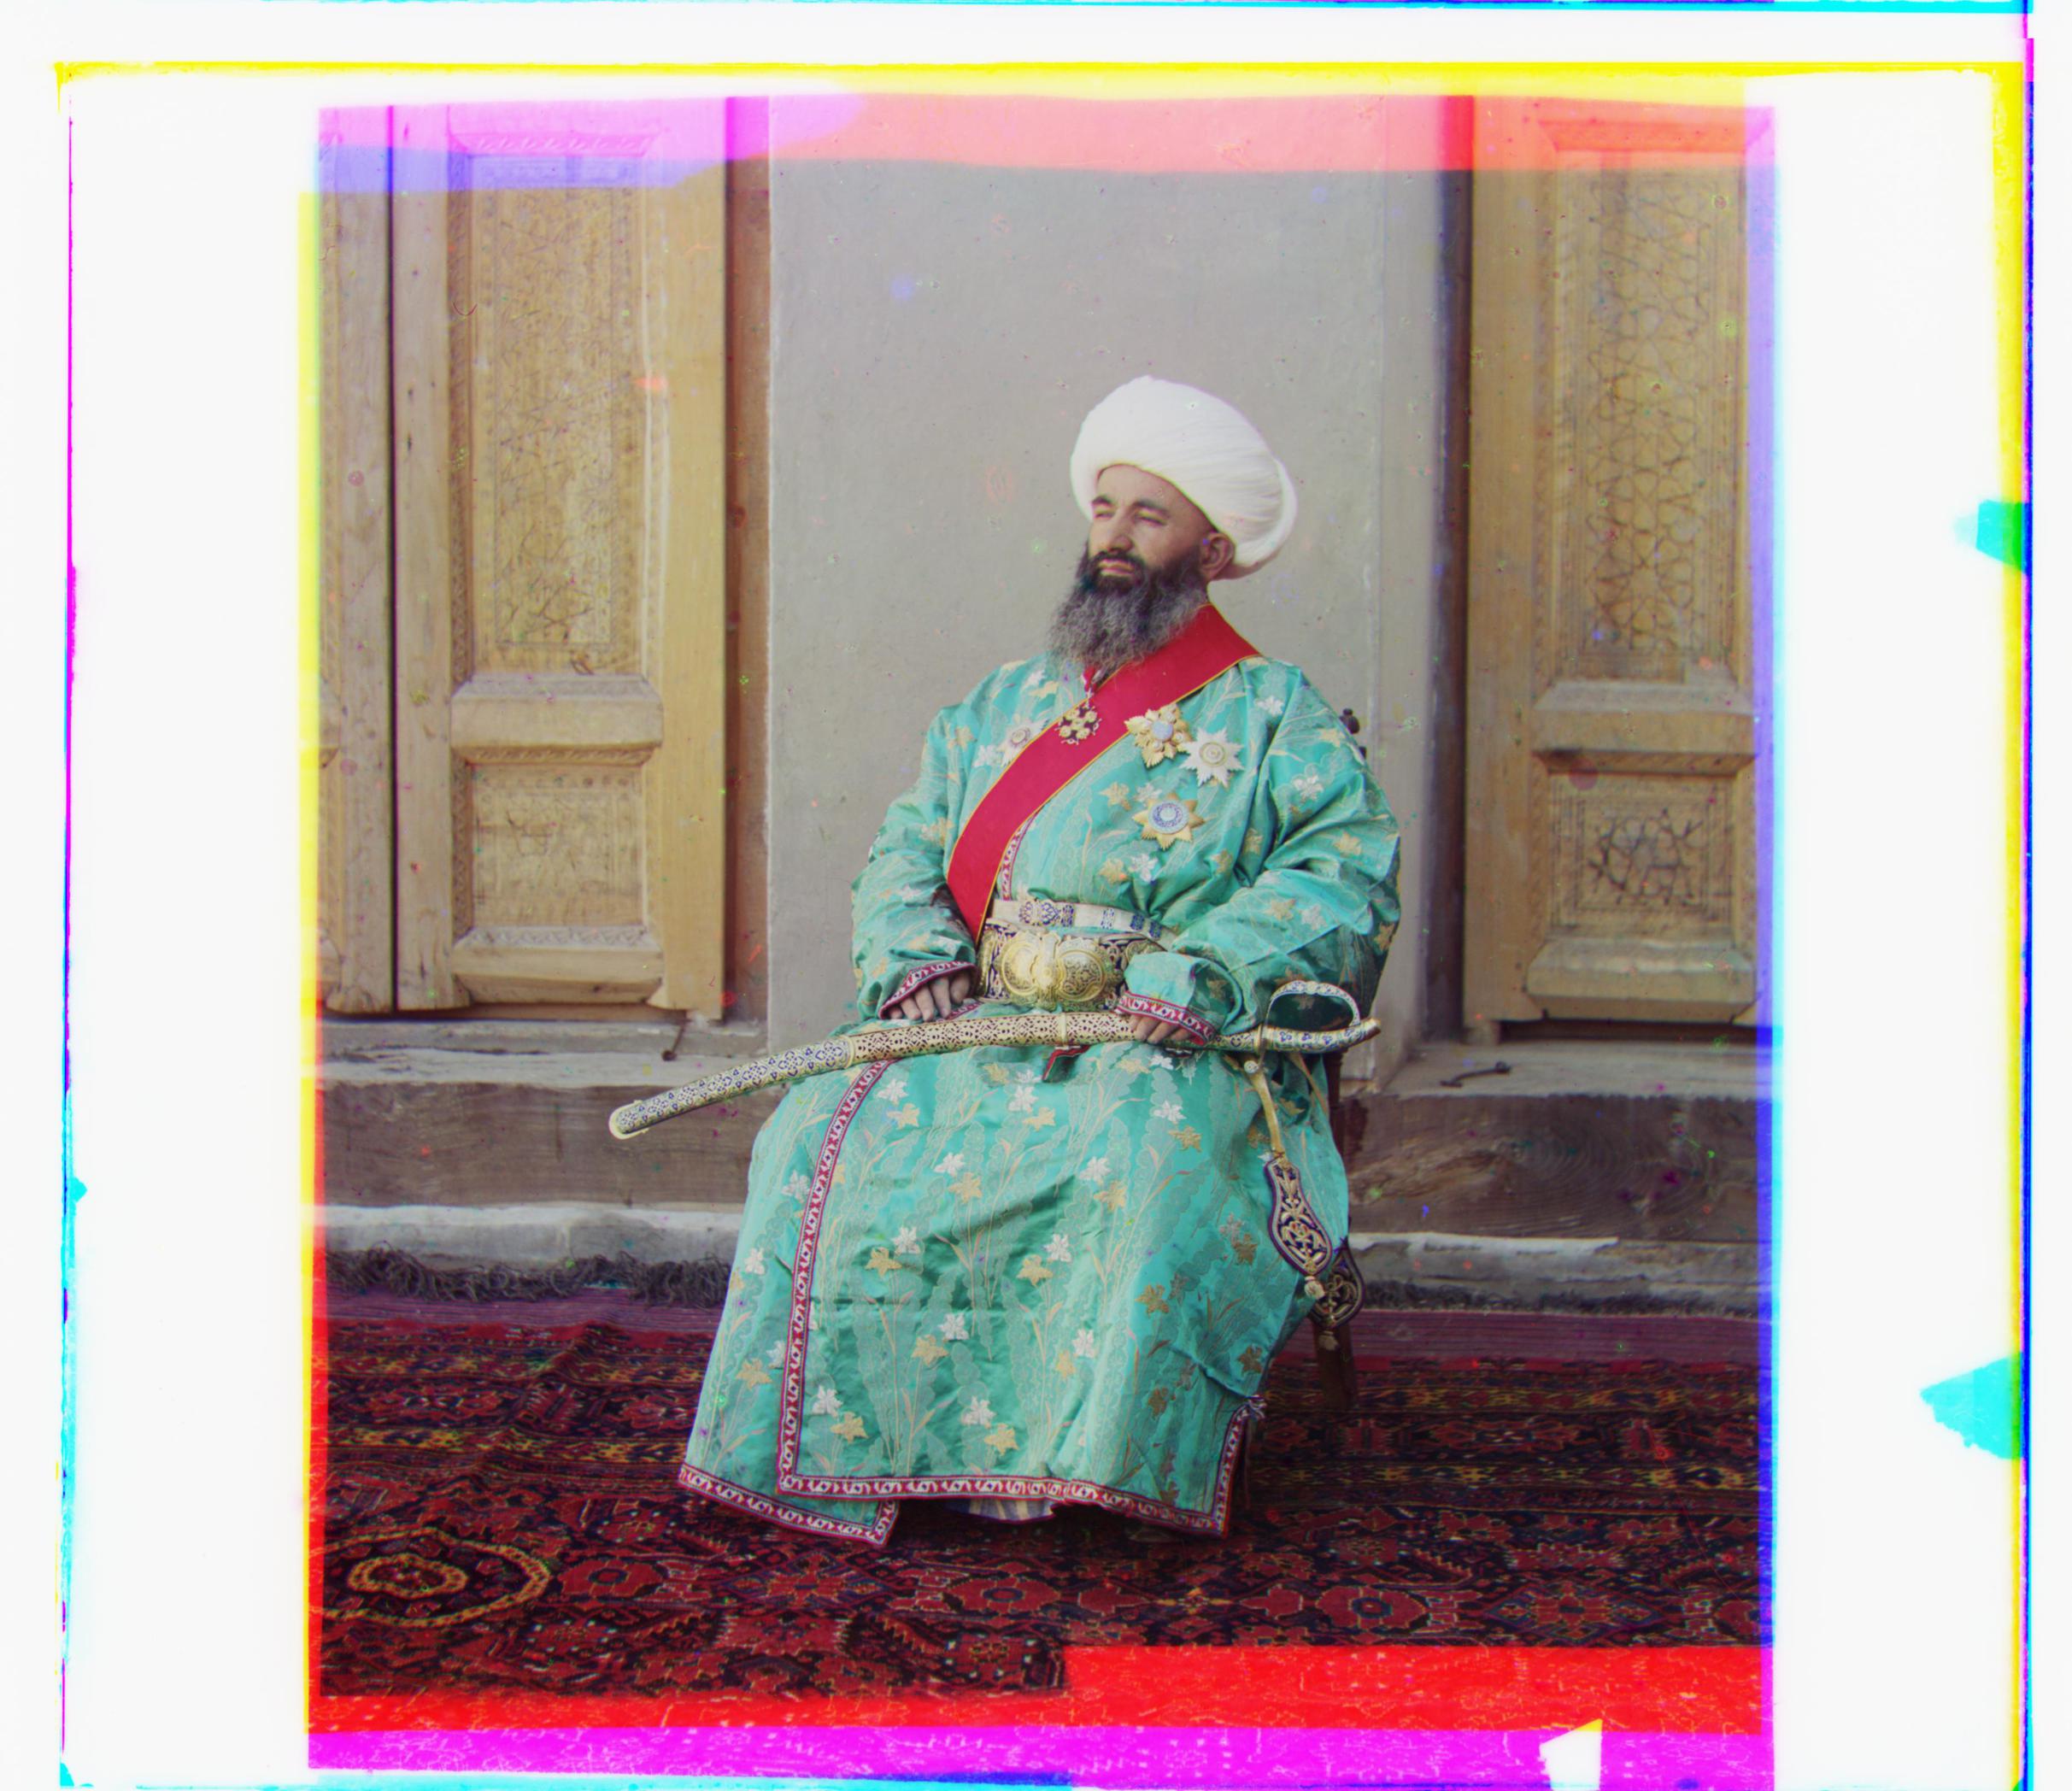
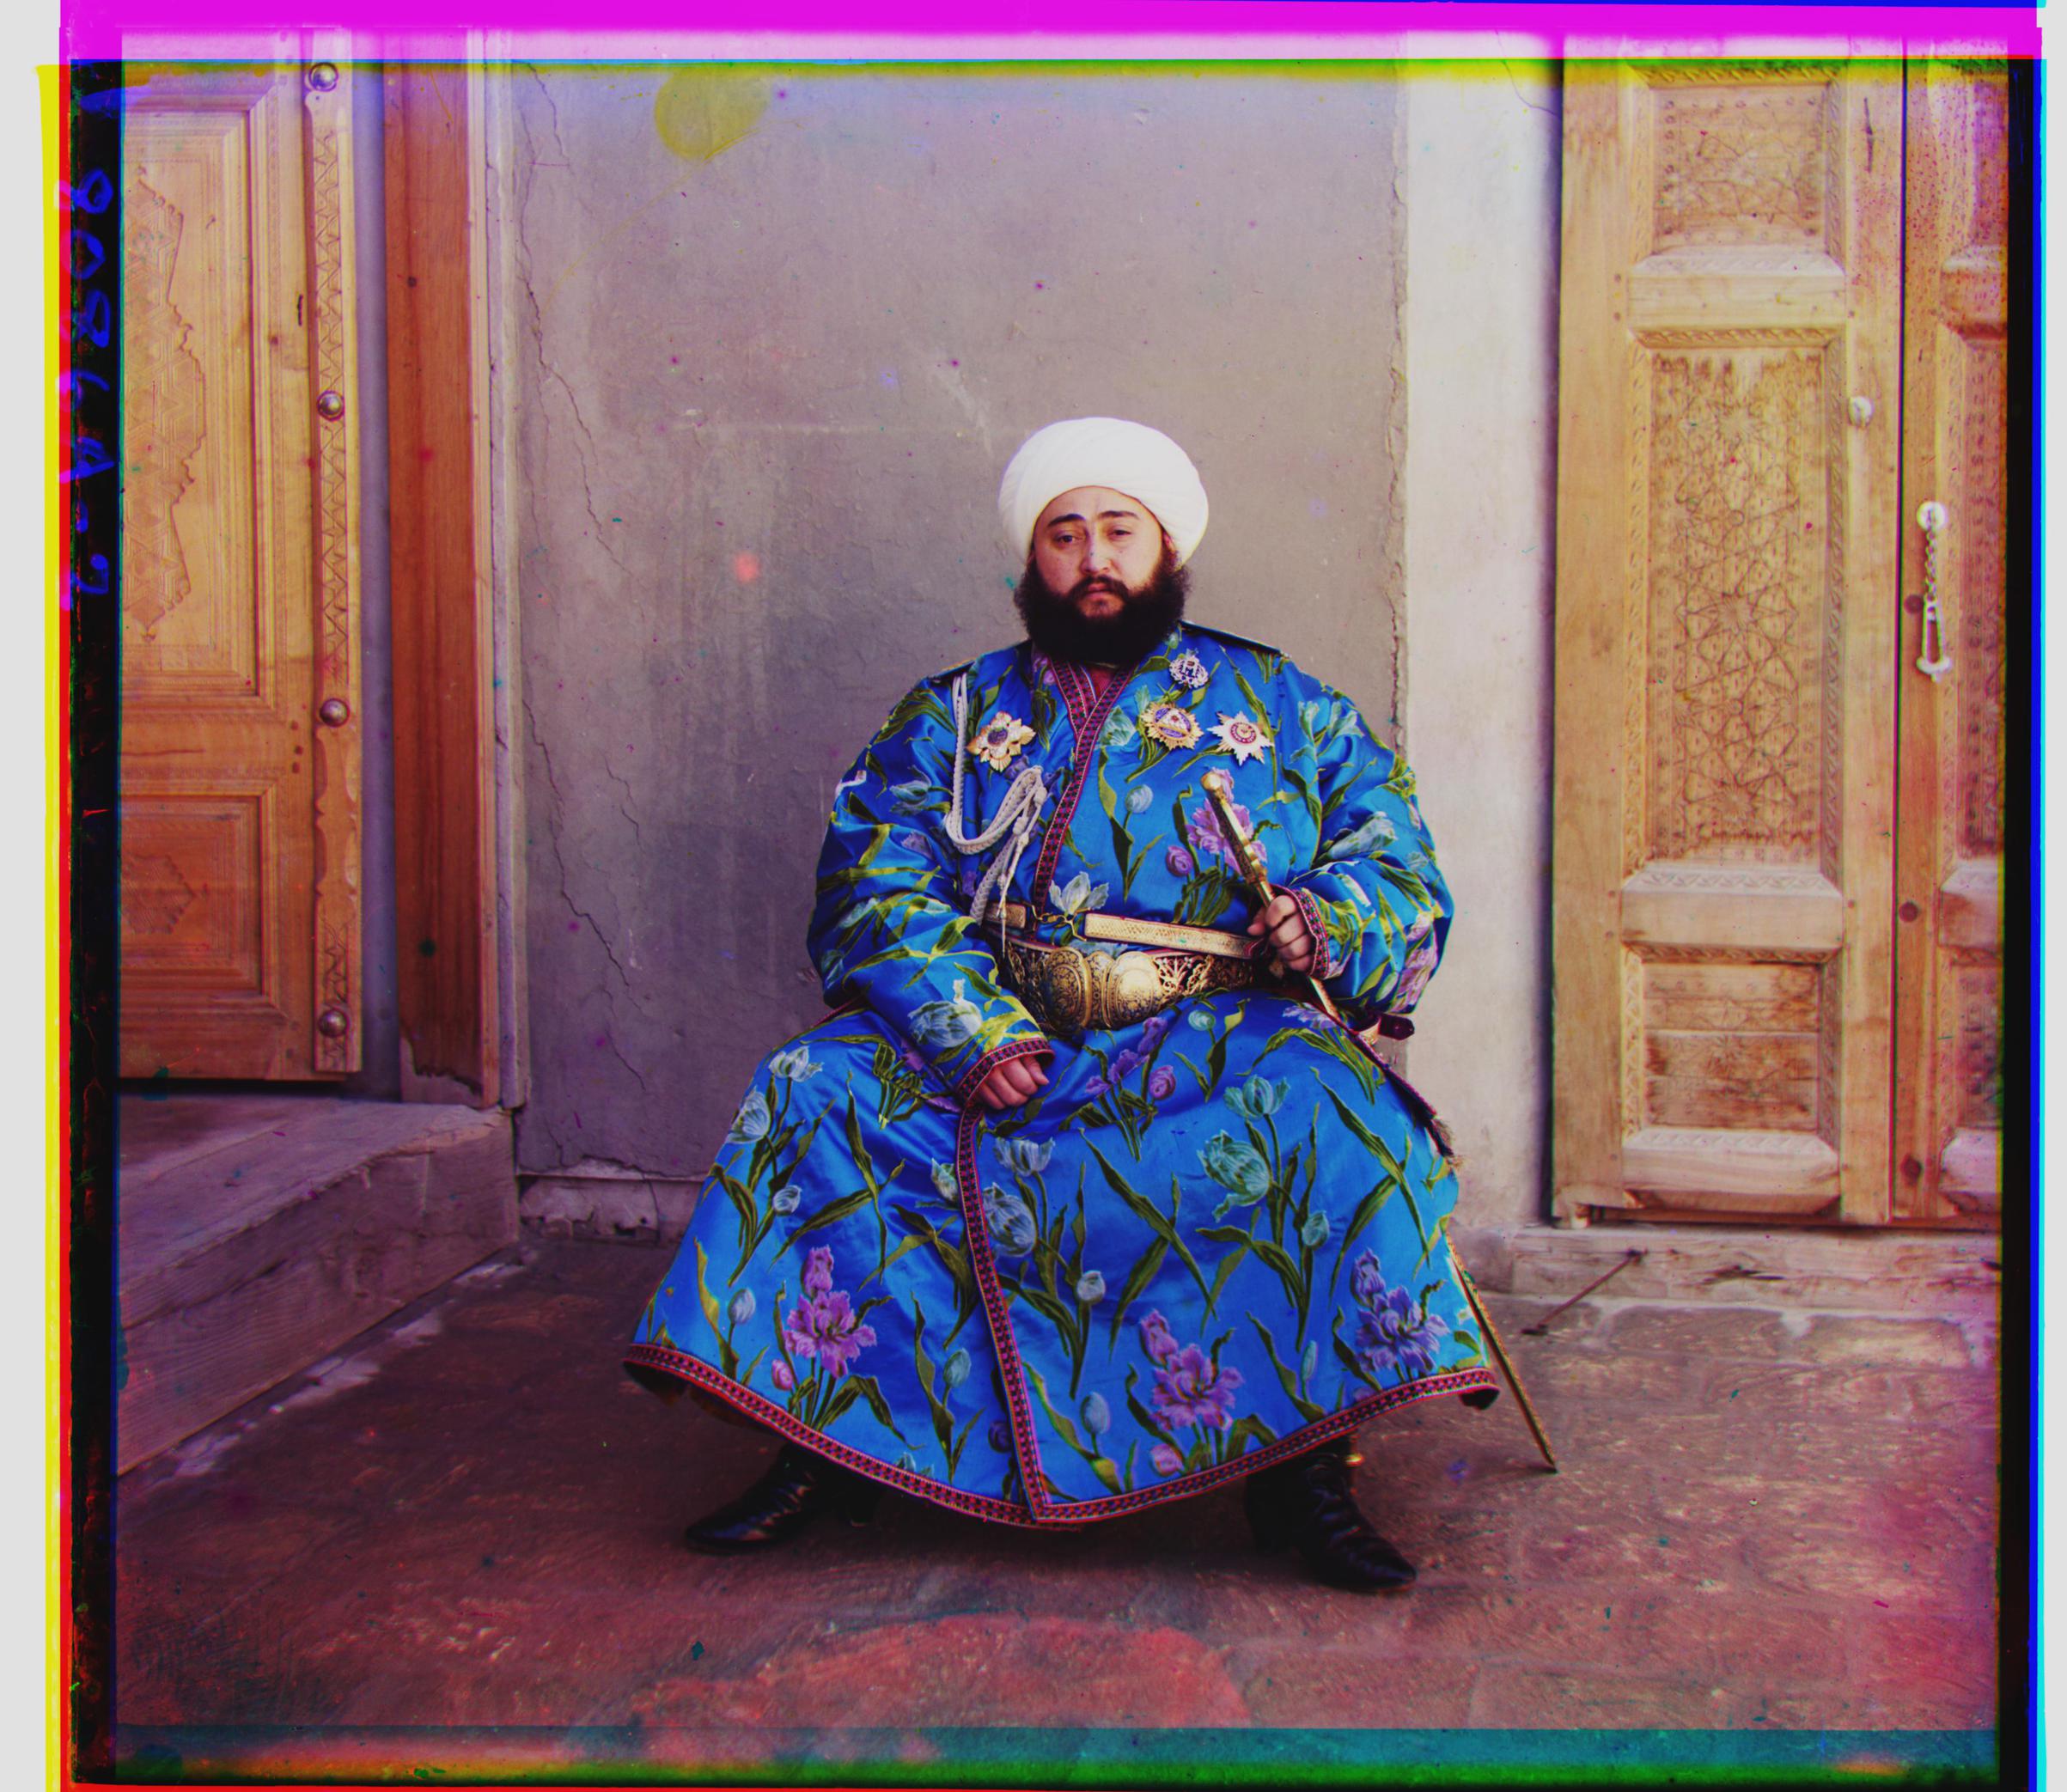
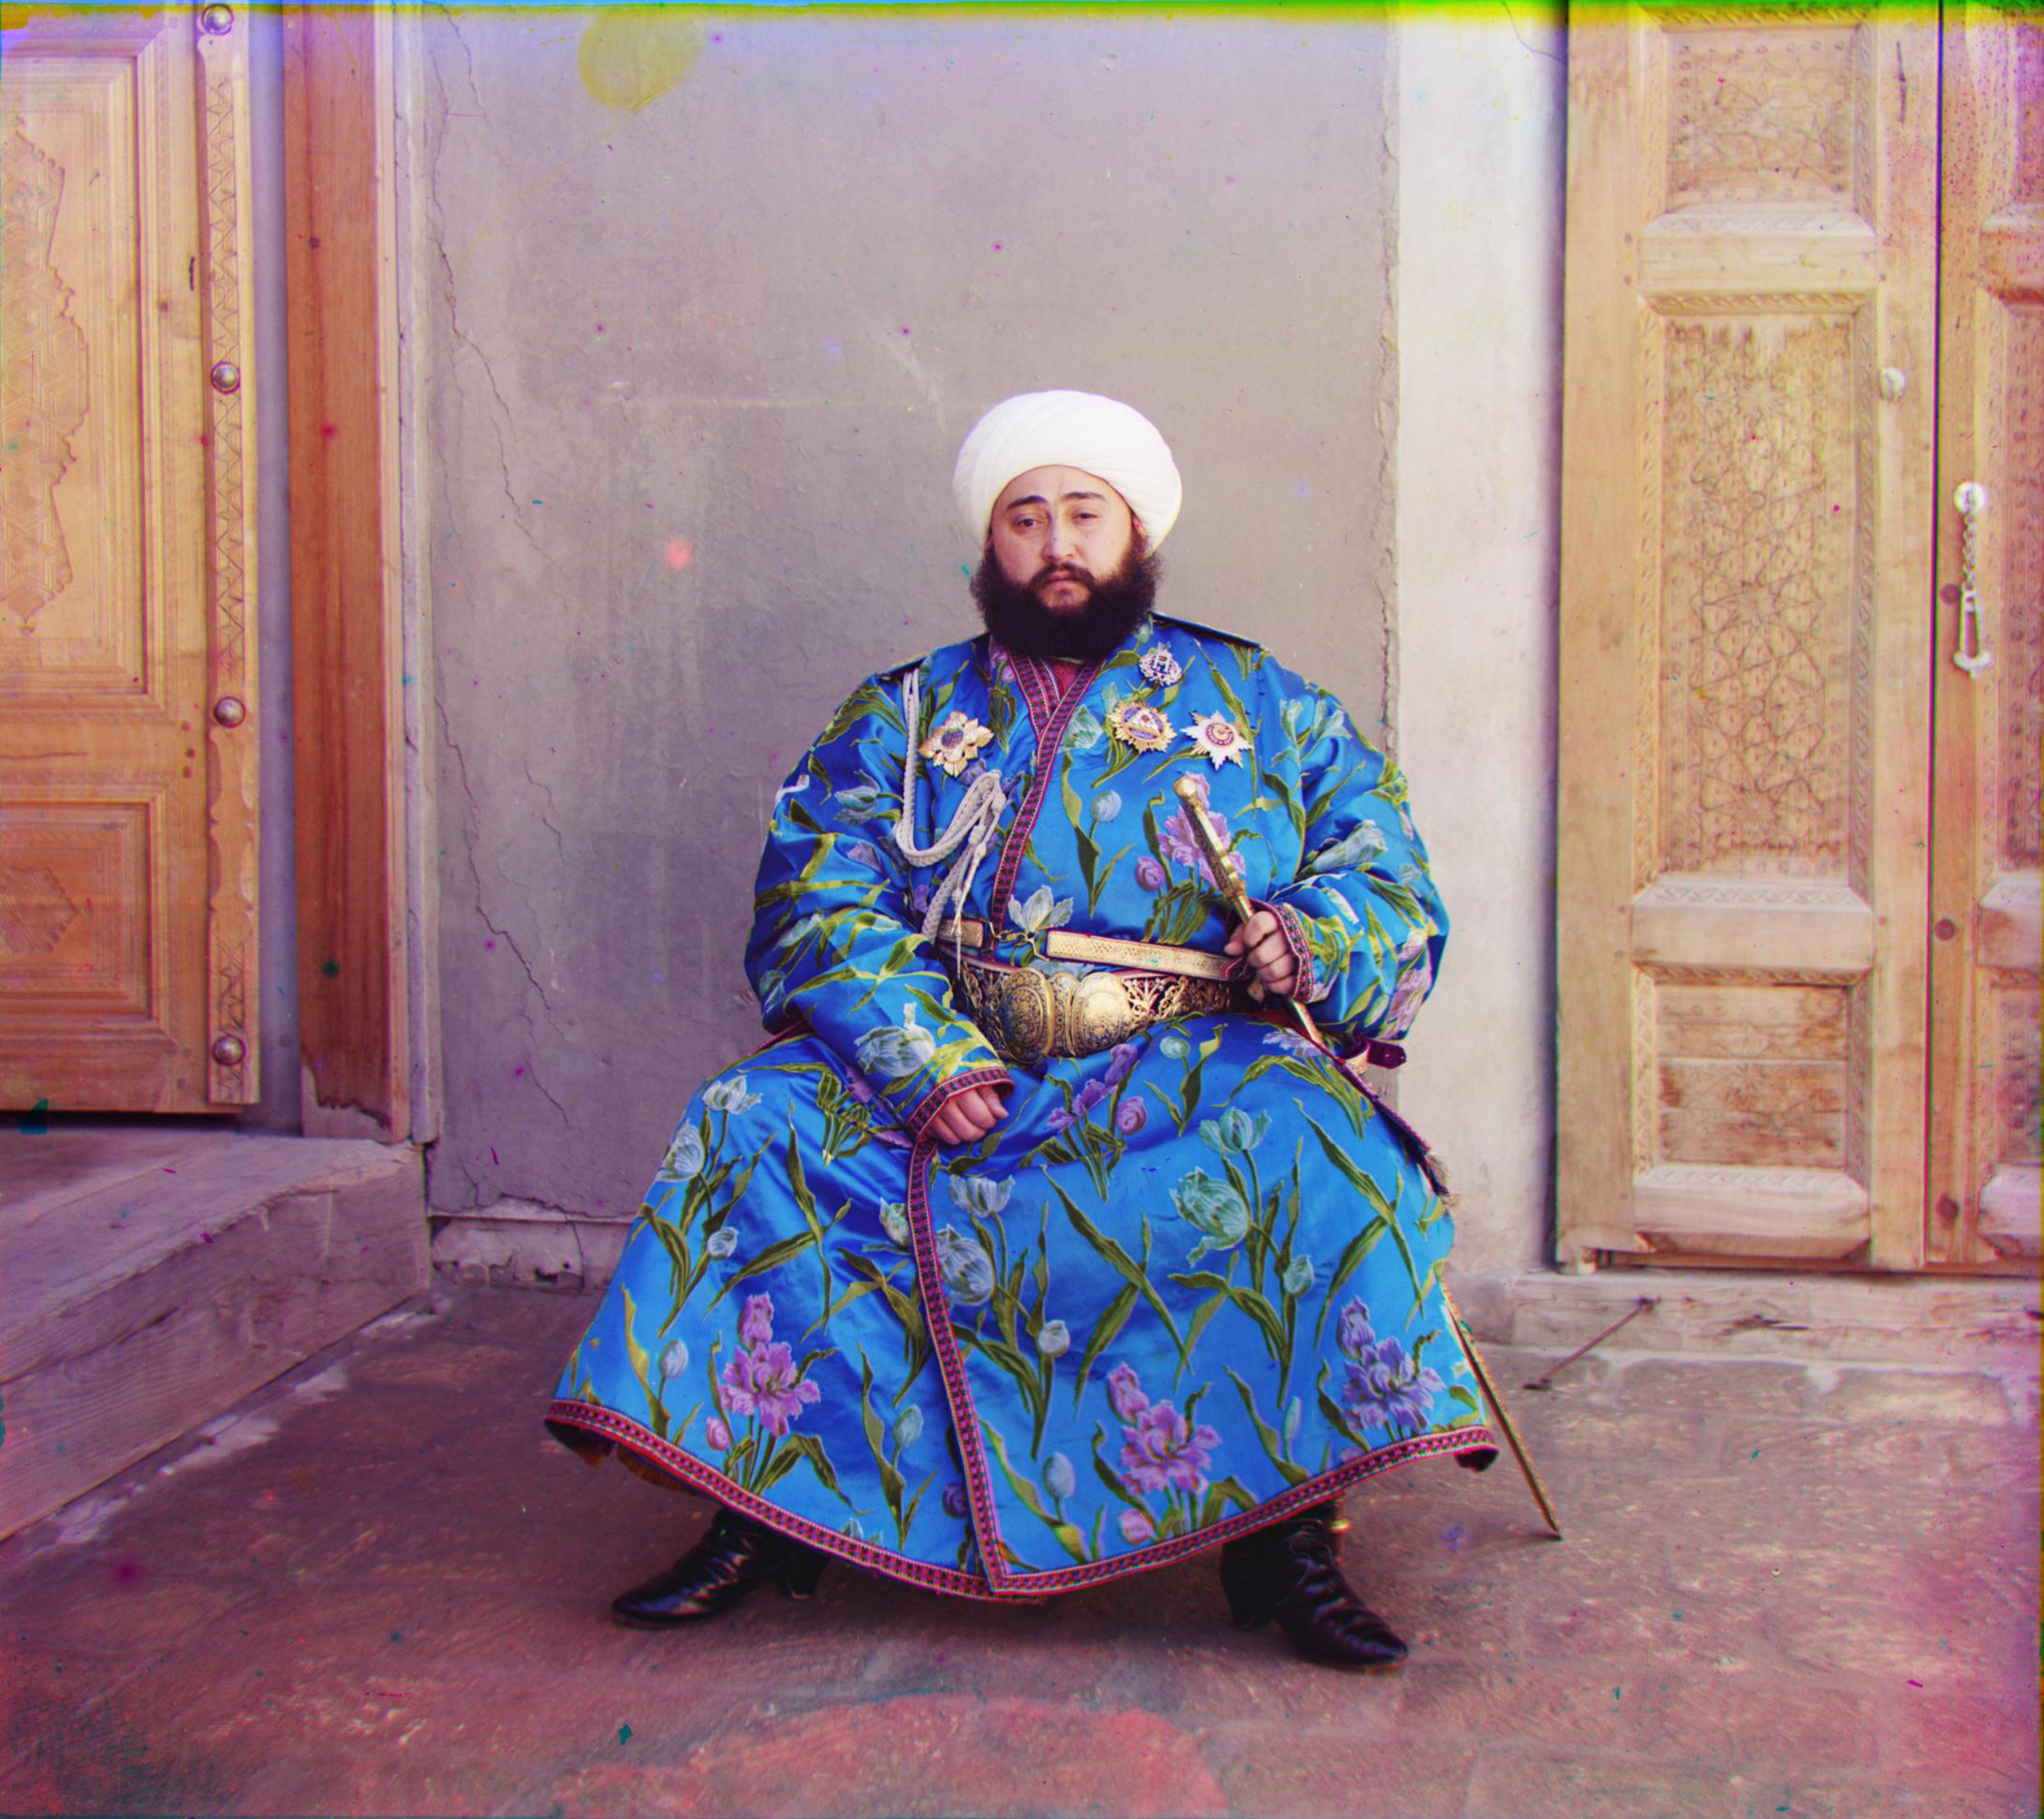
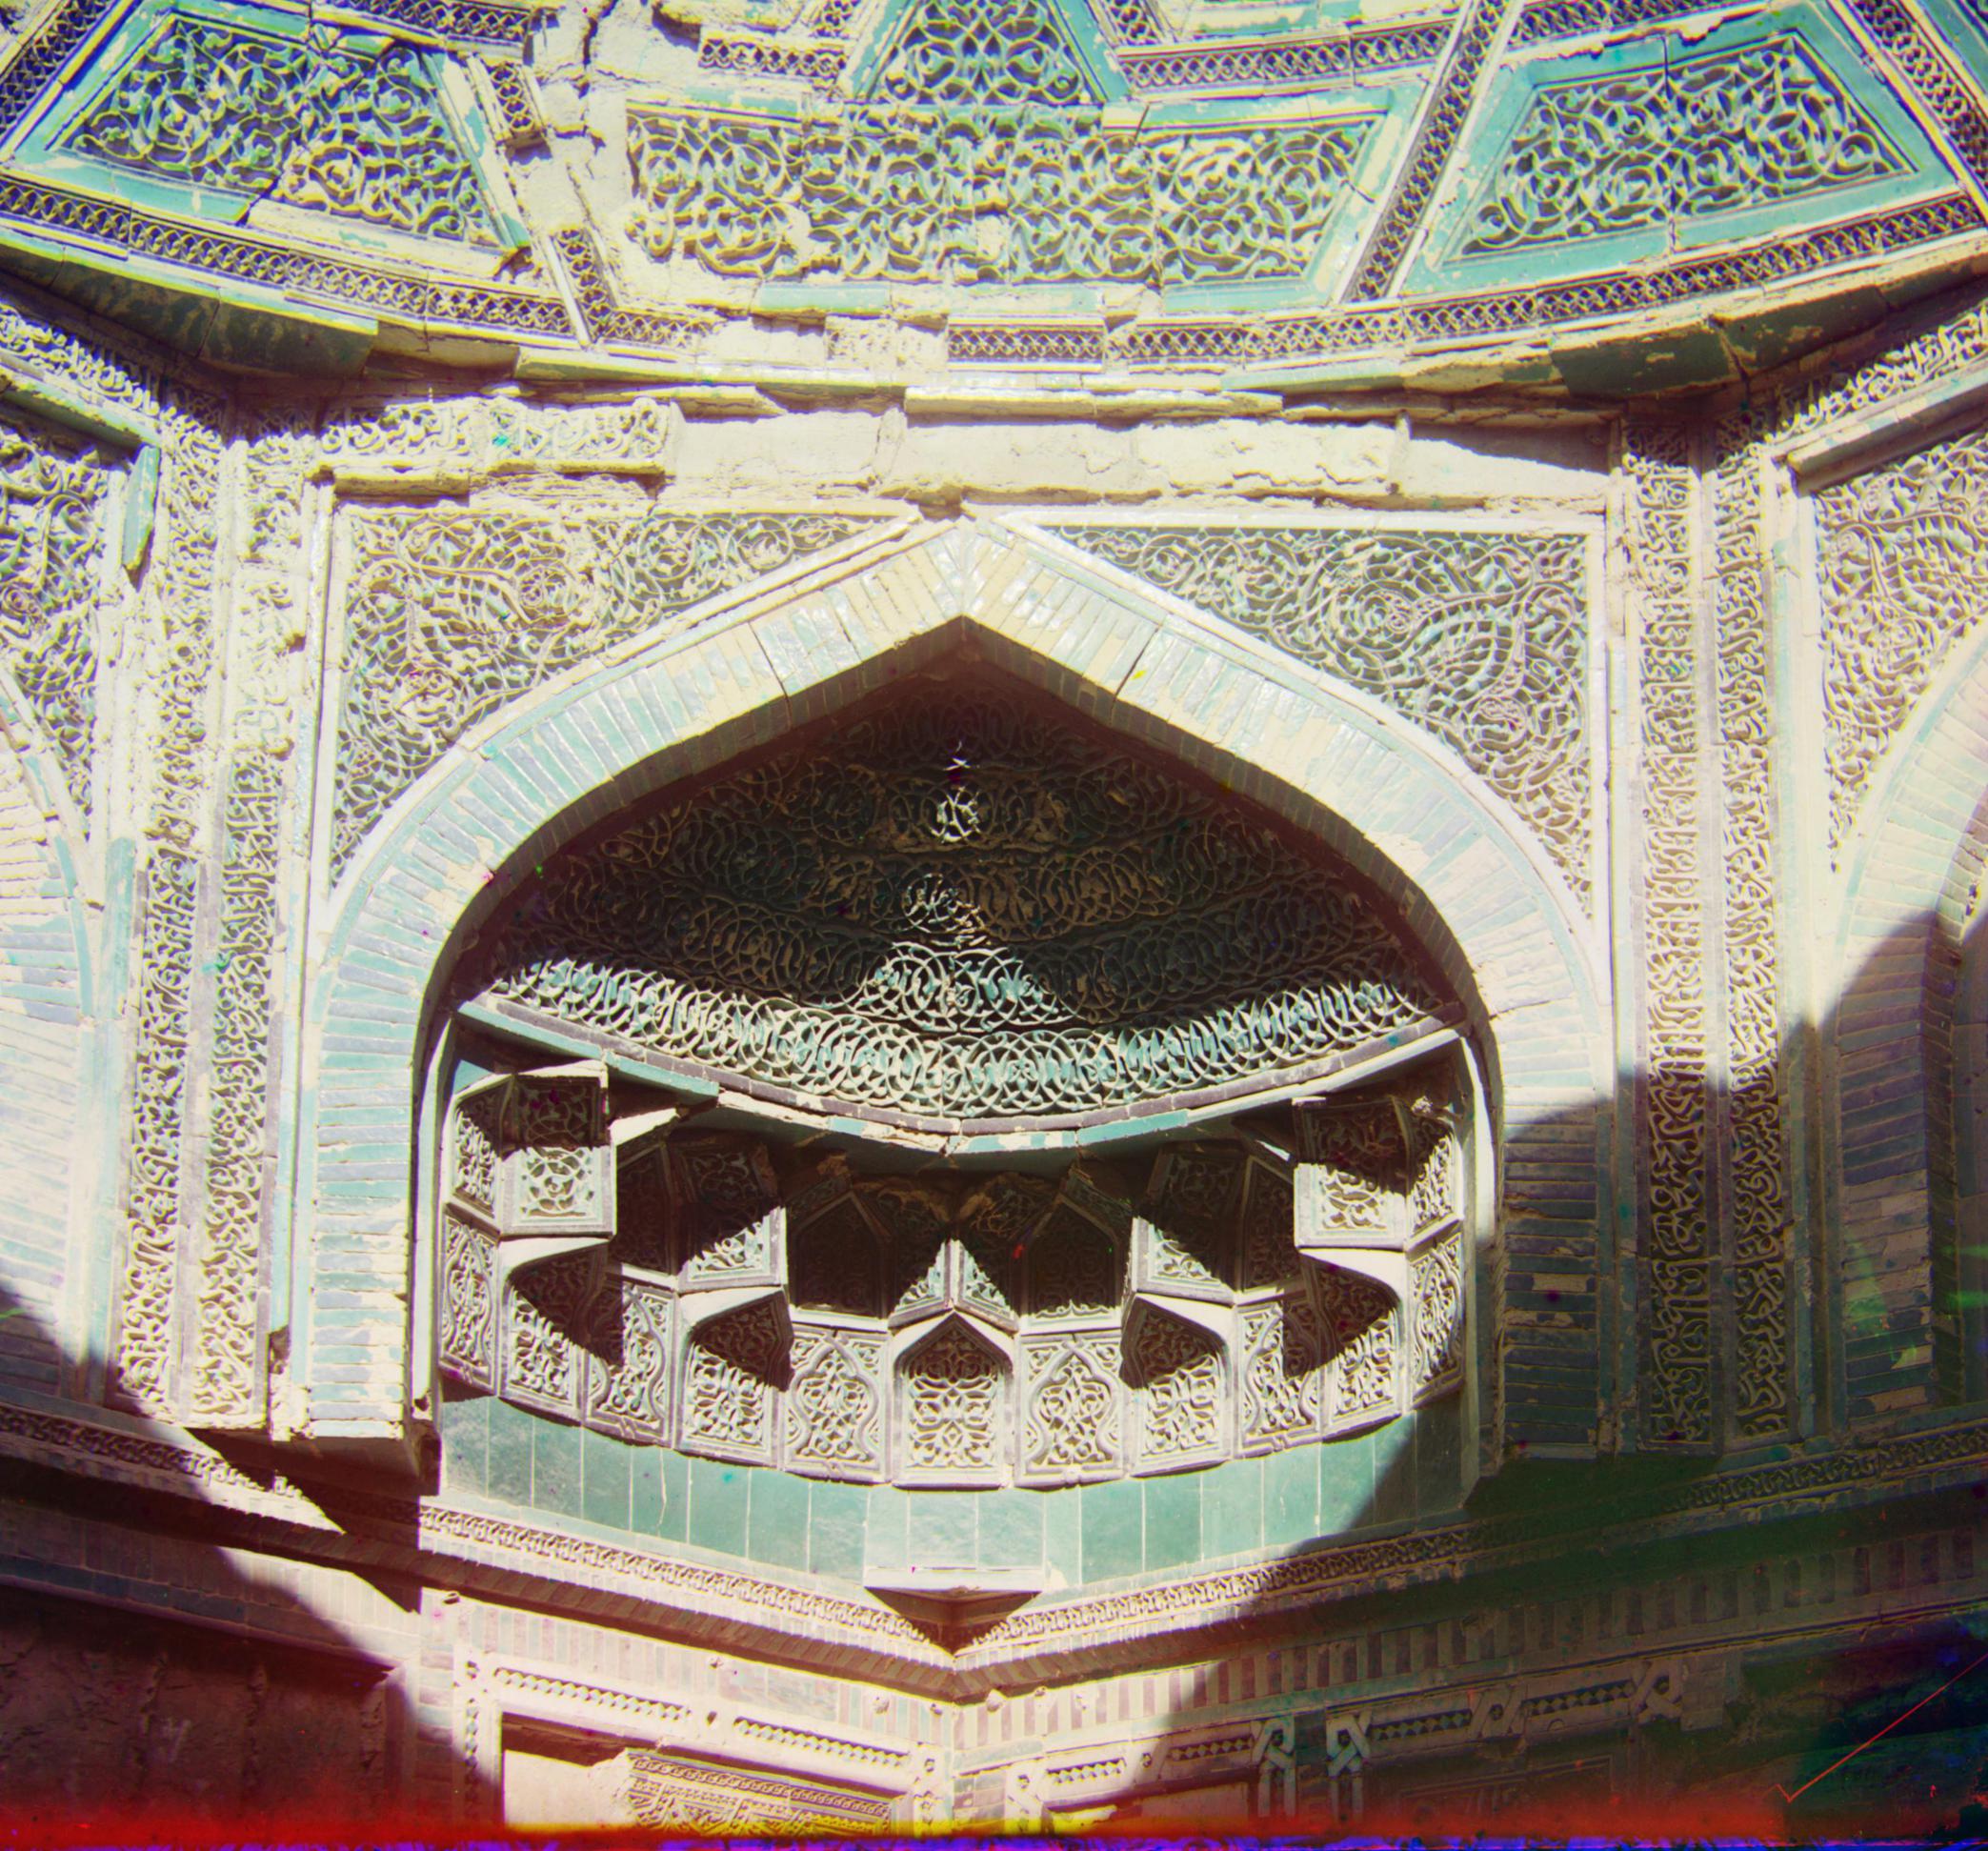
Additionally, I noticed the basic image pyramid did not work well on images with drastic color changes, specifically the blue robe in emir.tif. After some research, I adjusted my scoring equation to use a gradient which handles color differences much better.
score = Σ Σ gradient((red_image - blue_image))^2
Note there are two sums; 1 for the y-axis and 1 for the x-axis
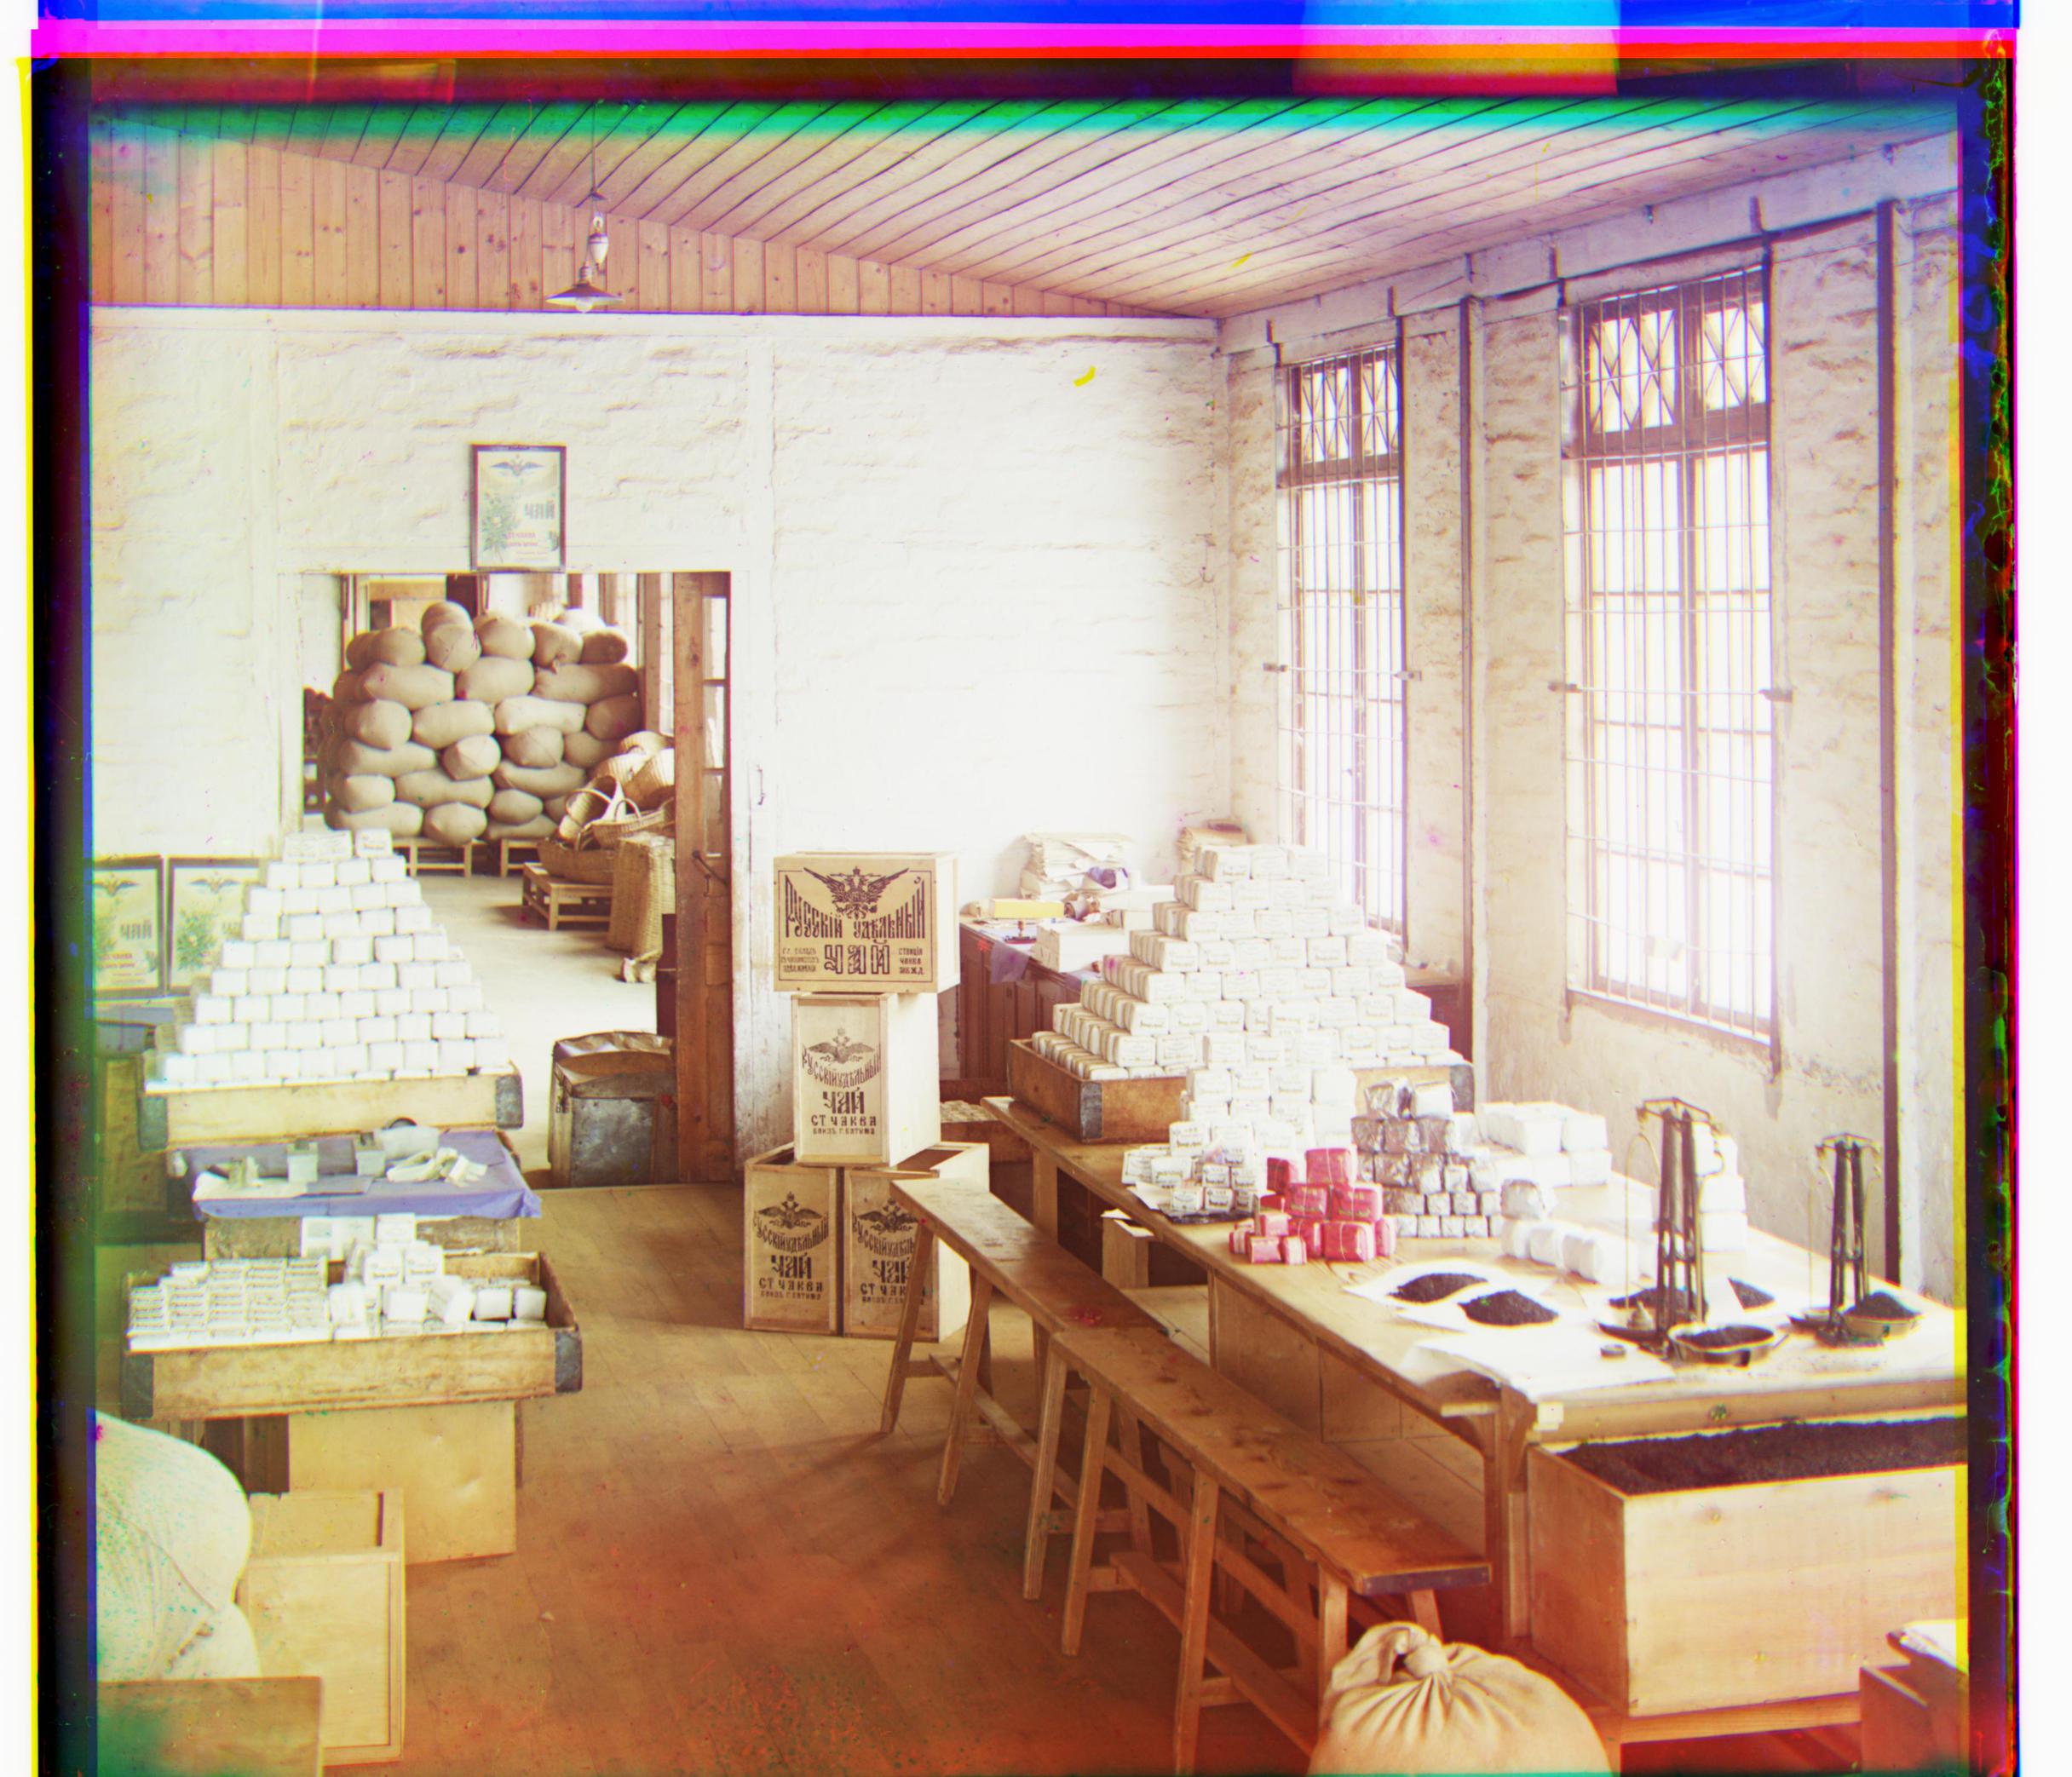
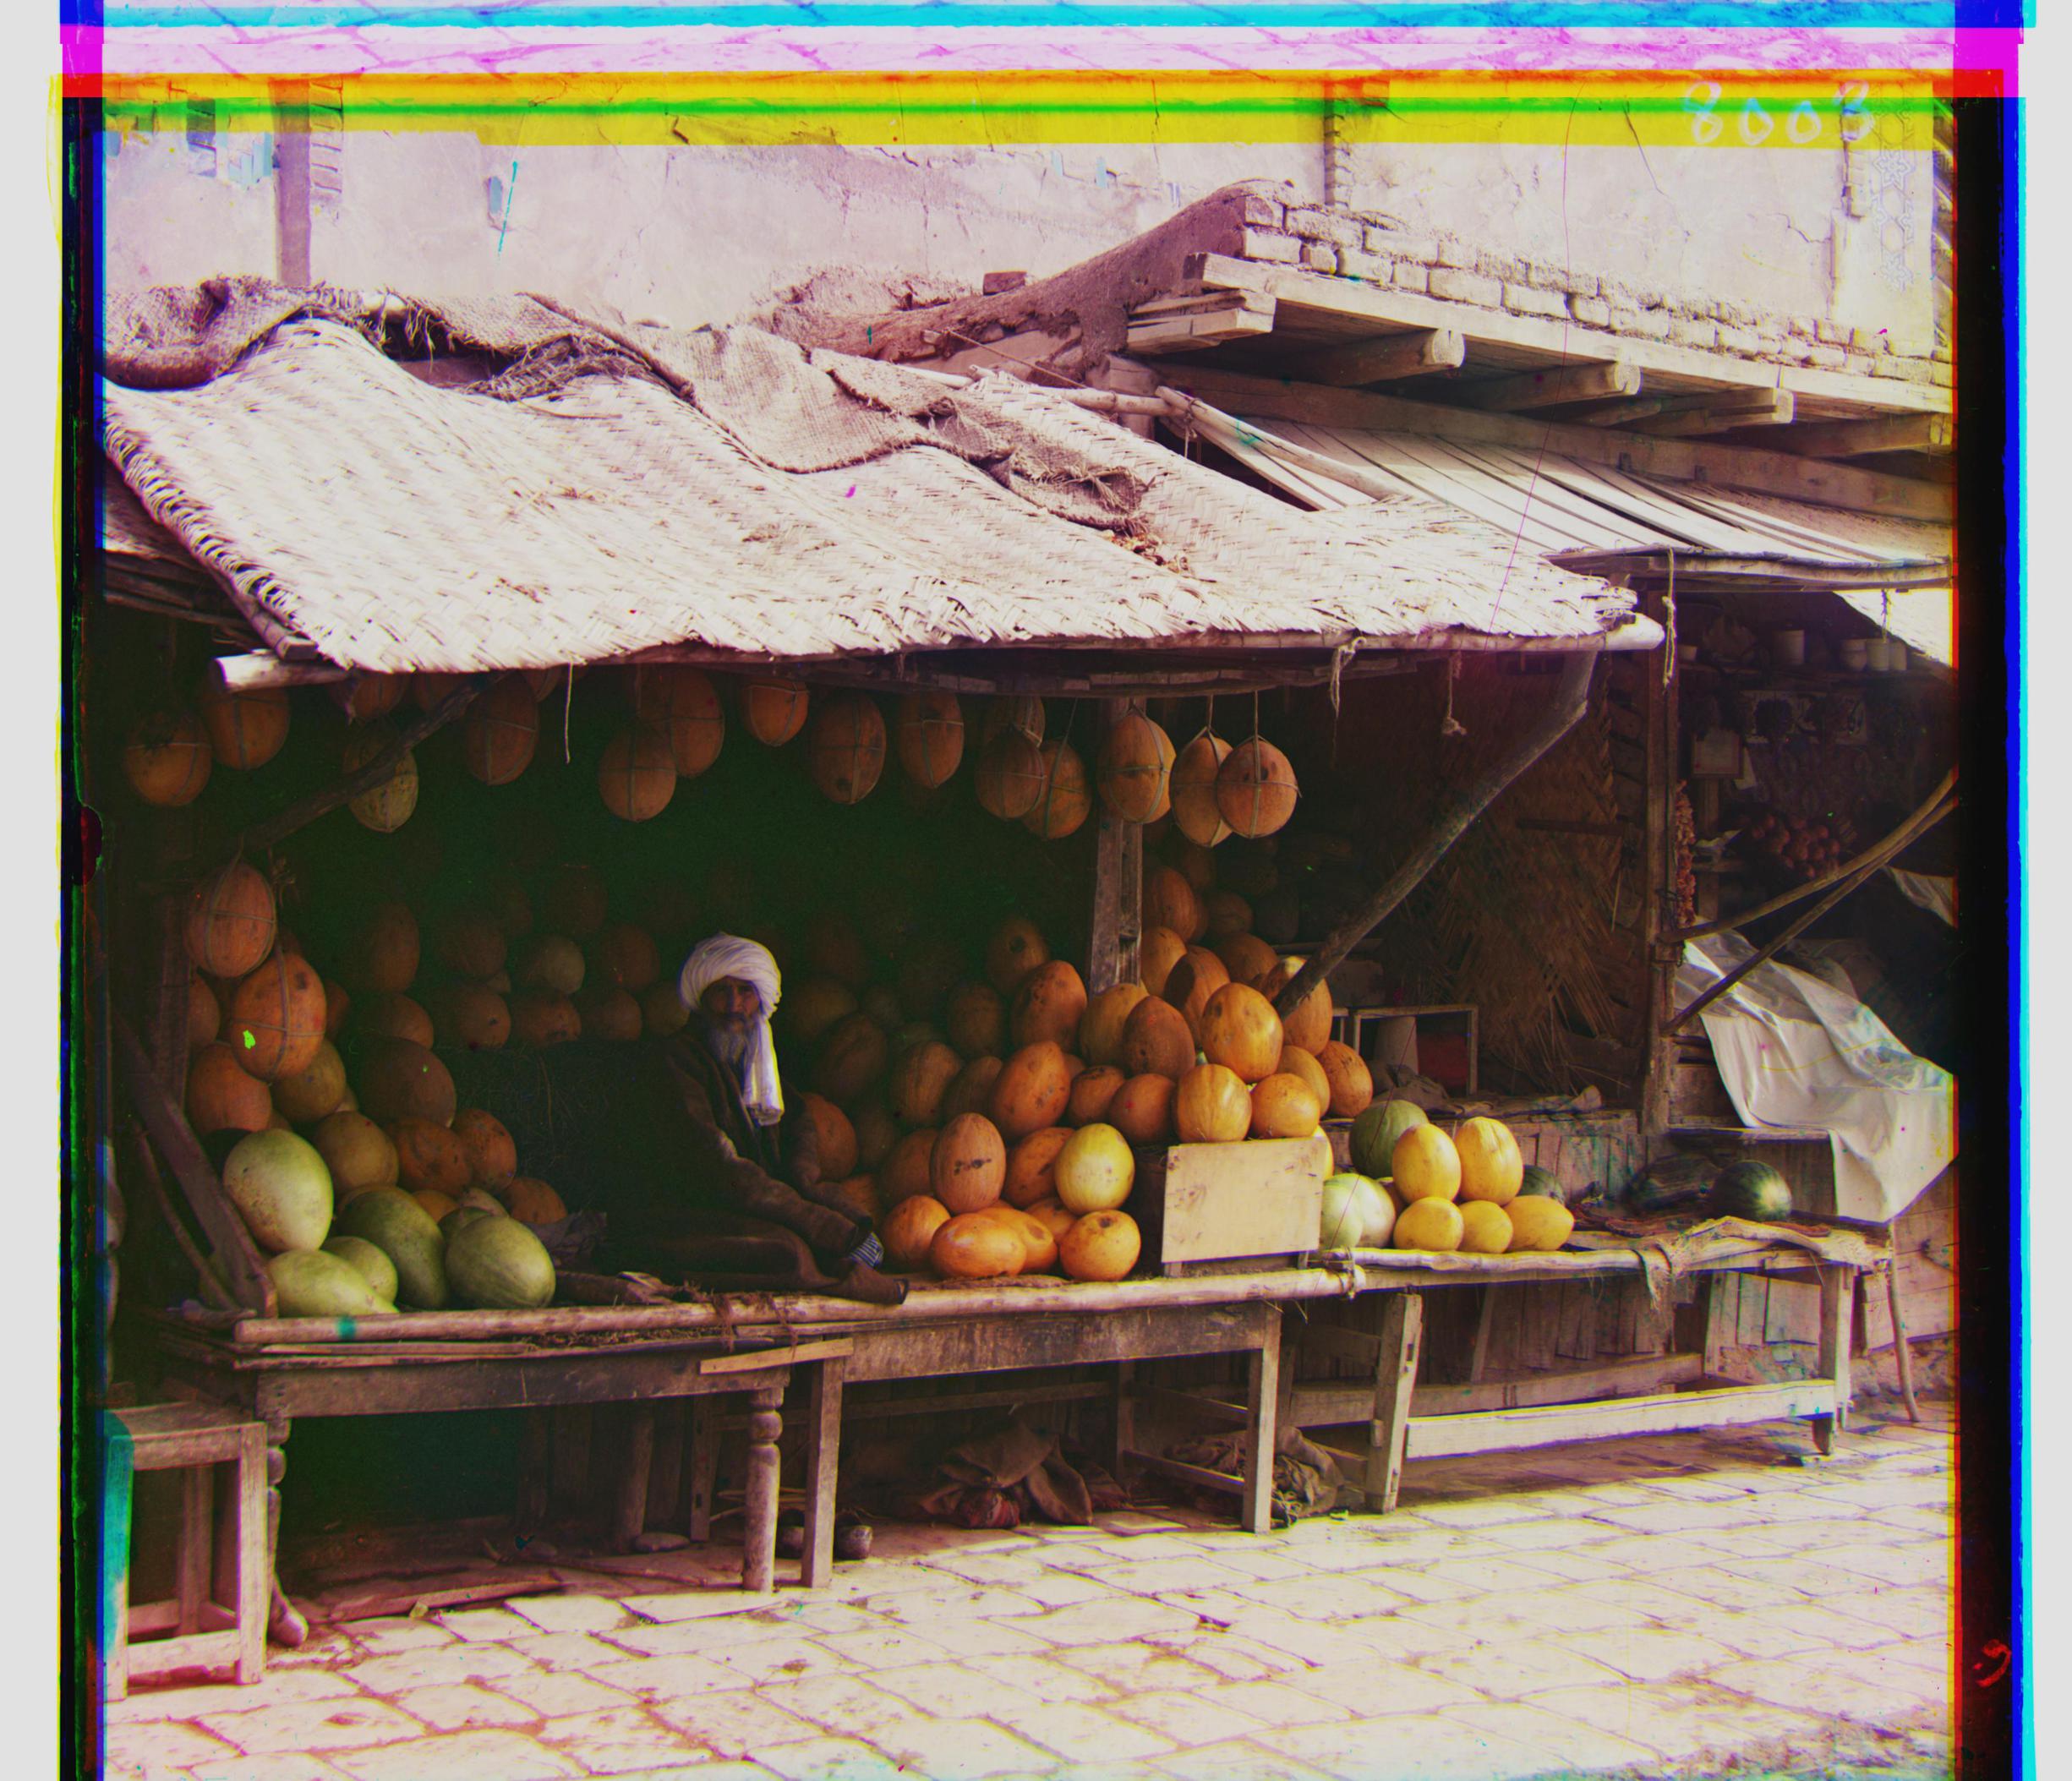
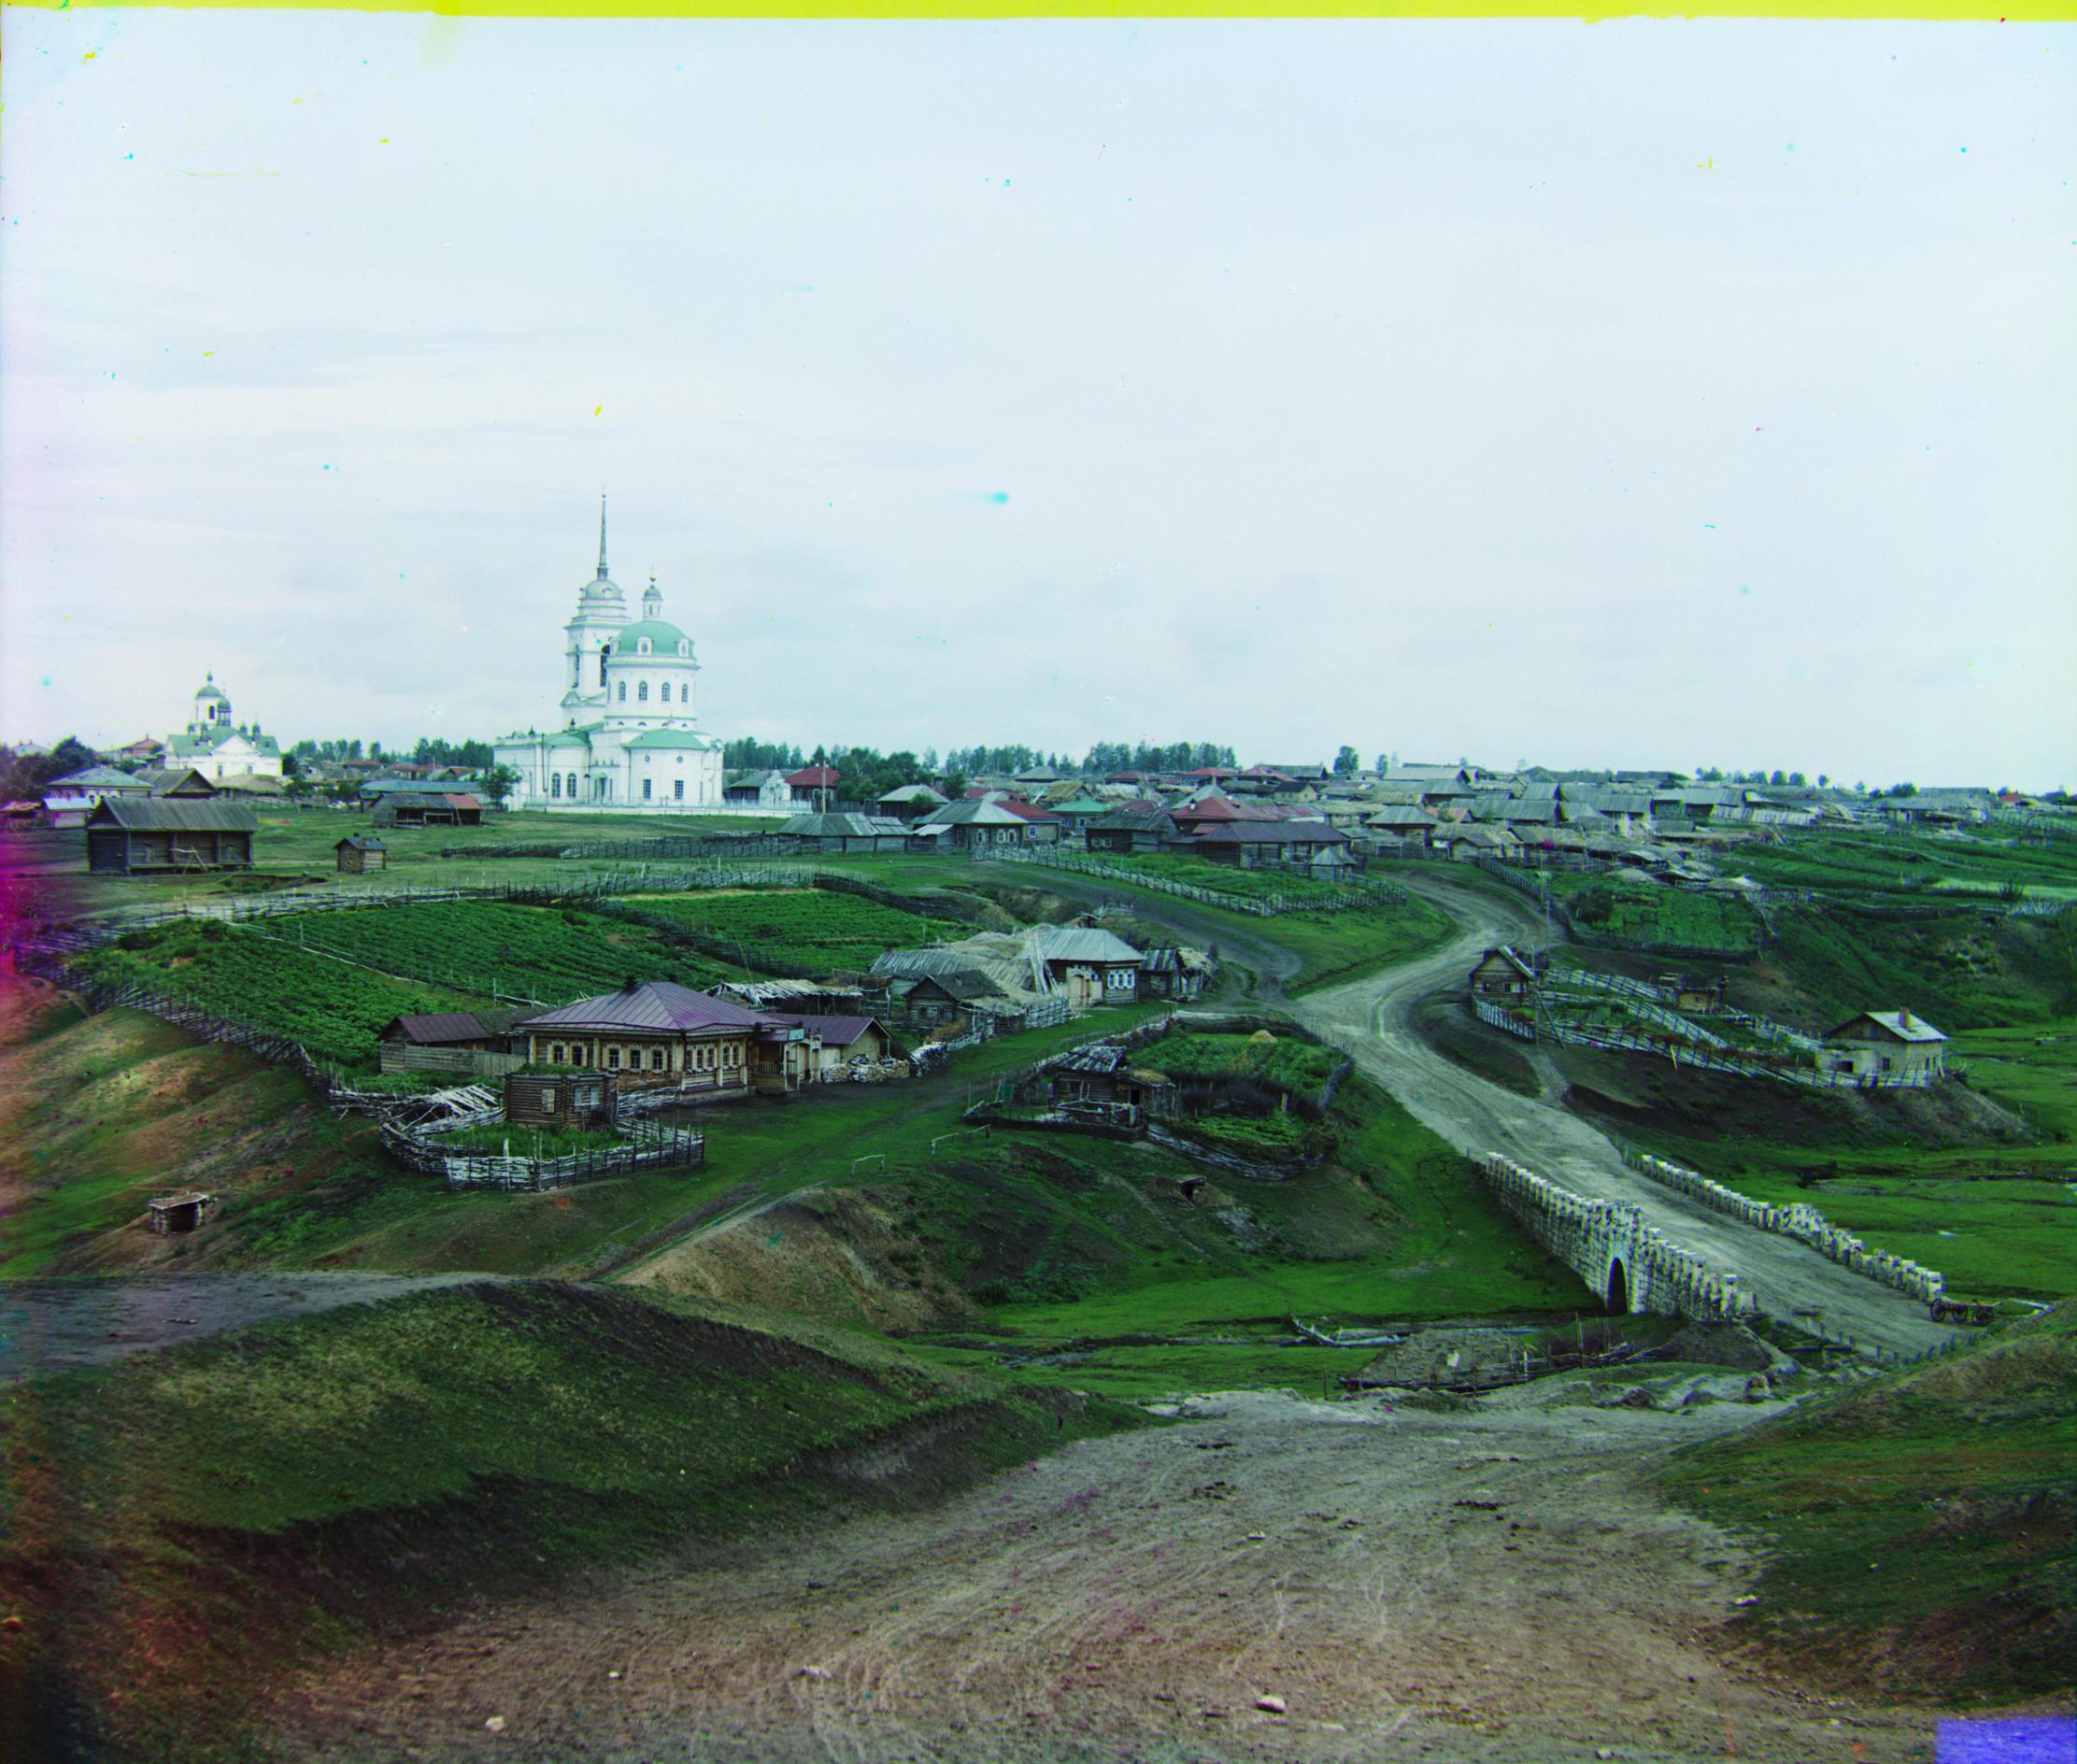
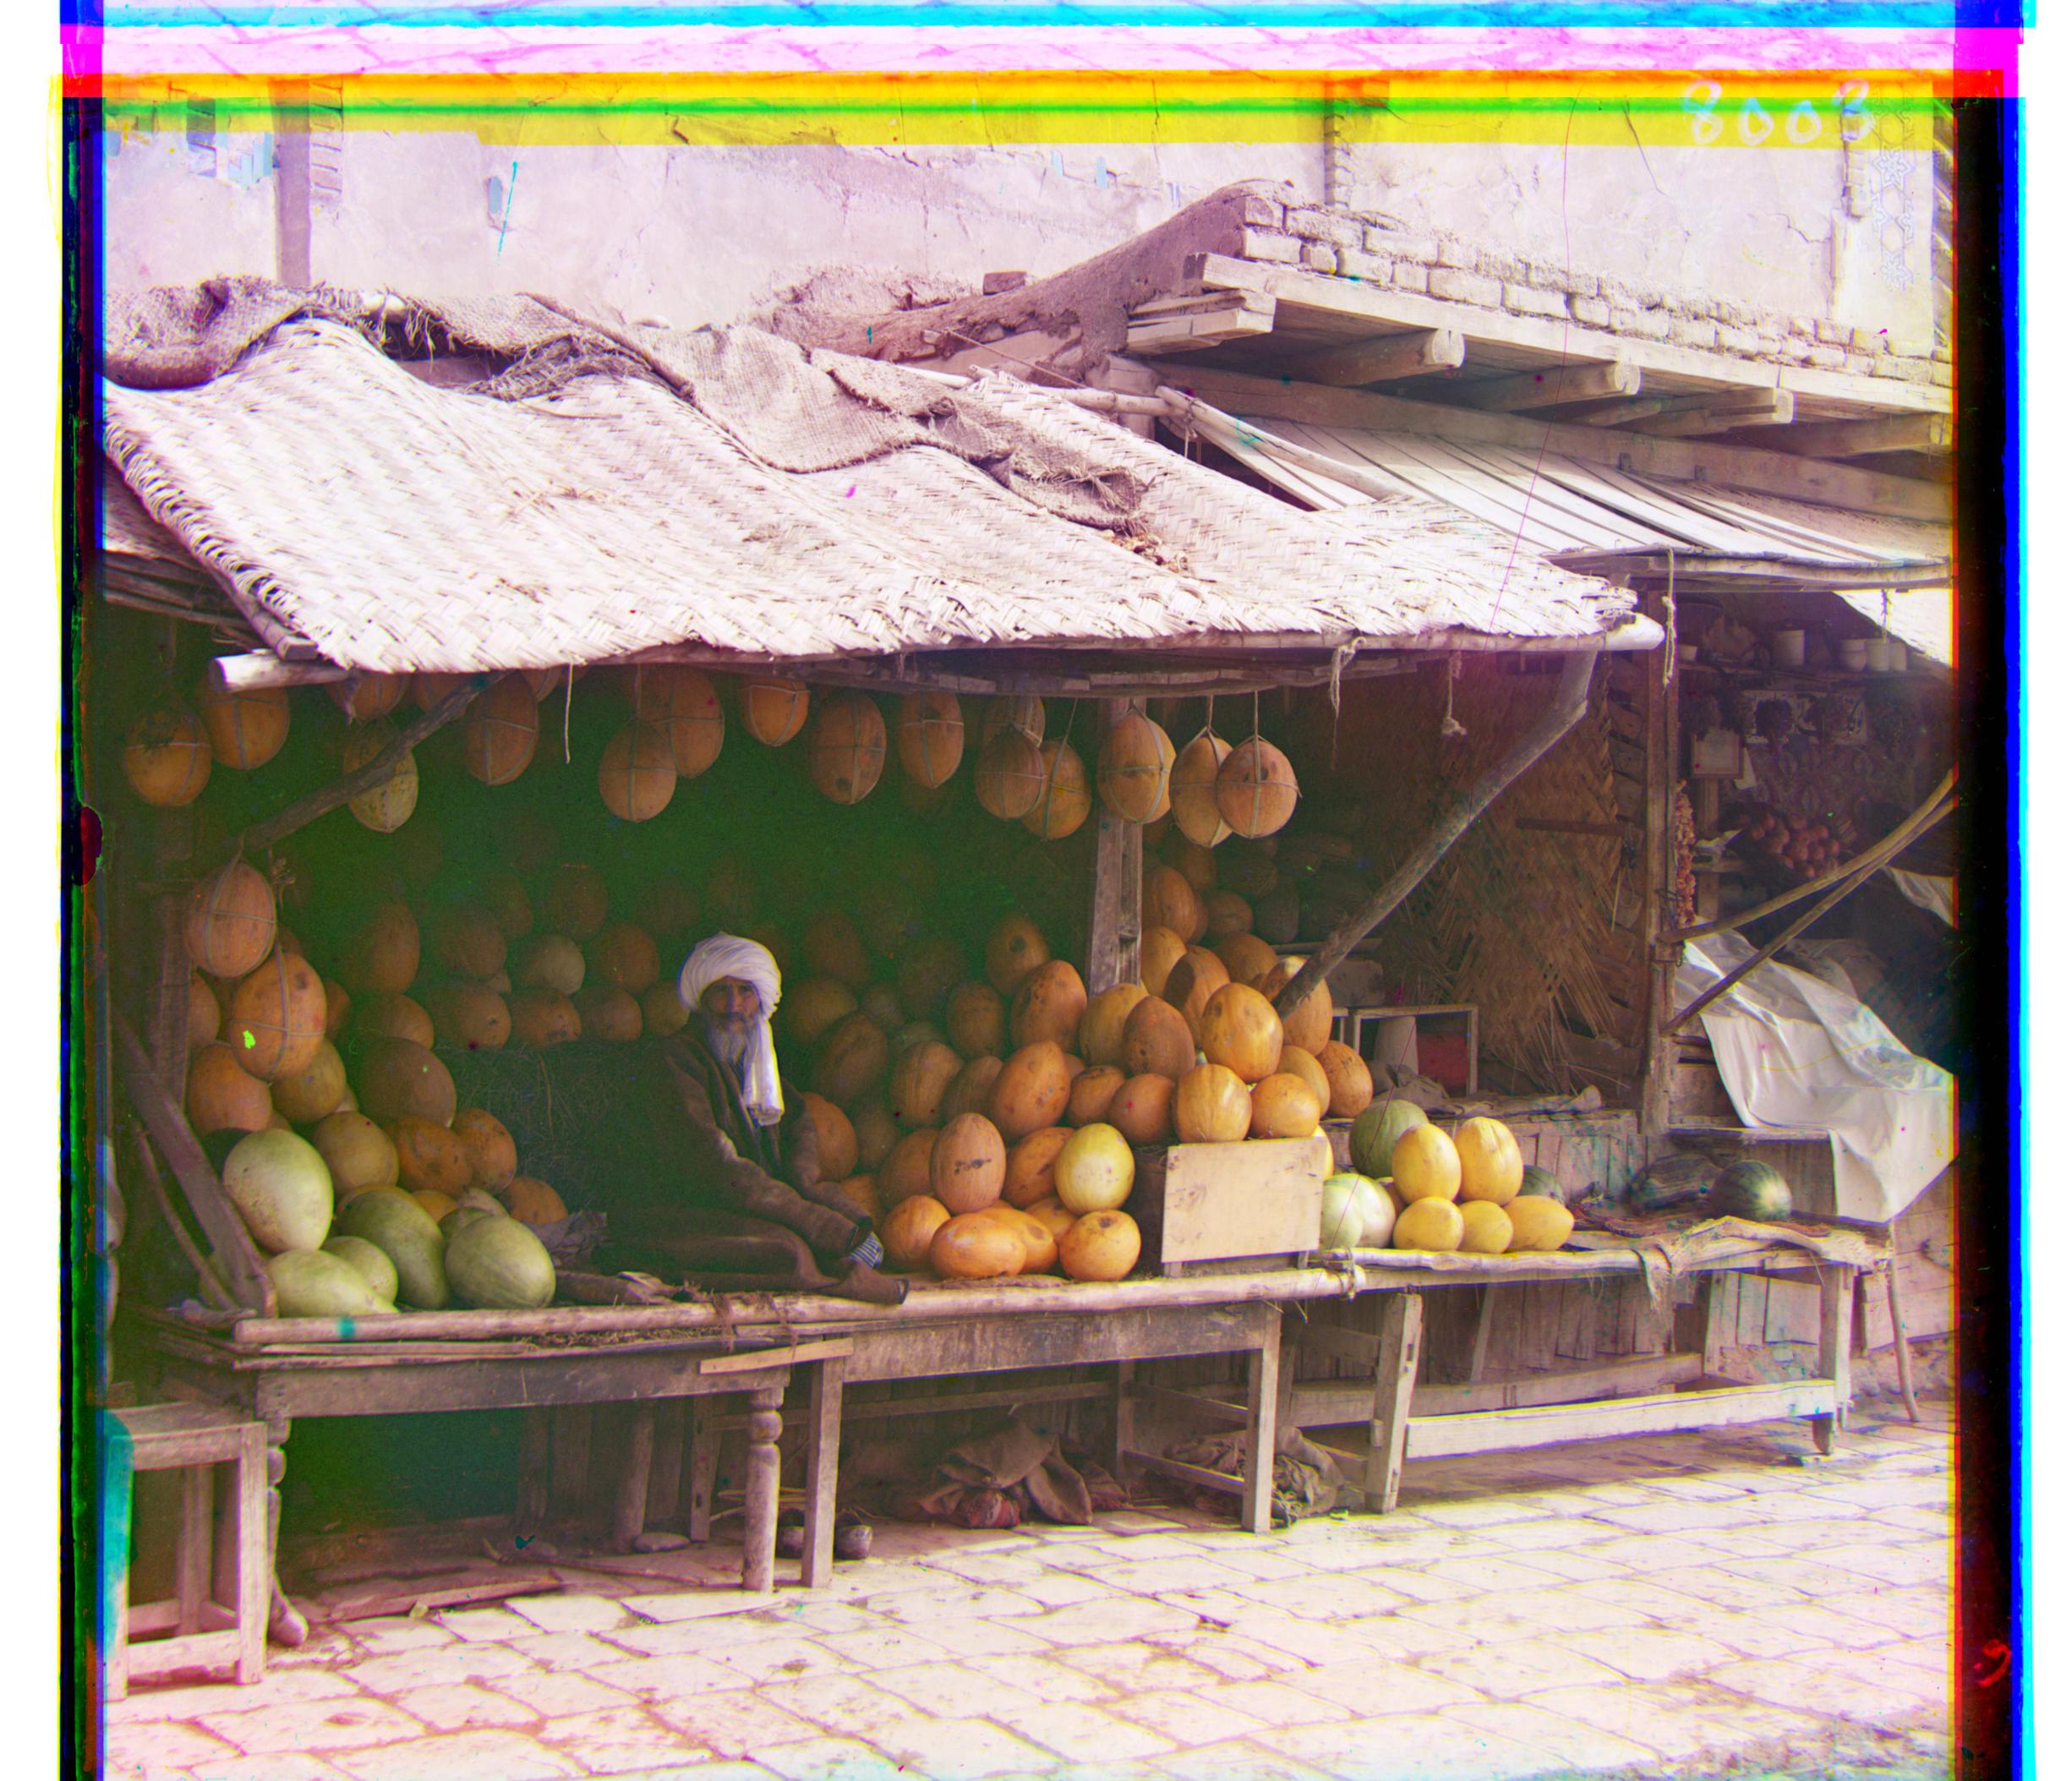
Finally, I also reduced the search area to -2px to 2px after the first recursive call. I noticed reducing down to -1px by 1px was too restrictive and the output images were misaligned. However reducing to -2px to 2px greatly reduced the run-time while maintaining proper alignment on most images. melons.tif, village.tif and workshop.tif would not align properly under these settings so I had to leave the search area at -3px to 3px for the entire runtime for those photos.
Due to these optimizations, we do not check 30^2 = 900 potential displacements but rather, 6^2 + 11 * 4^2 = 212 potential displacements (for a 3741px by 3209px image).


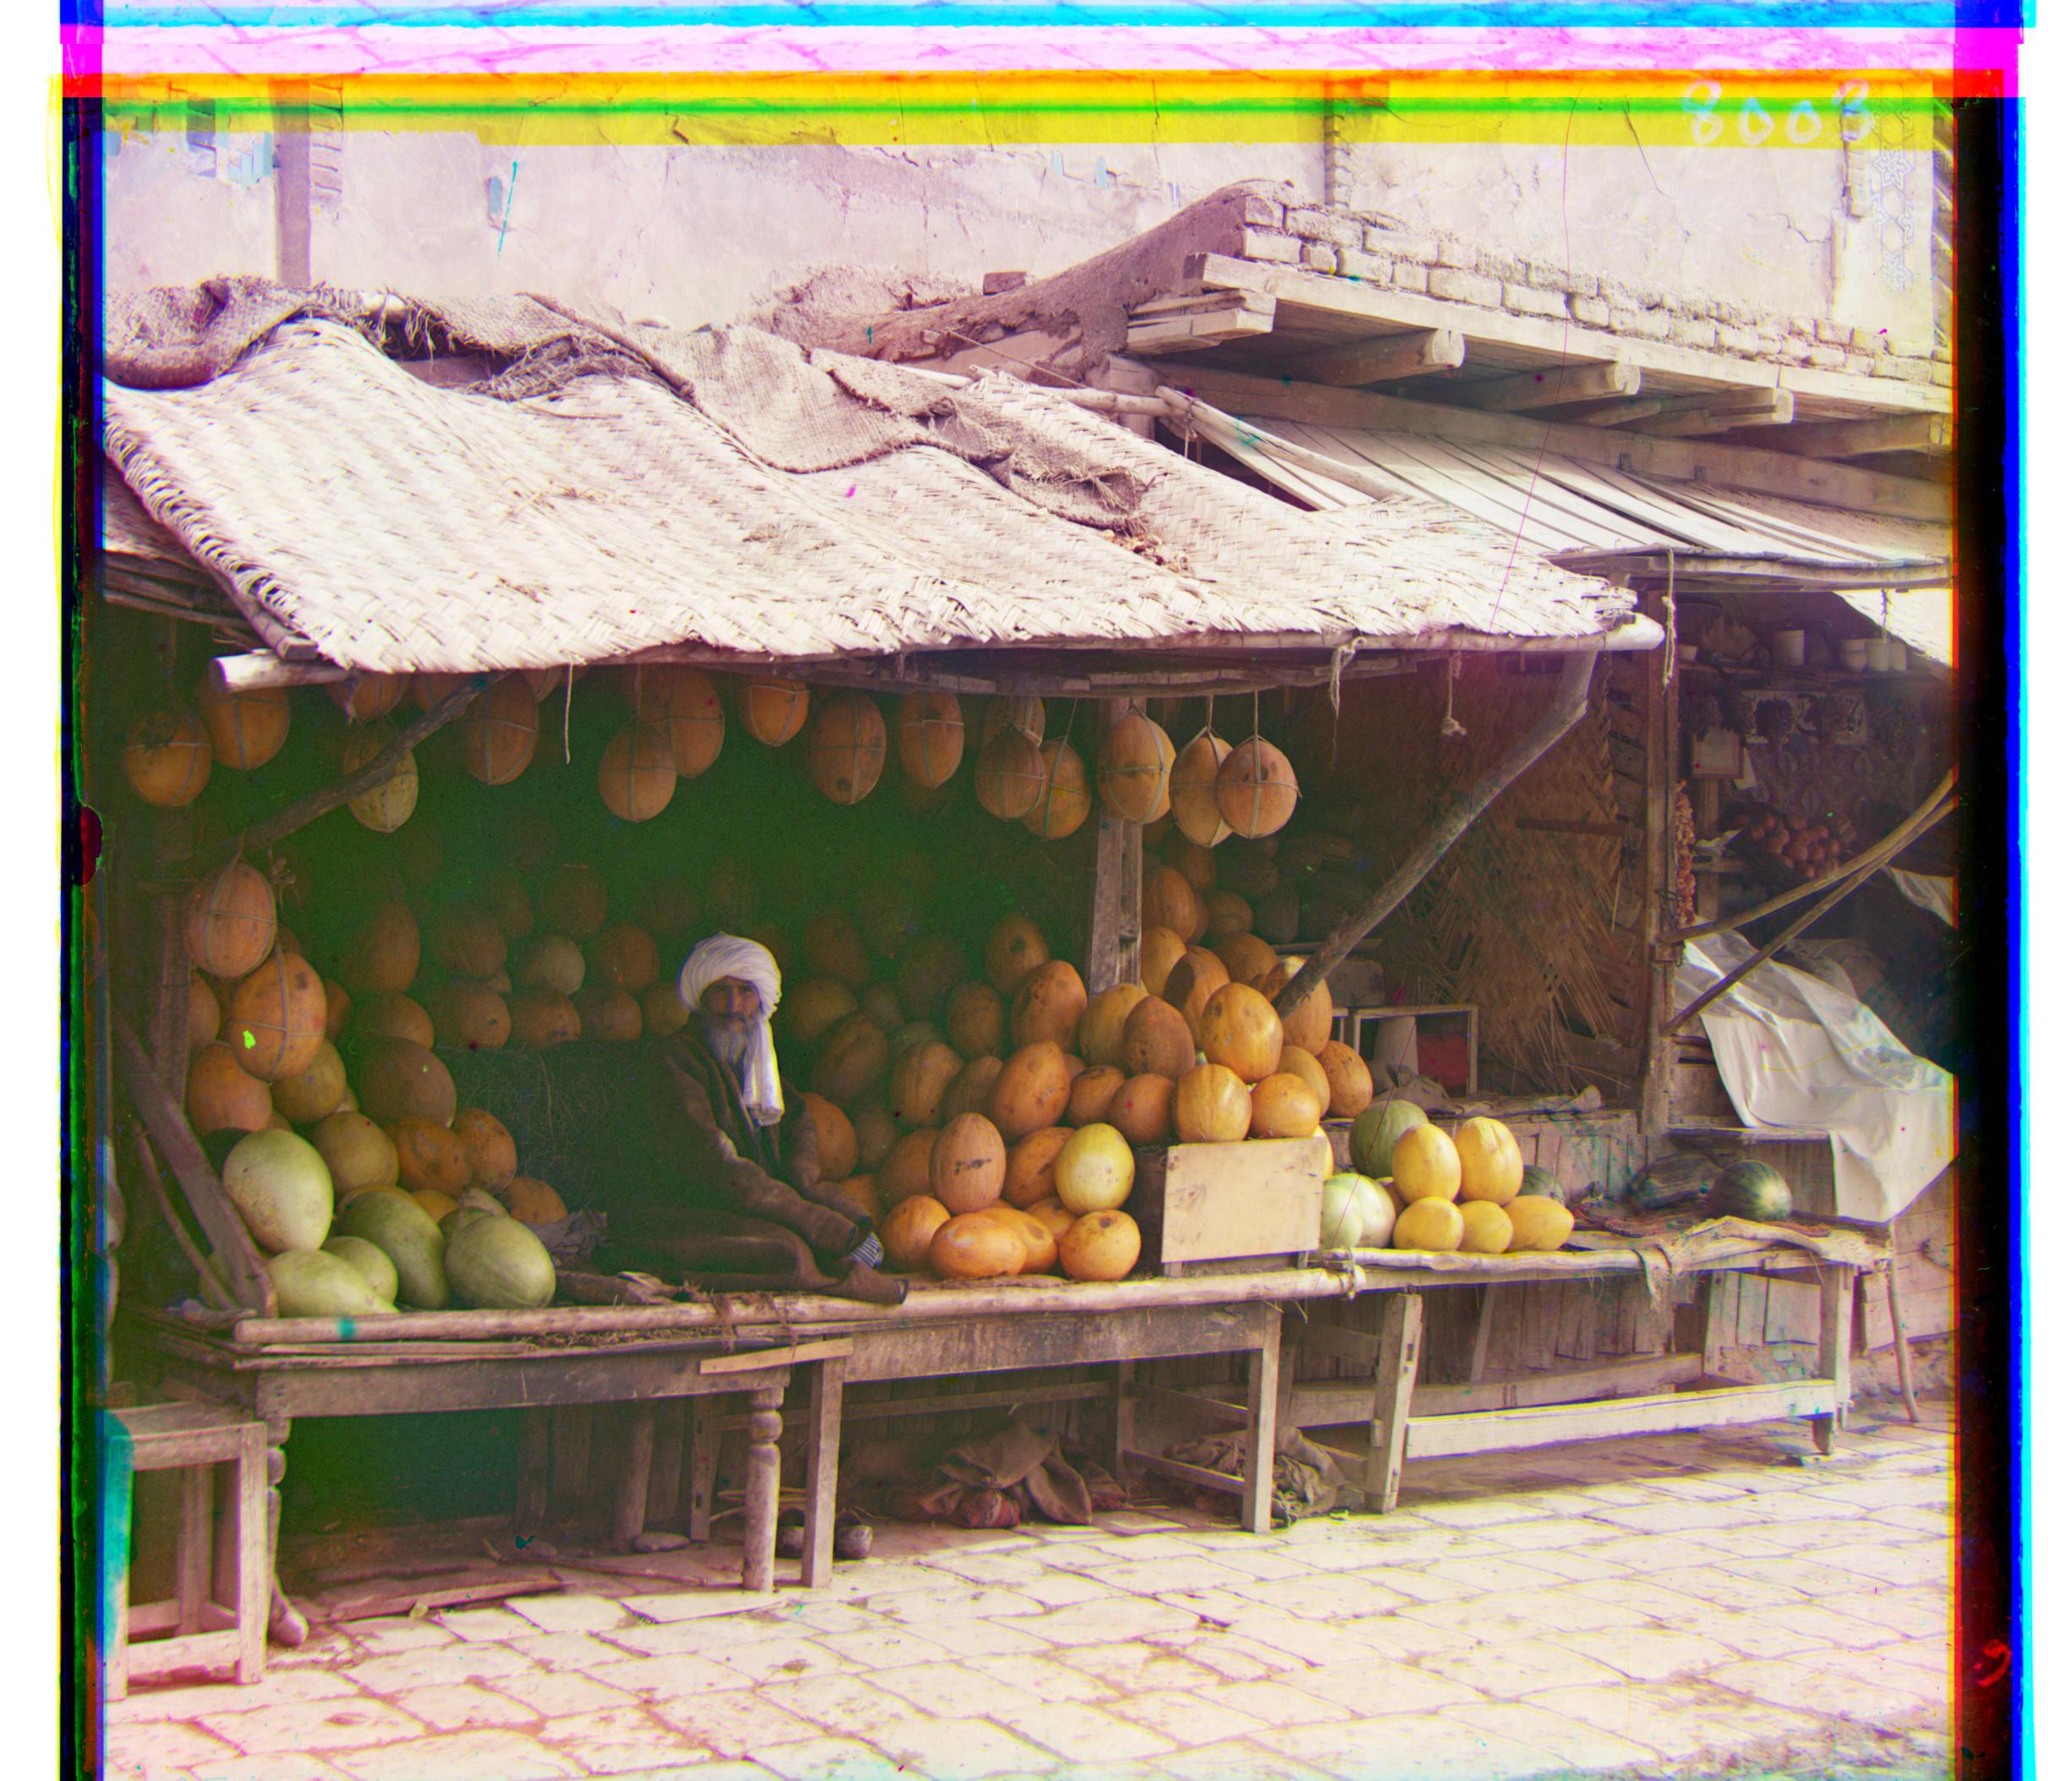
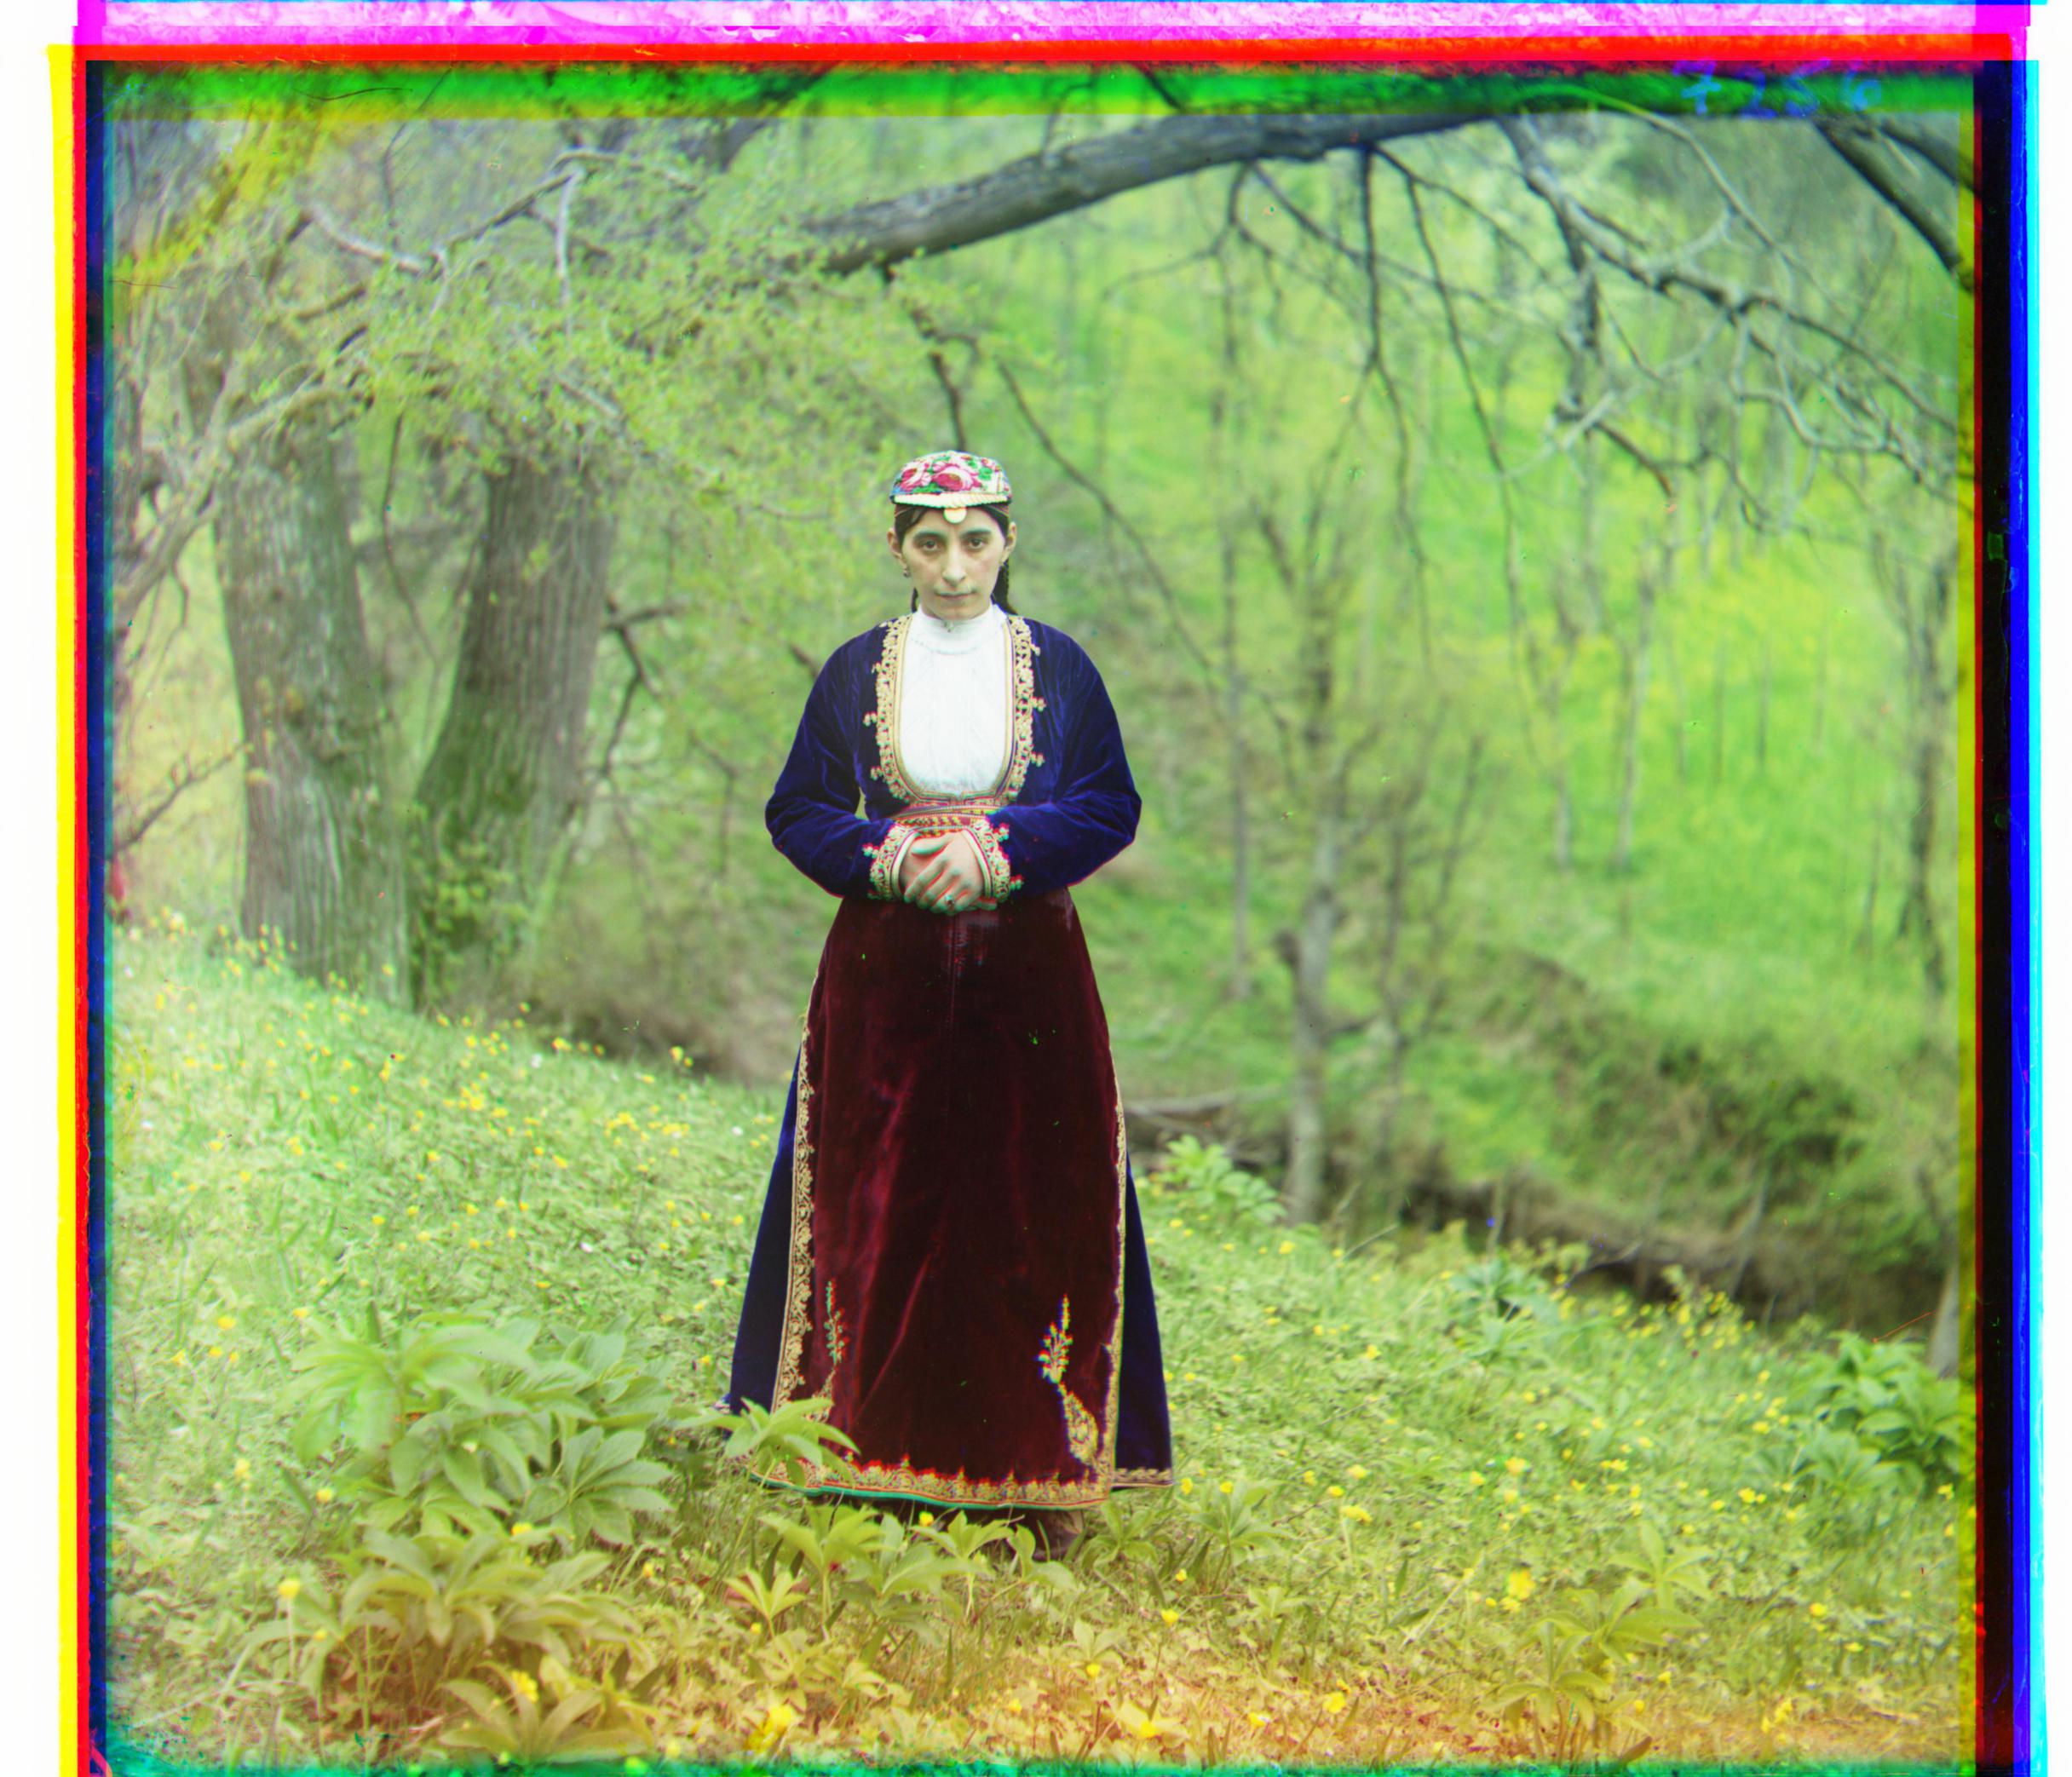
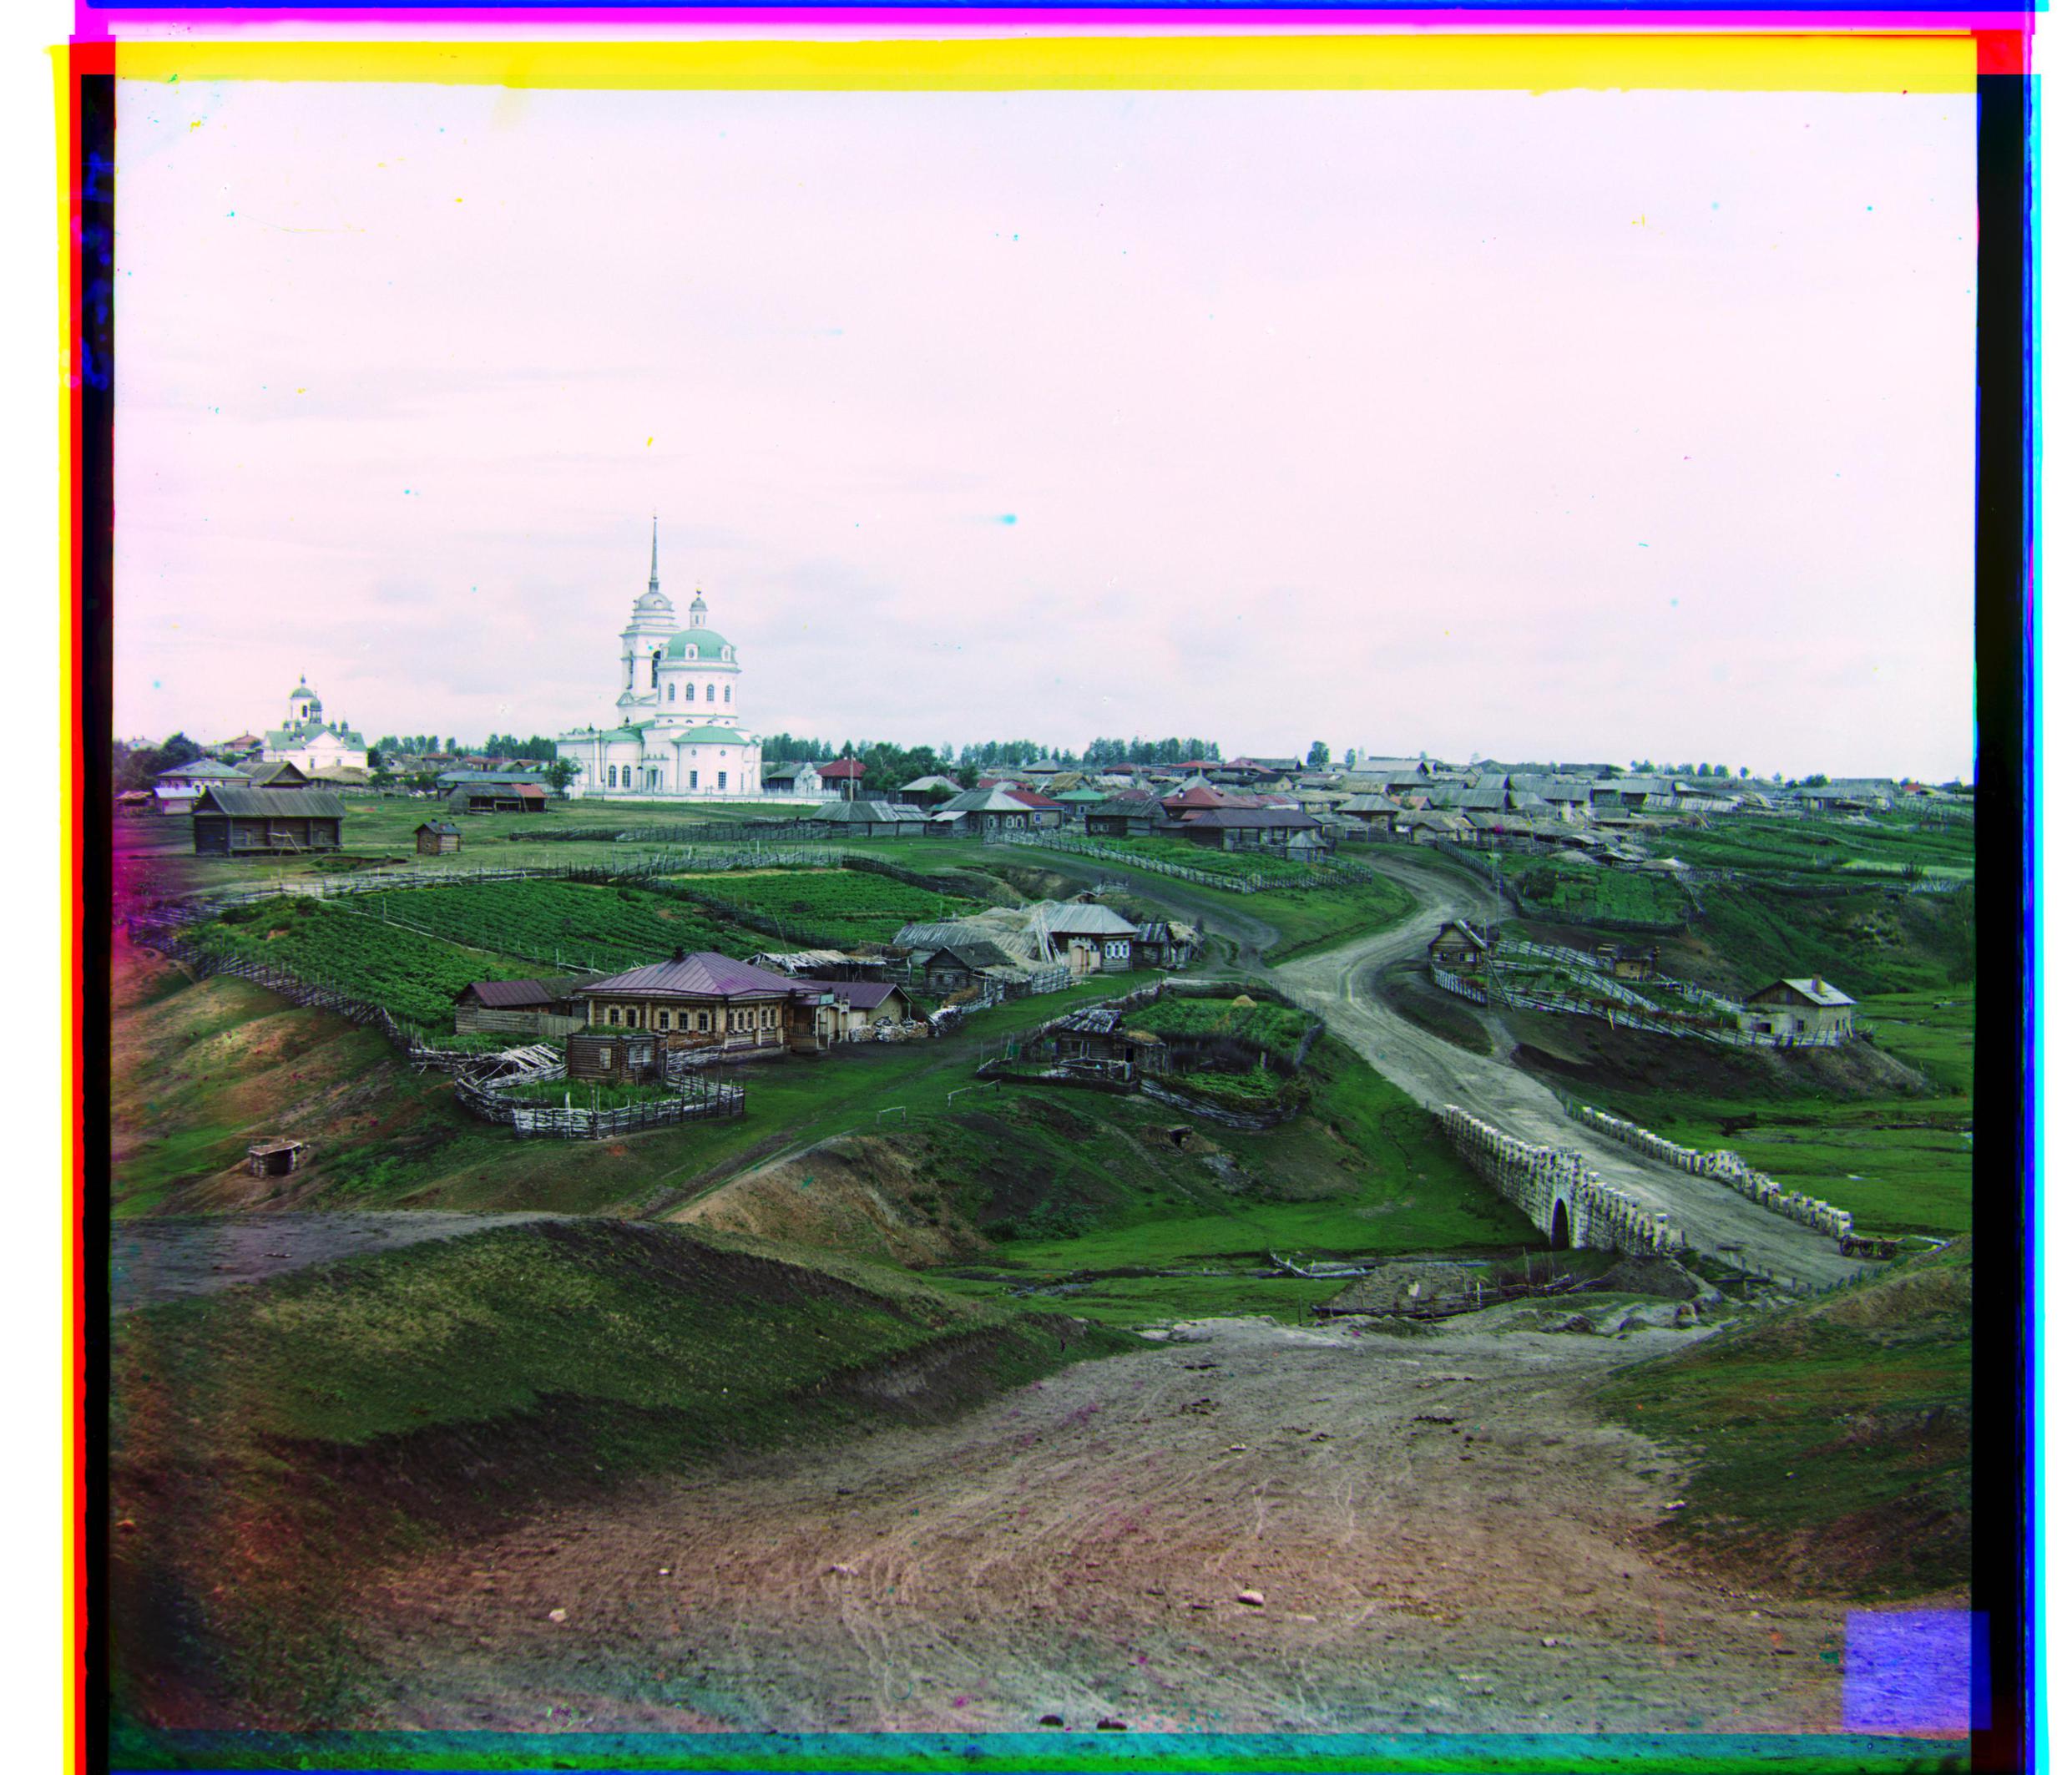
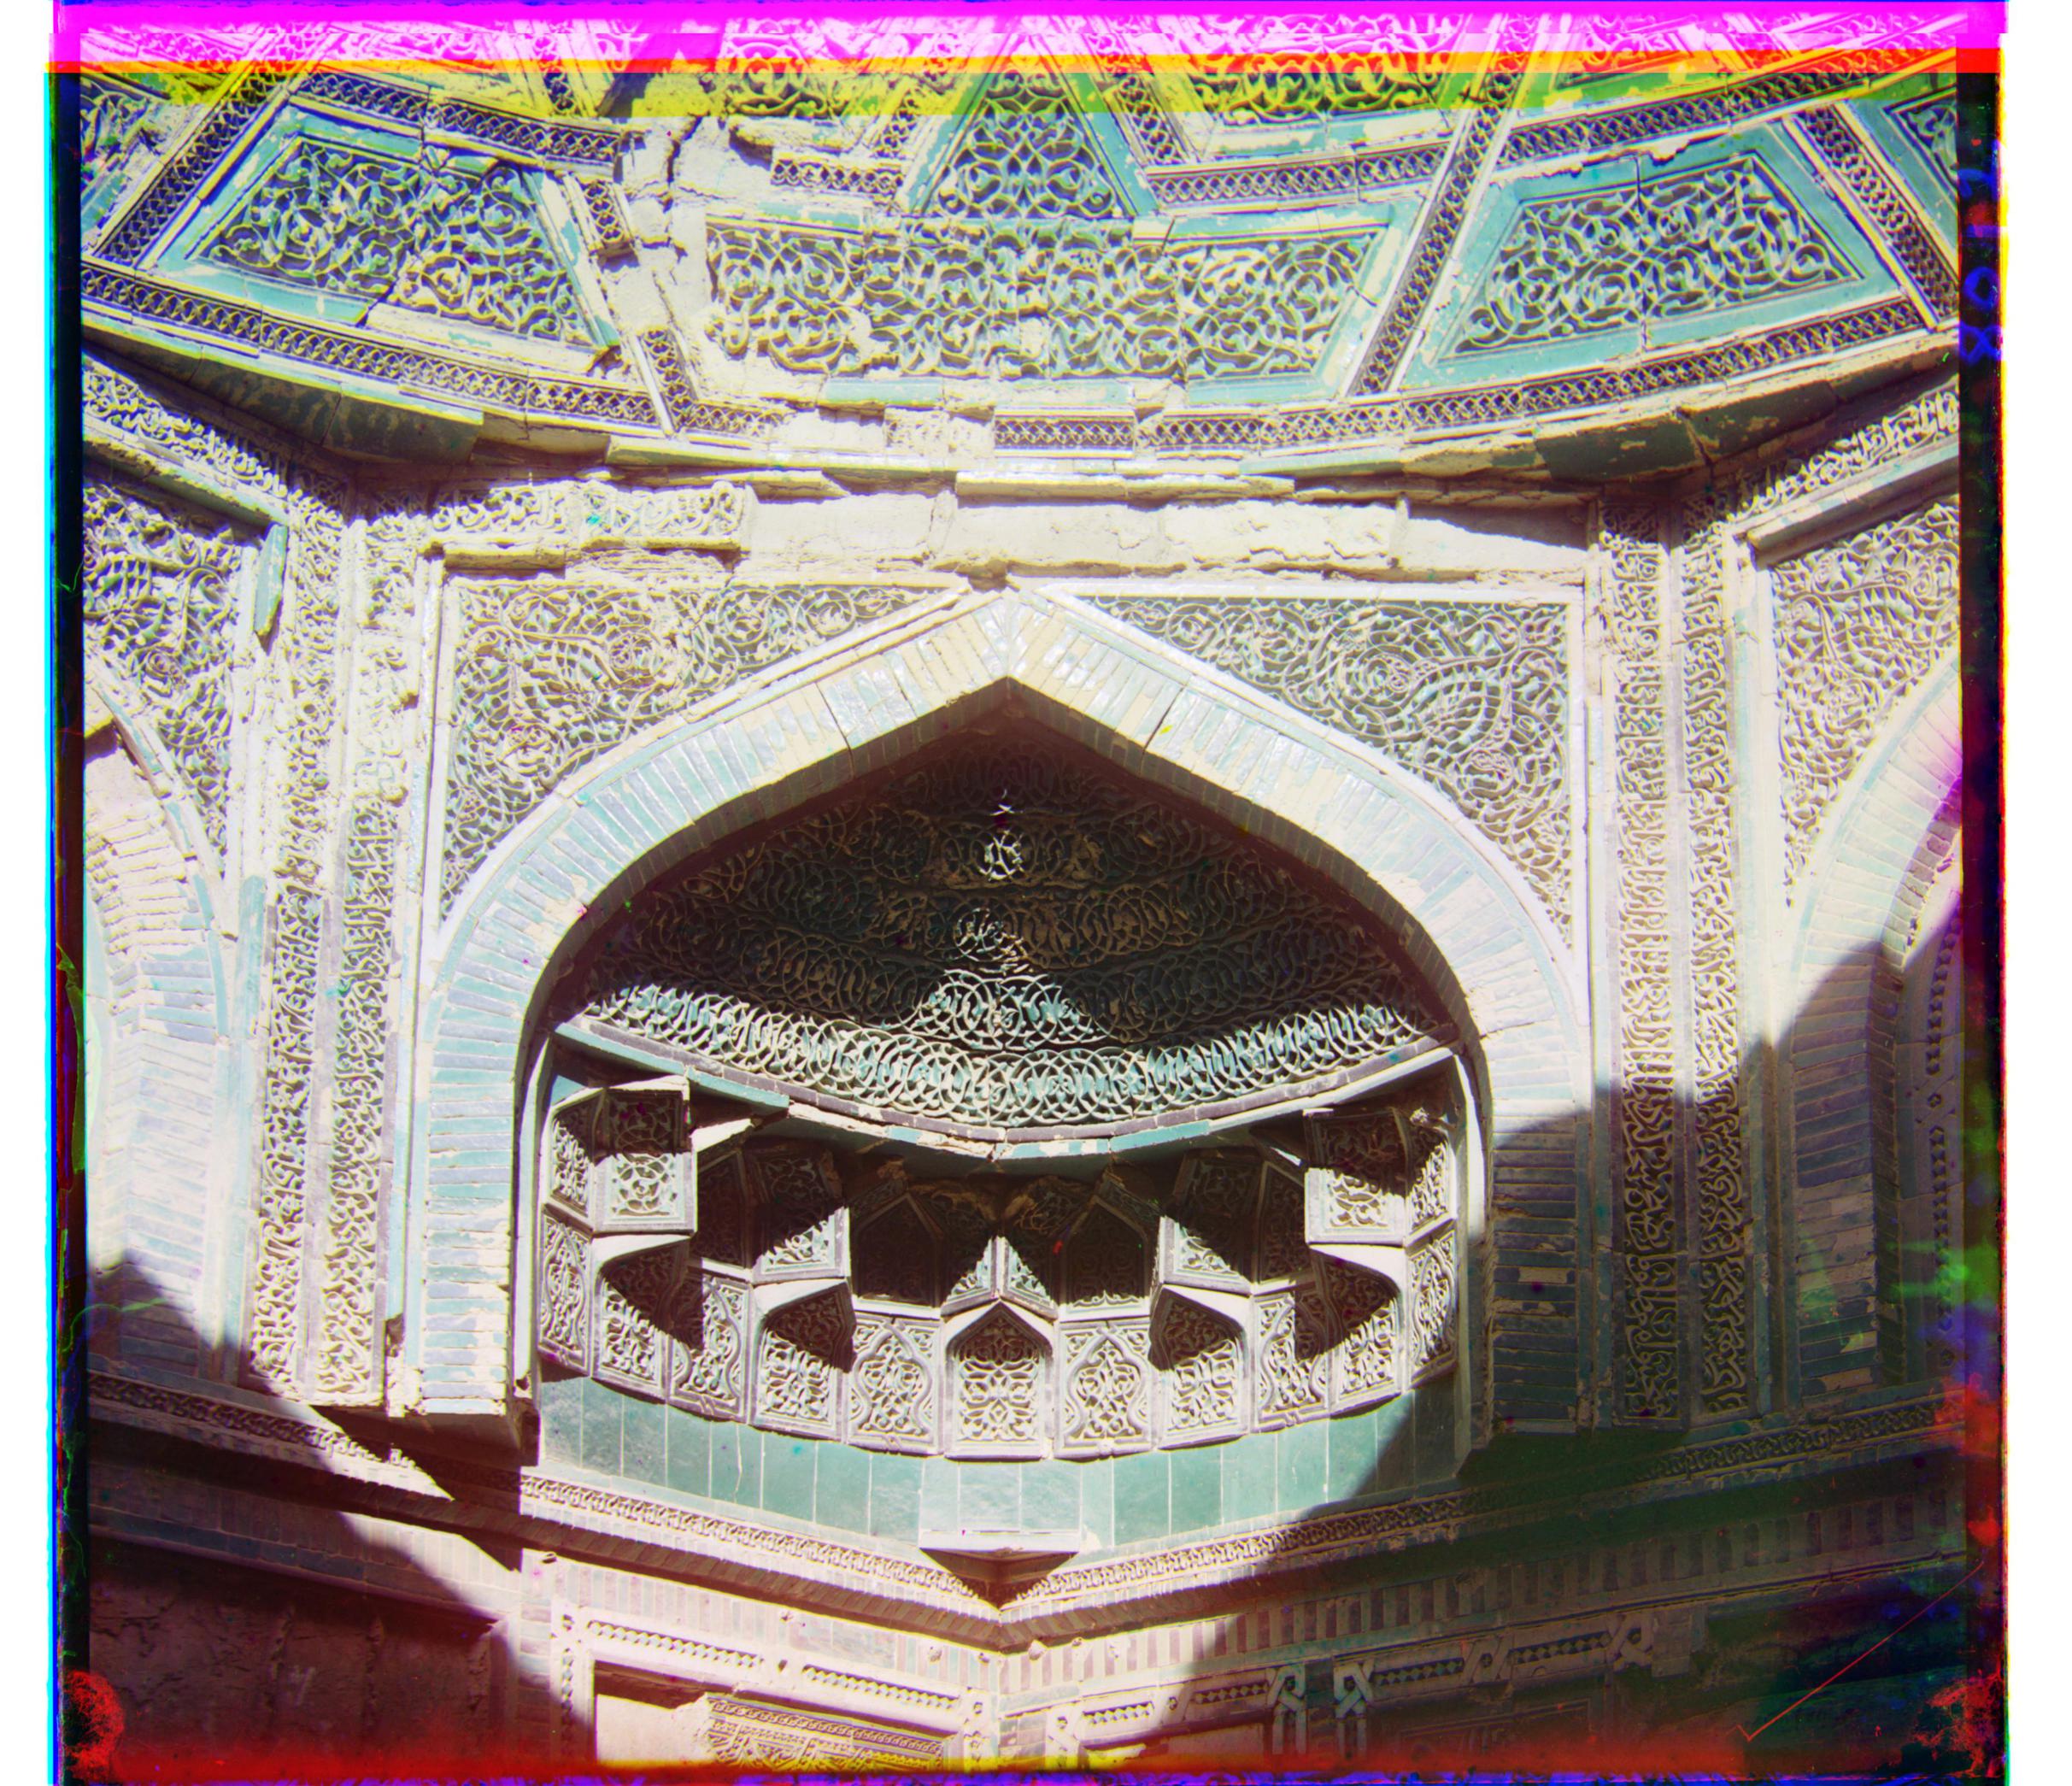
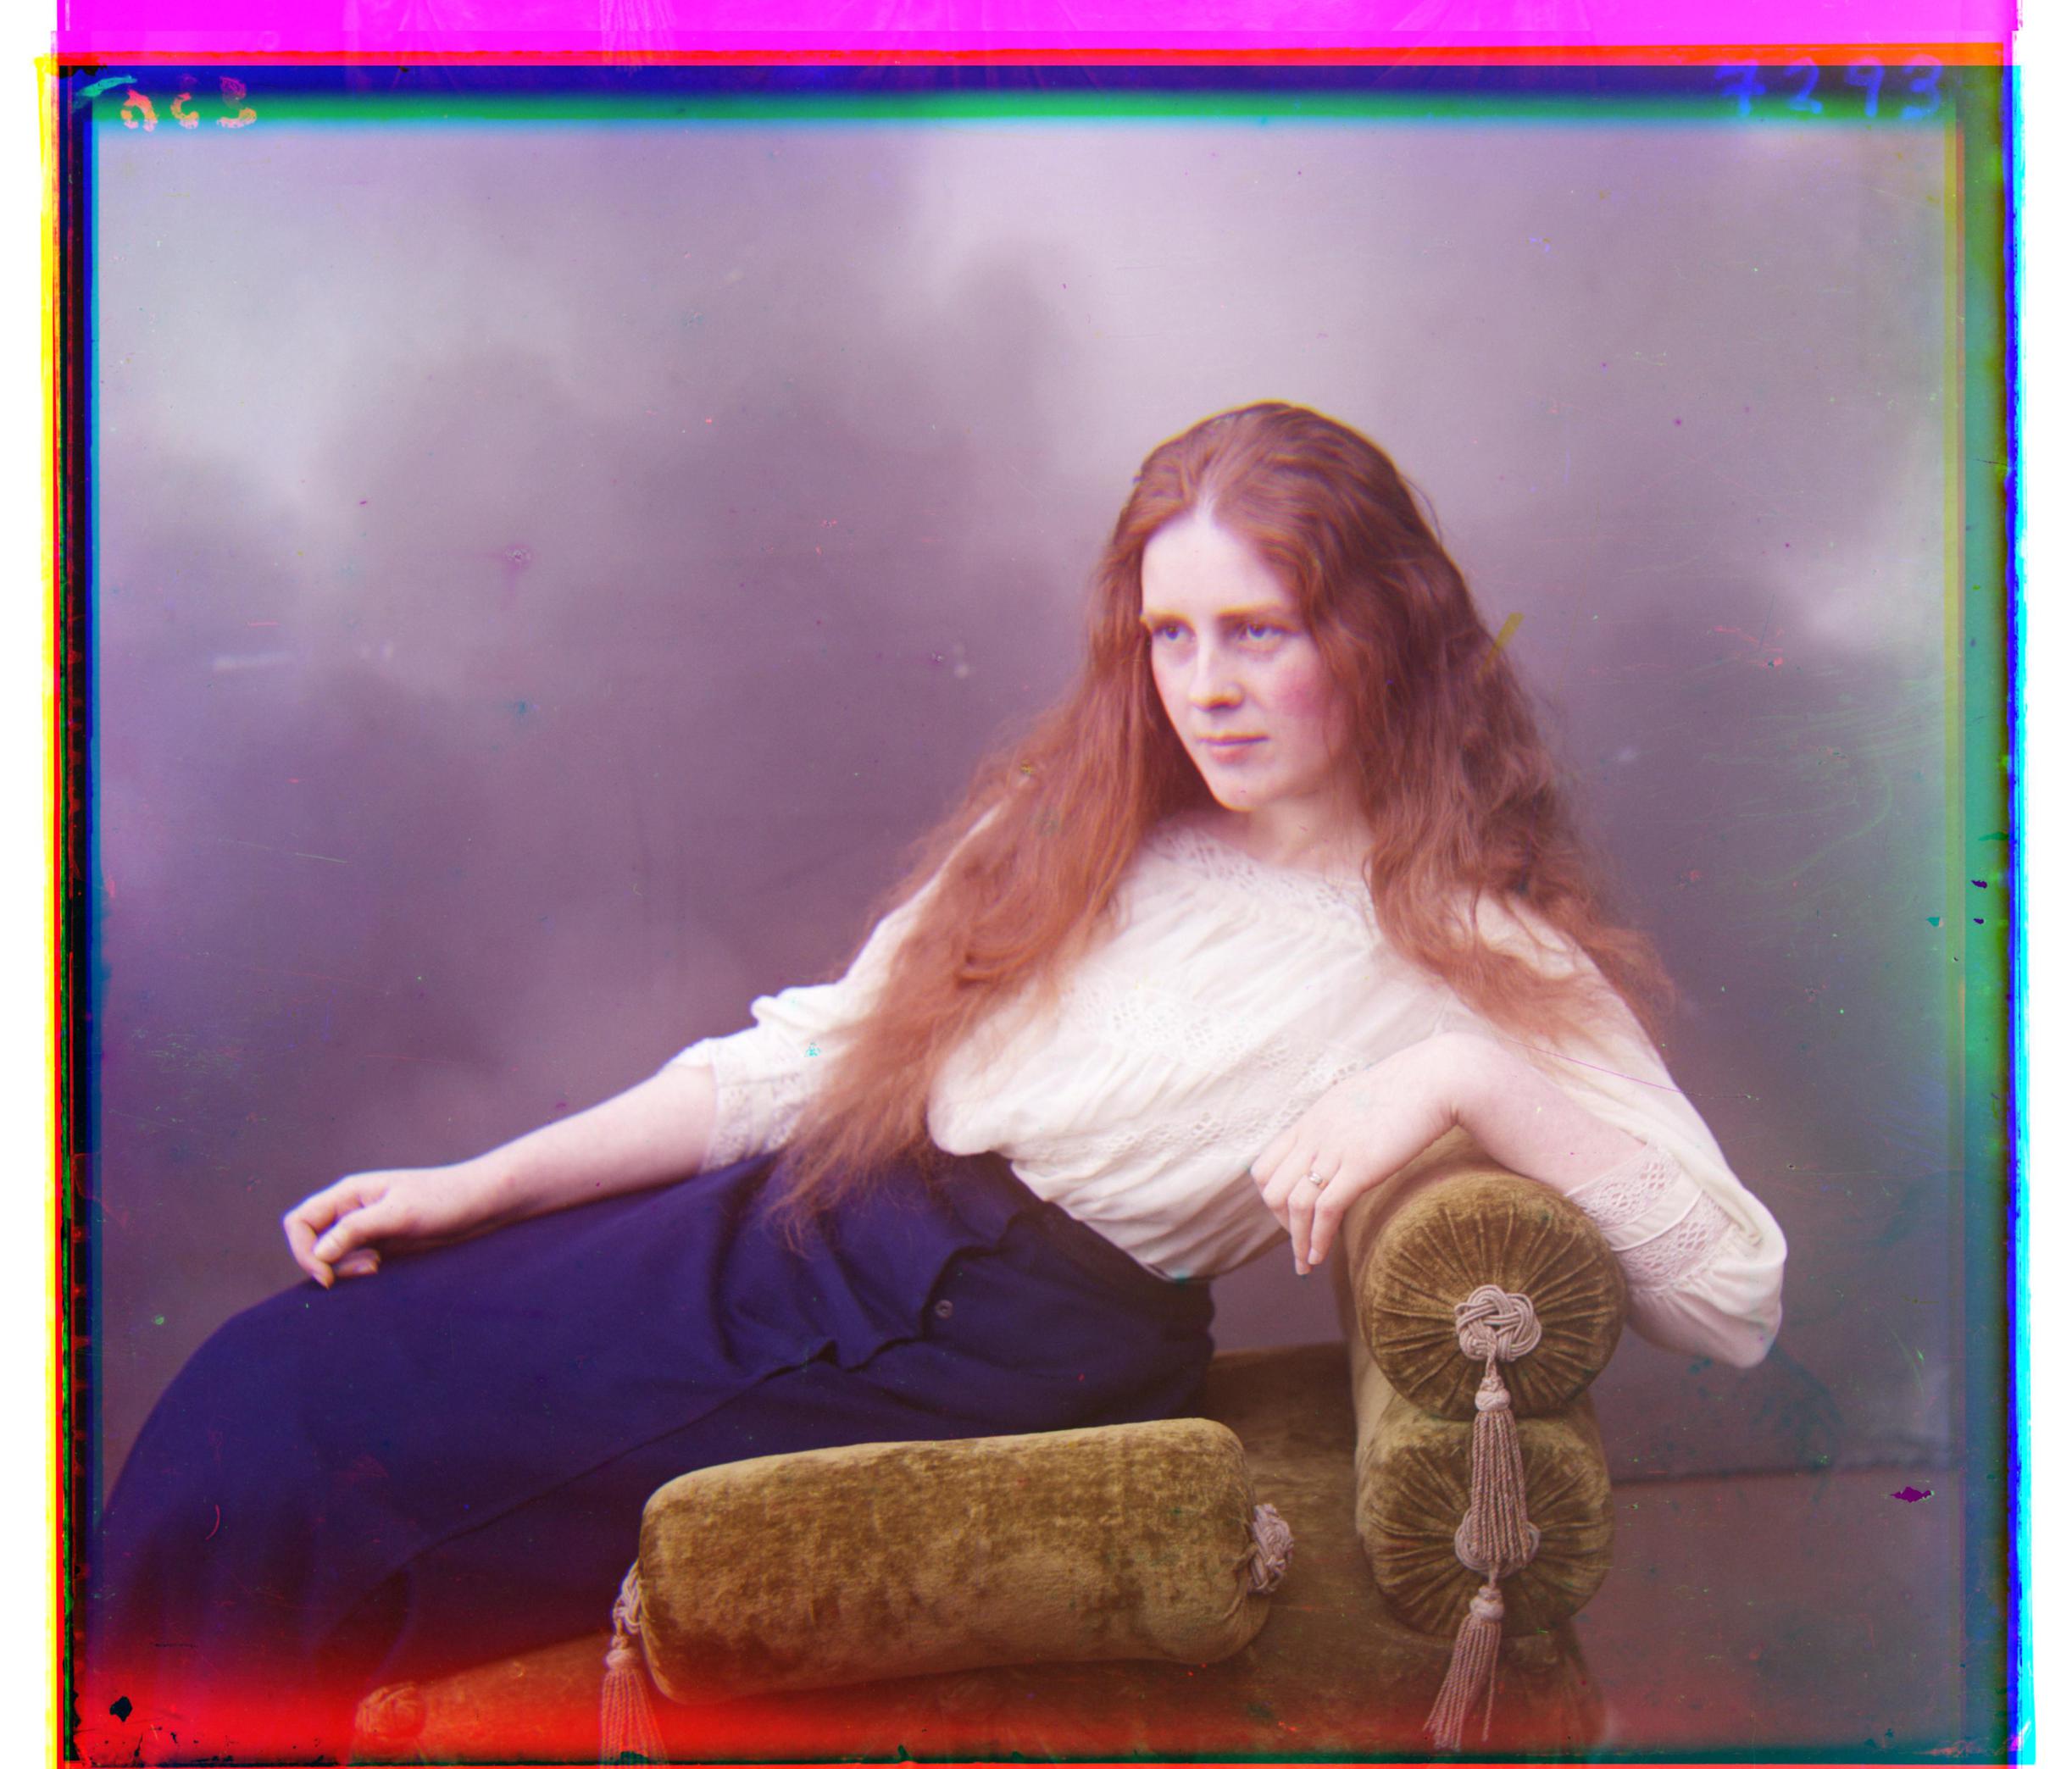
R: (106, 42) G: (49, 24)
R: (89, 23) G: (40, 17)
R: (119, 13) G: (56, 9)
R: (177, 14) G: (80, 10)
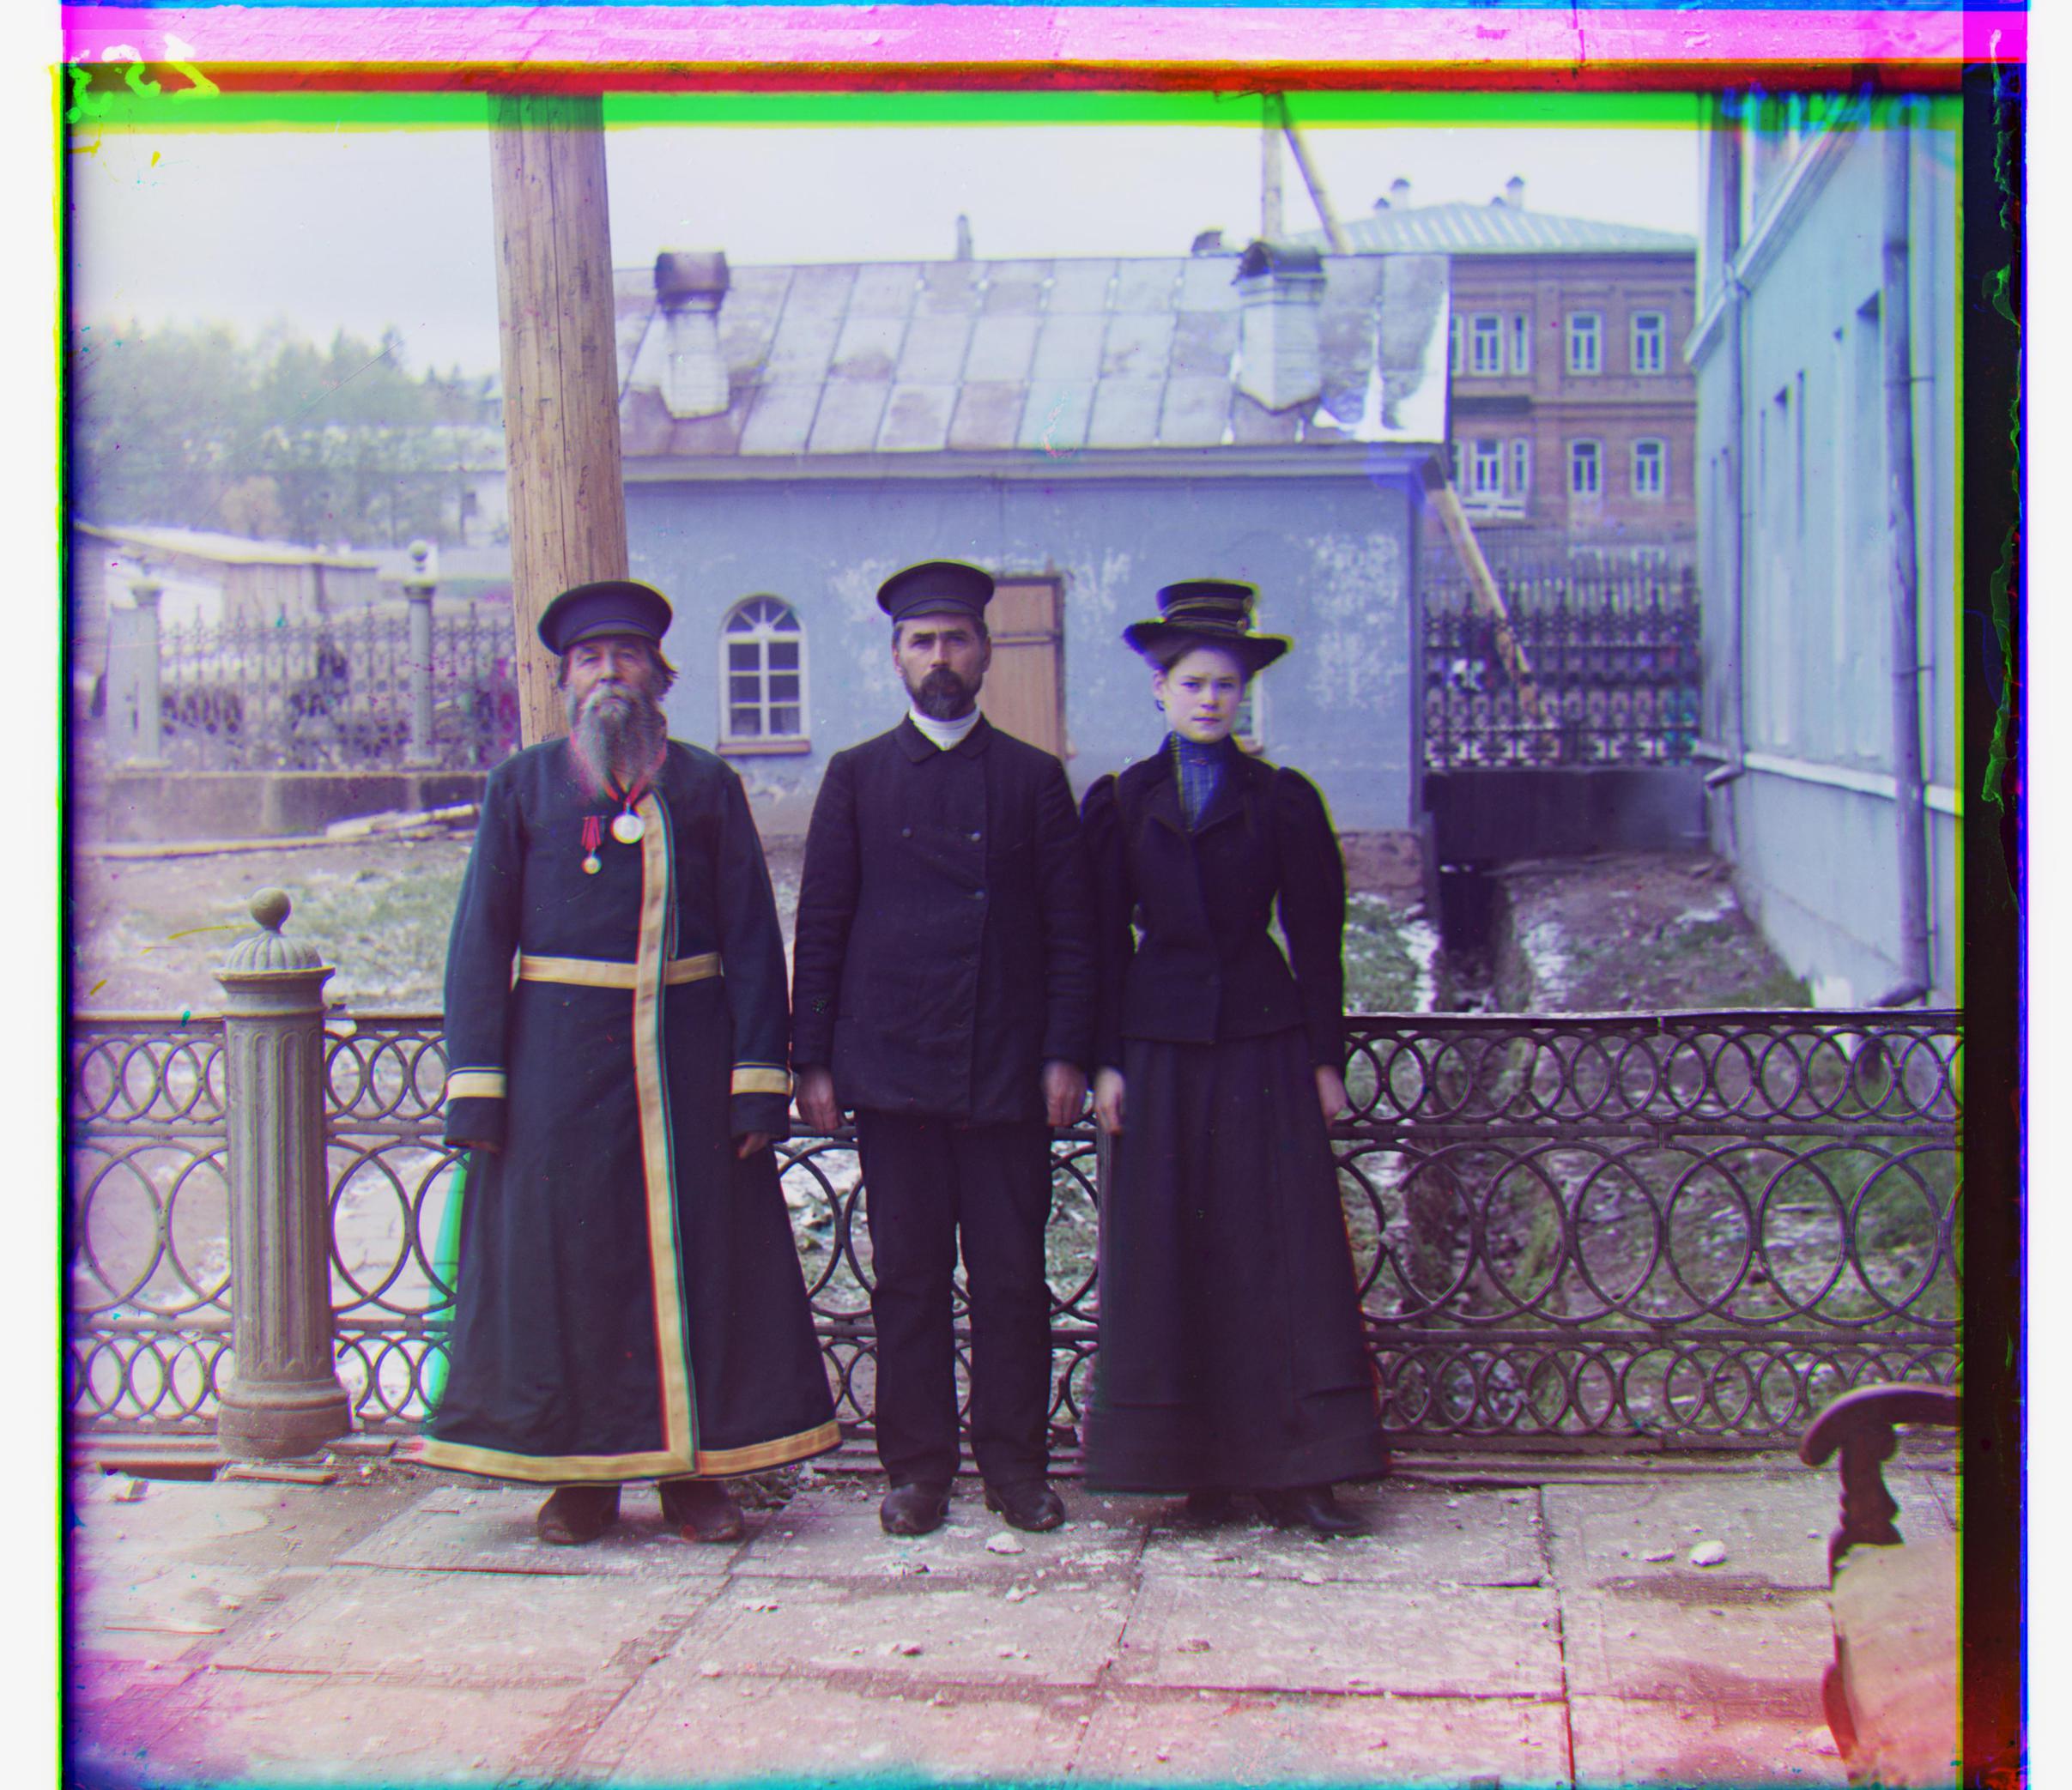

R: (108, 36) G: (51, 27)
R: (113, 11) G: (53, 13)
R: (86, 33) G: (42, 8)
R: (137, 22) G: (64, 11)
R: (105, -13) G: (53, -1)
All displacements are in form (dy, dx)
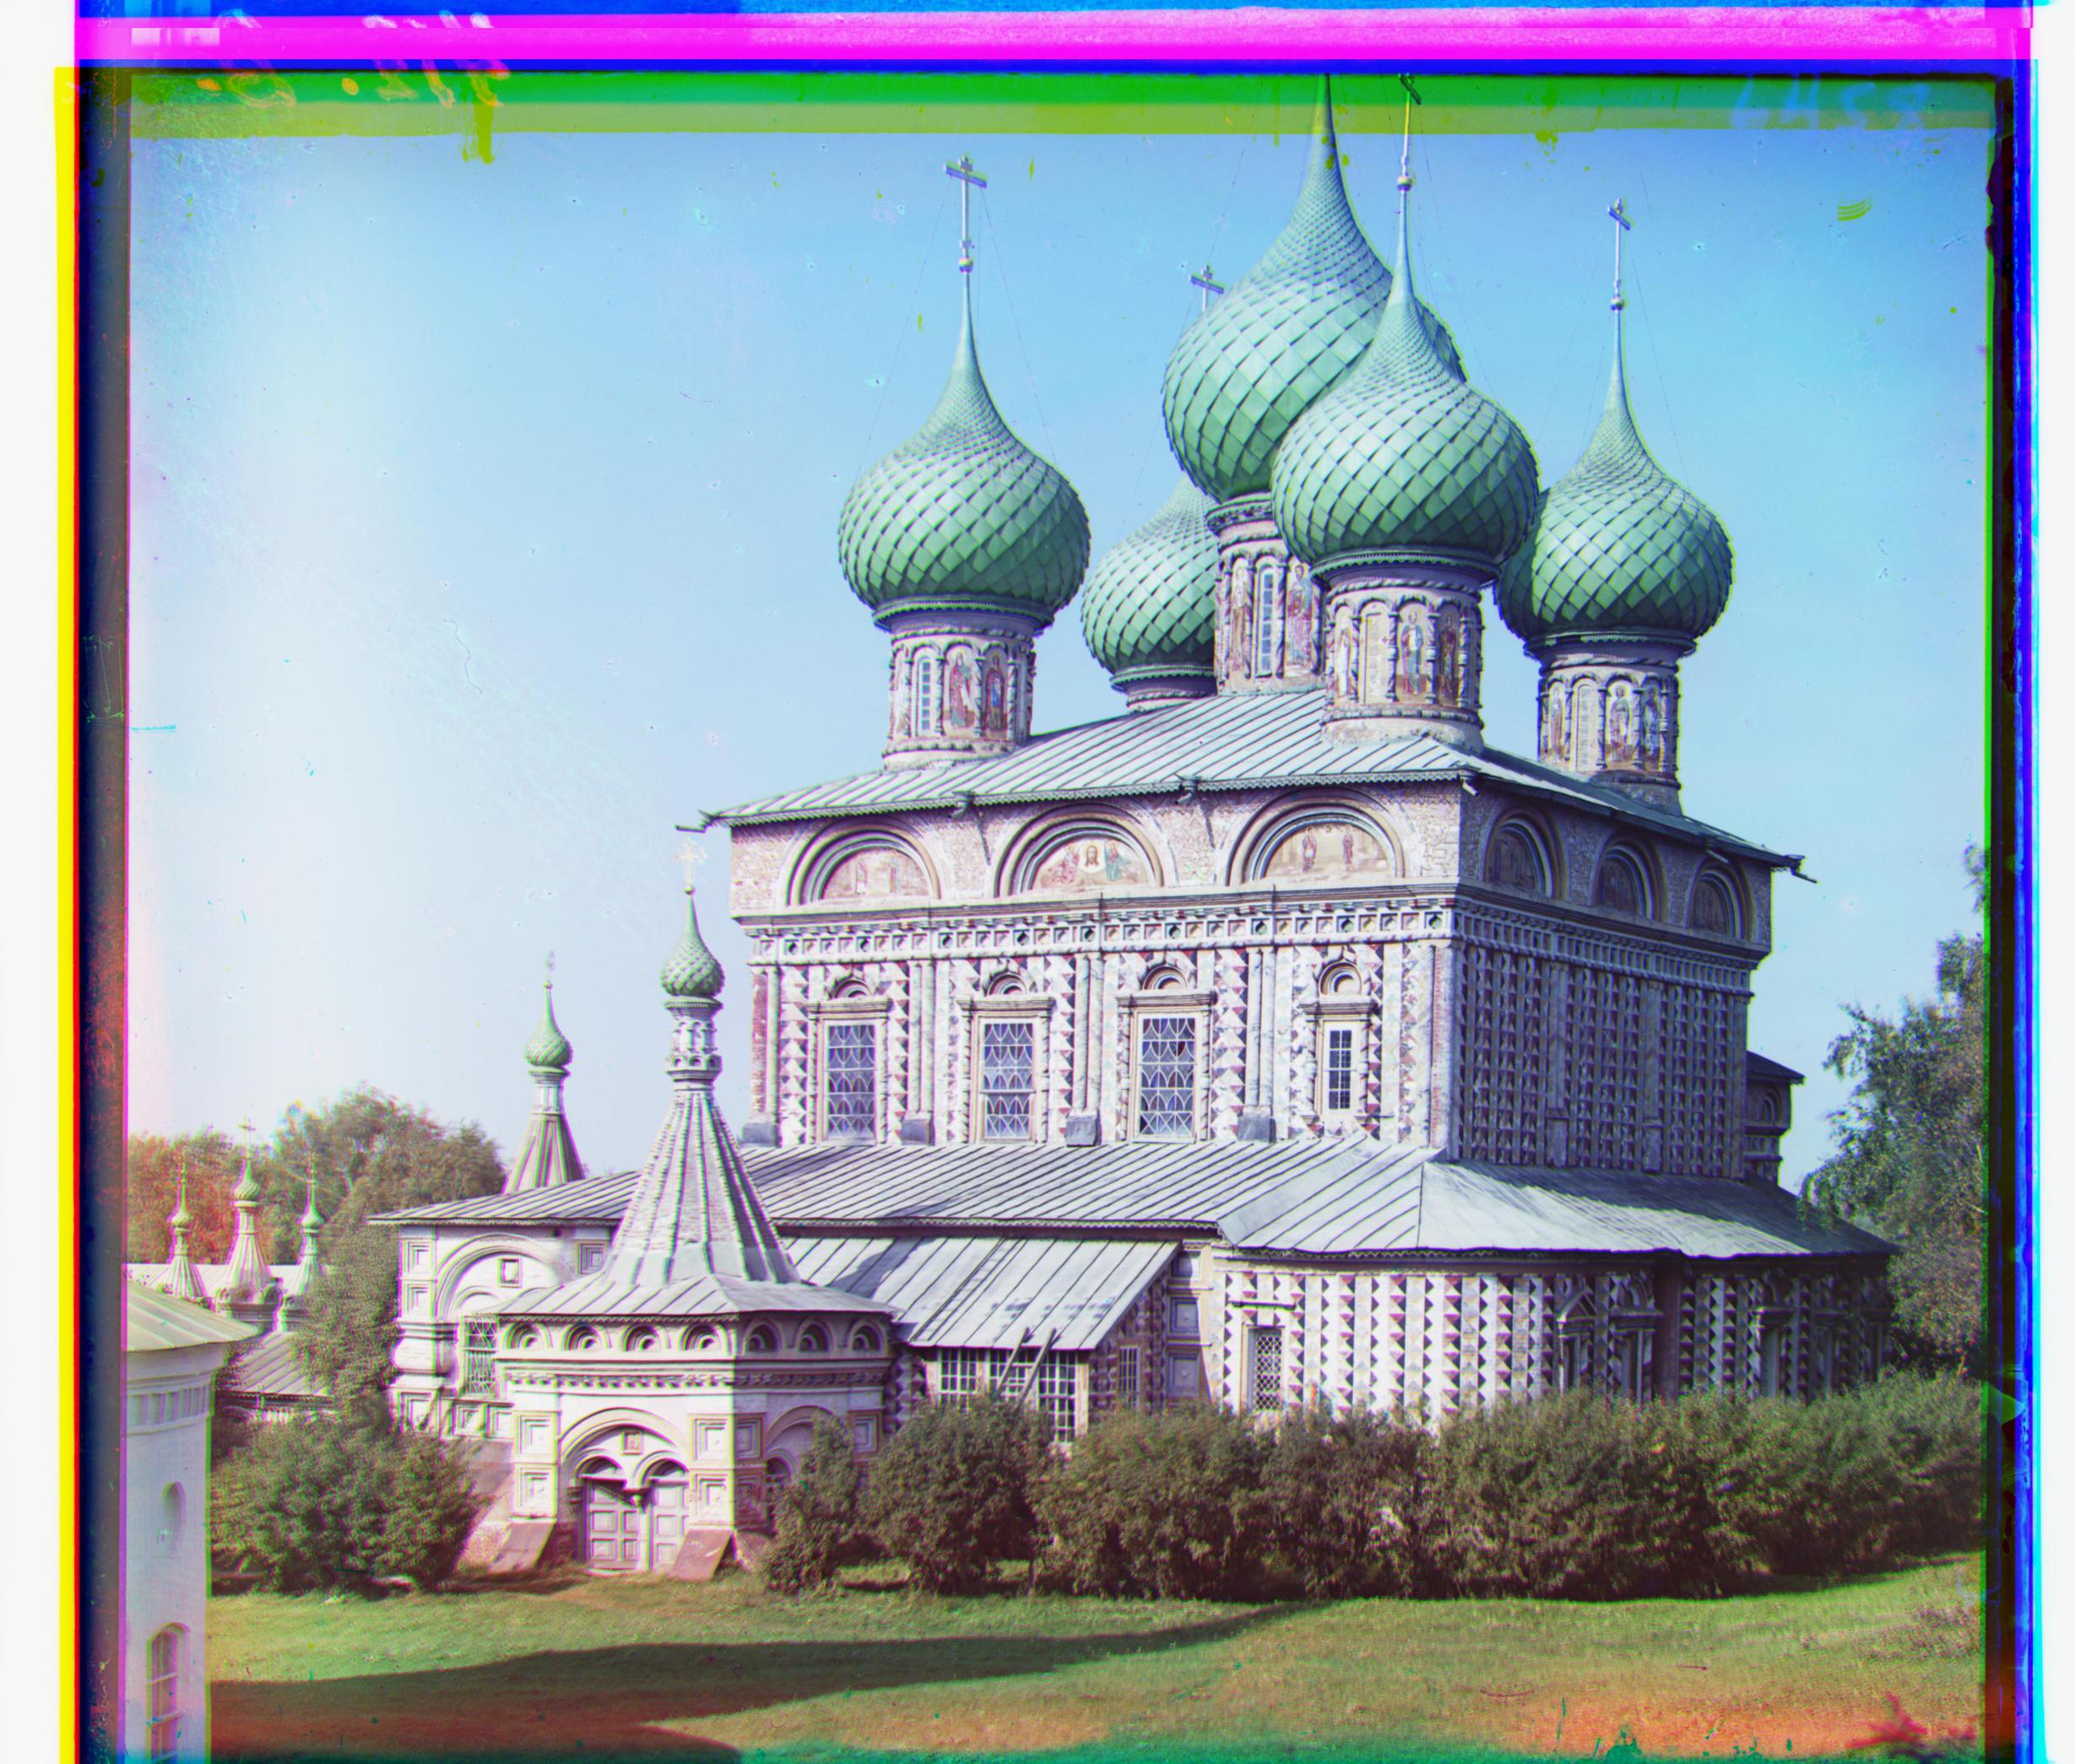
Additional Examples for Image Pyramid
Click on the file names to go to the collection source

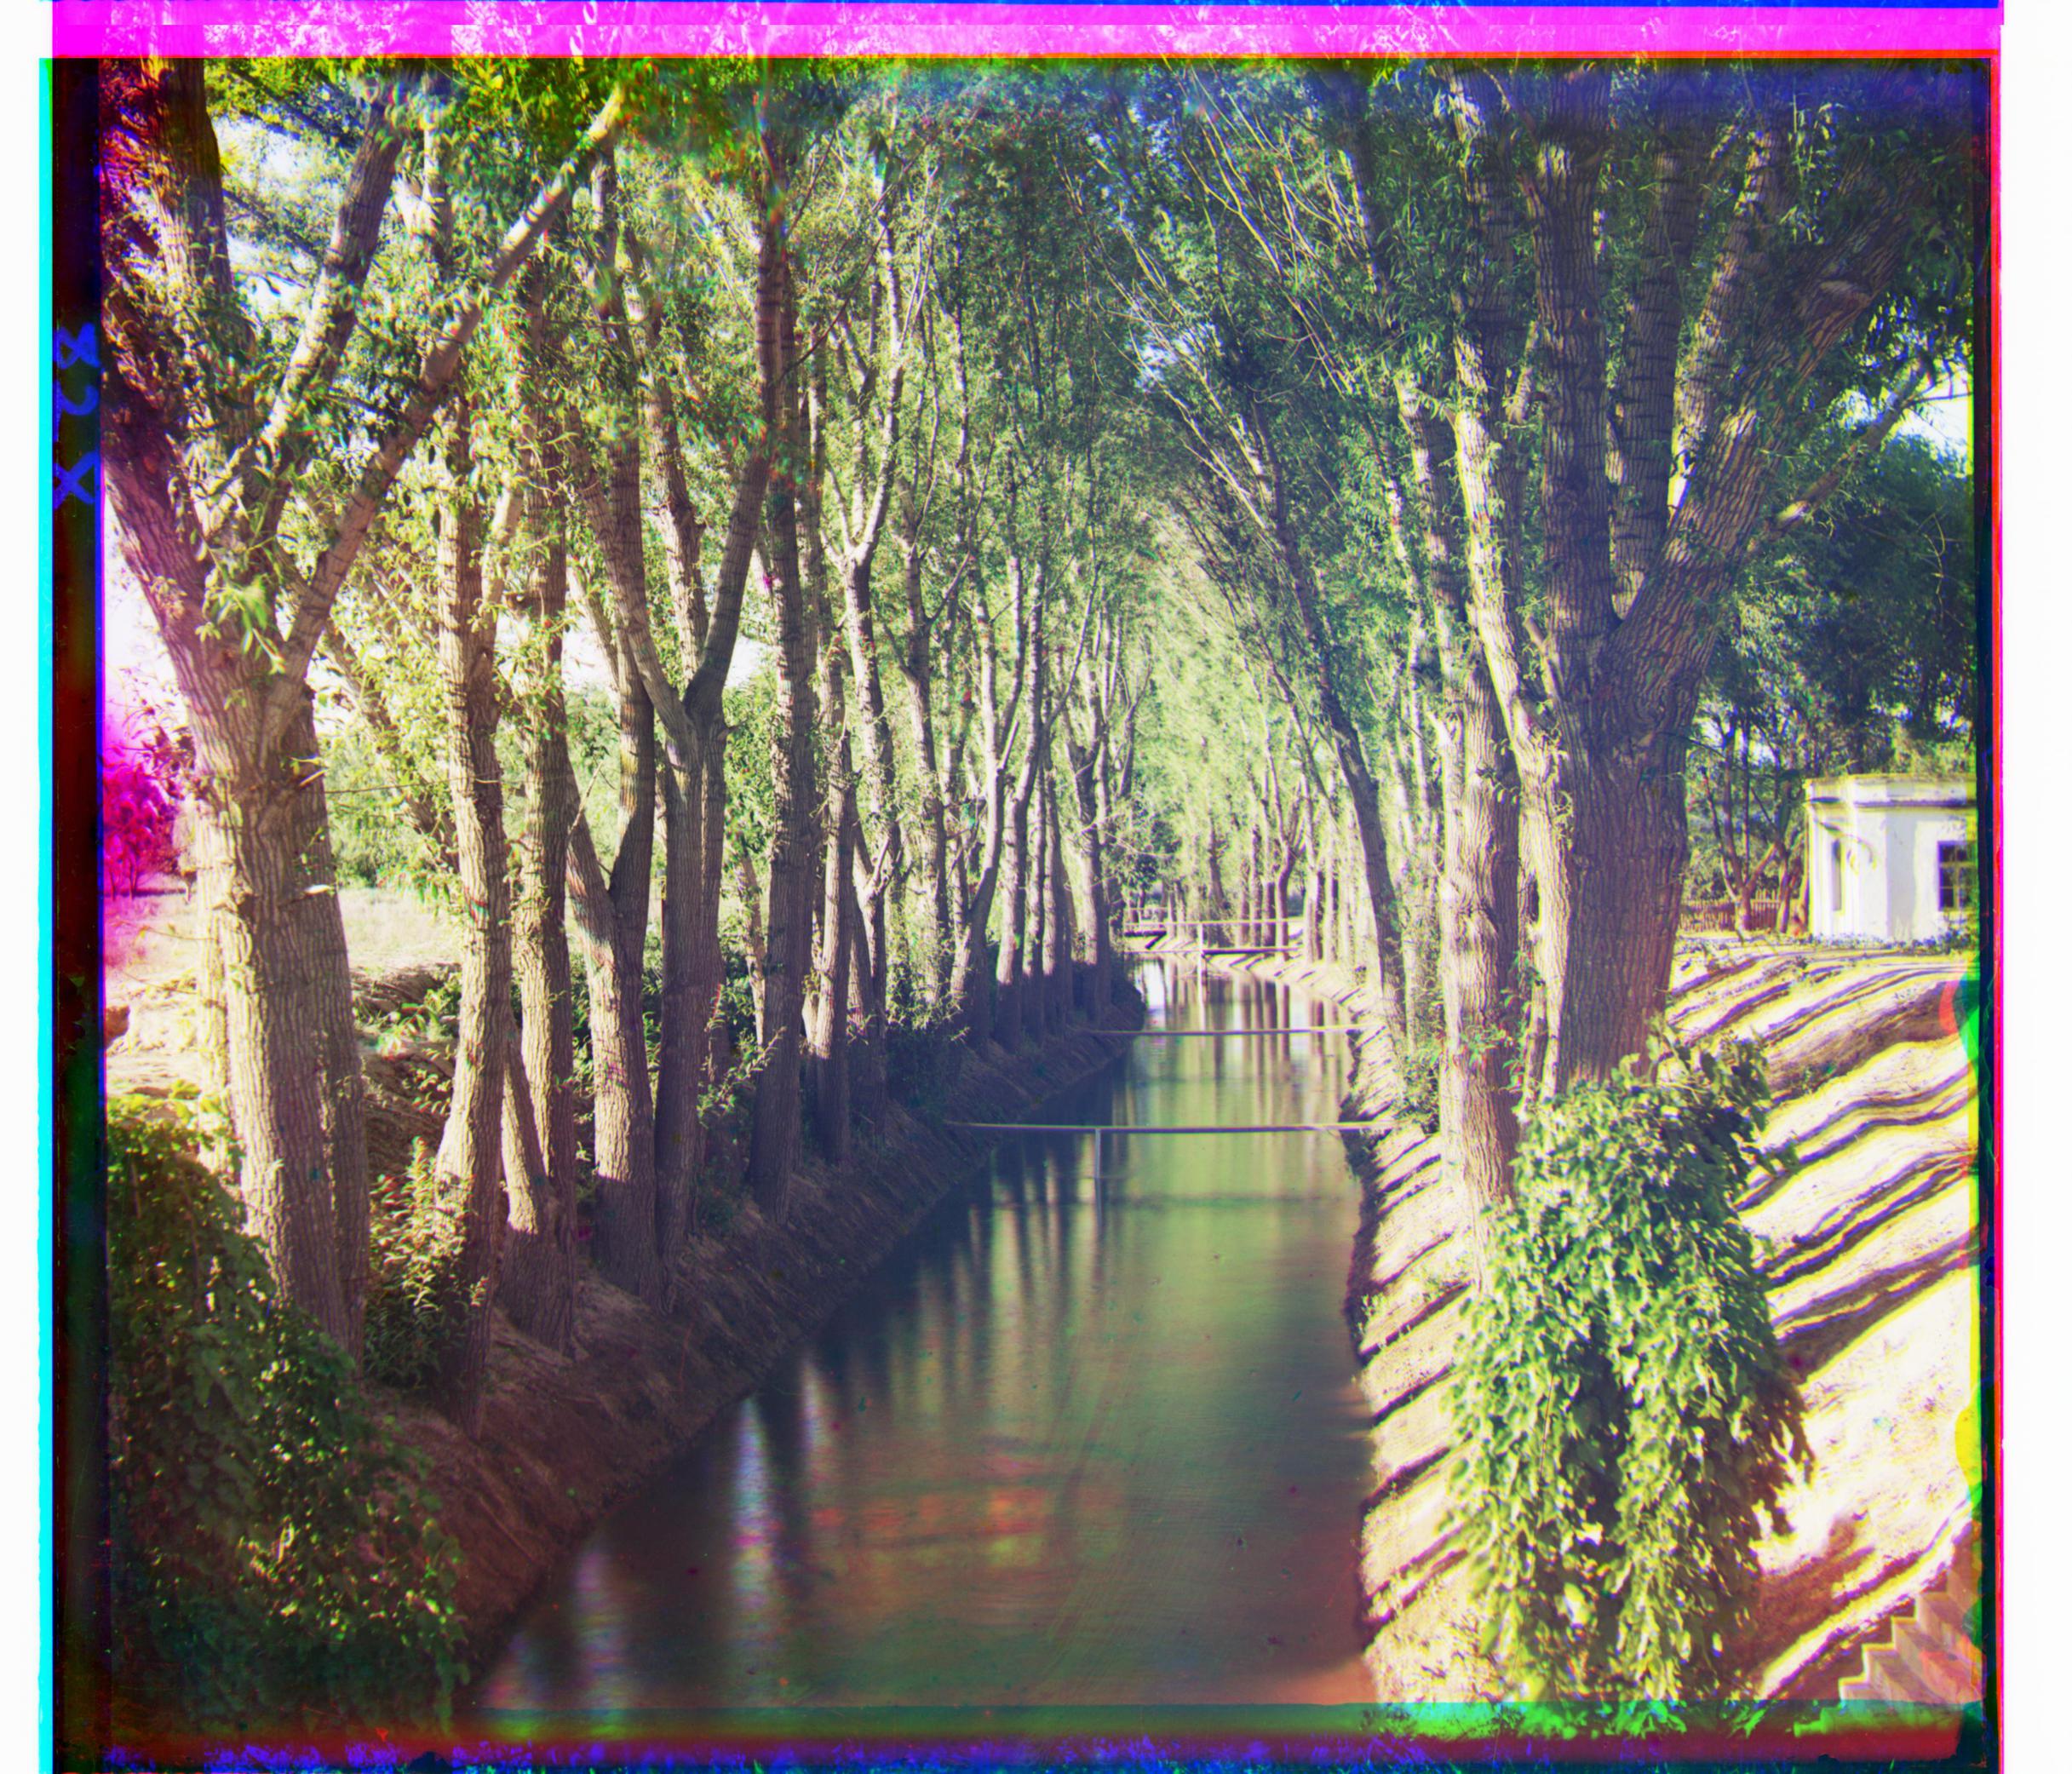
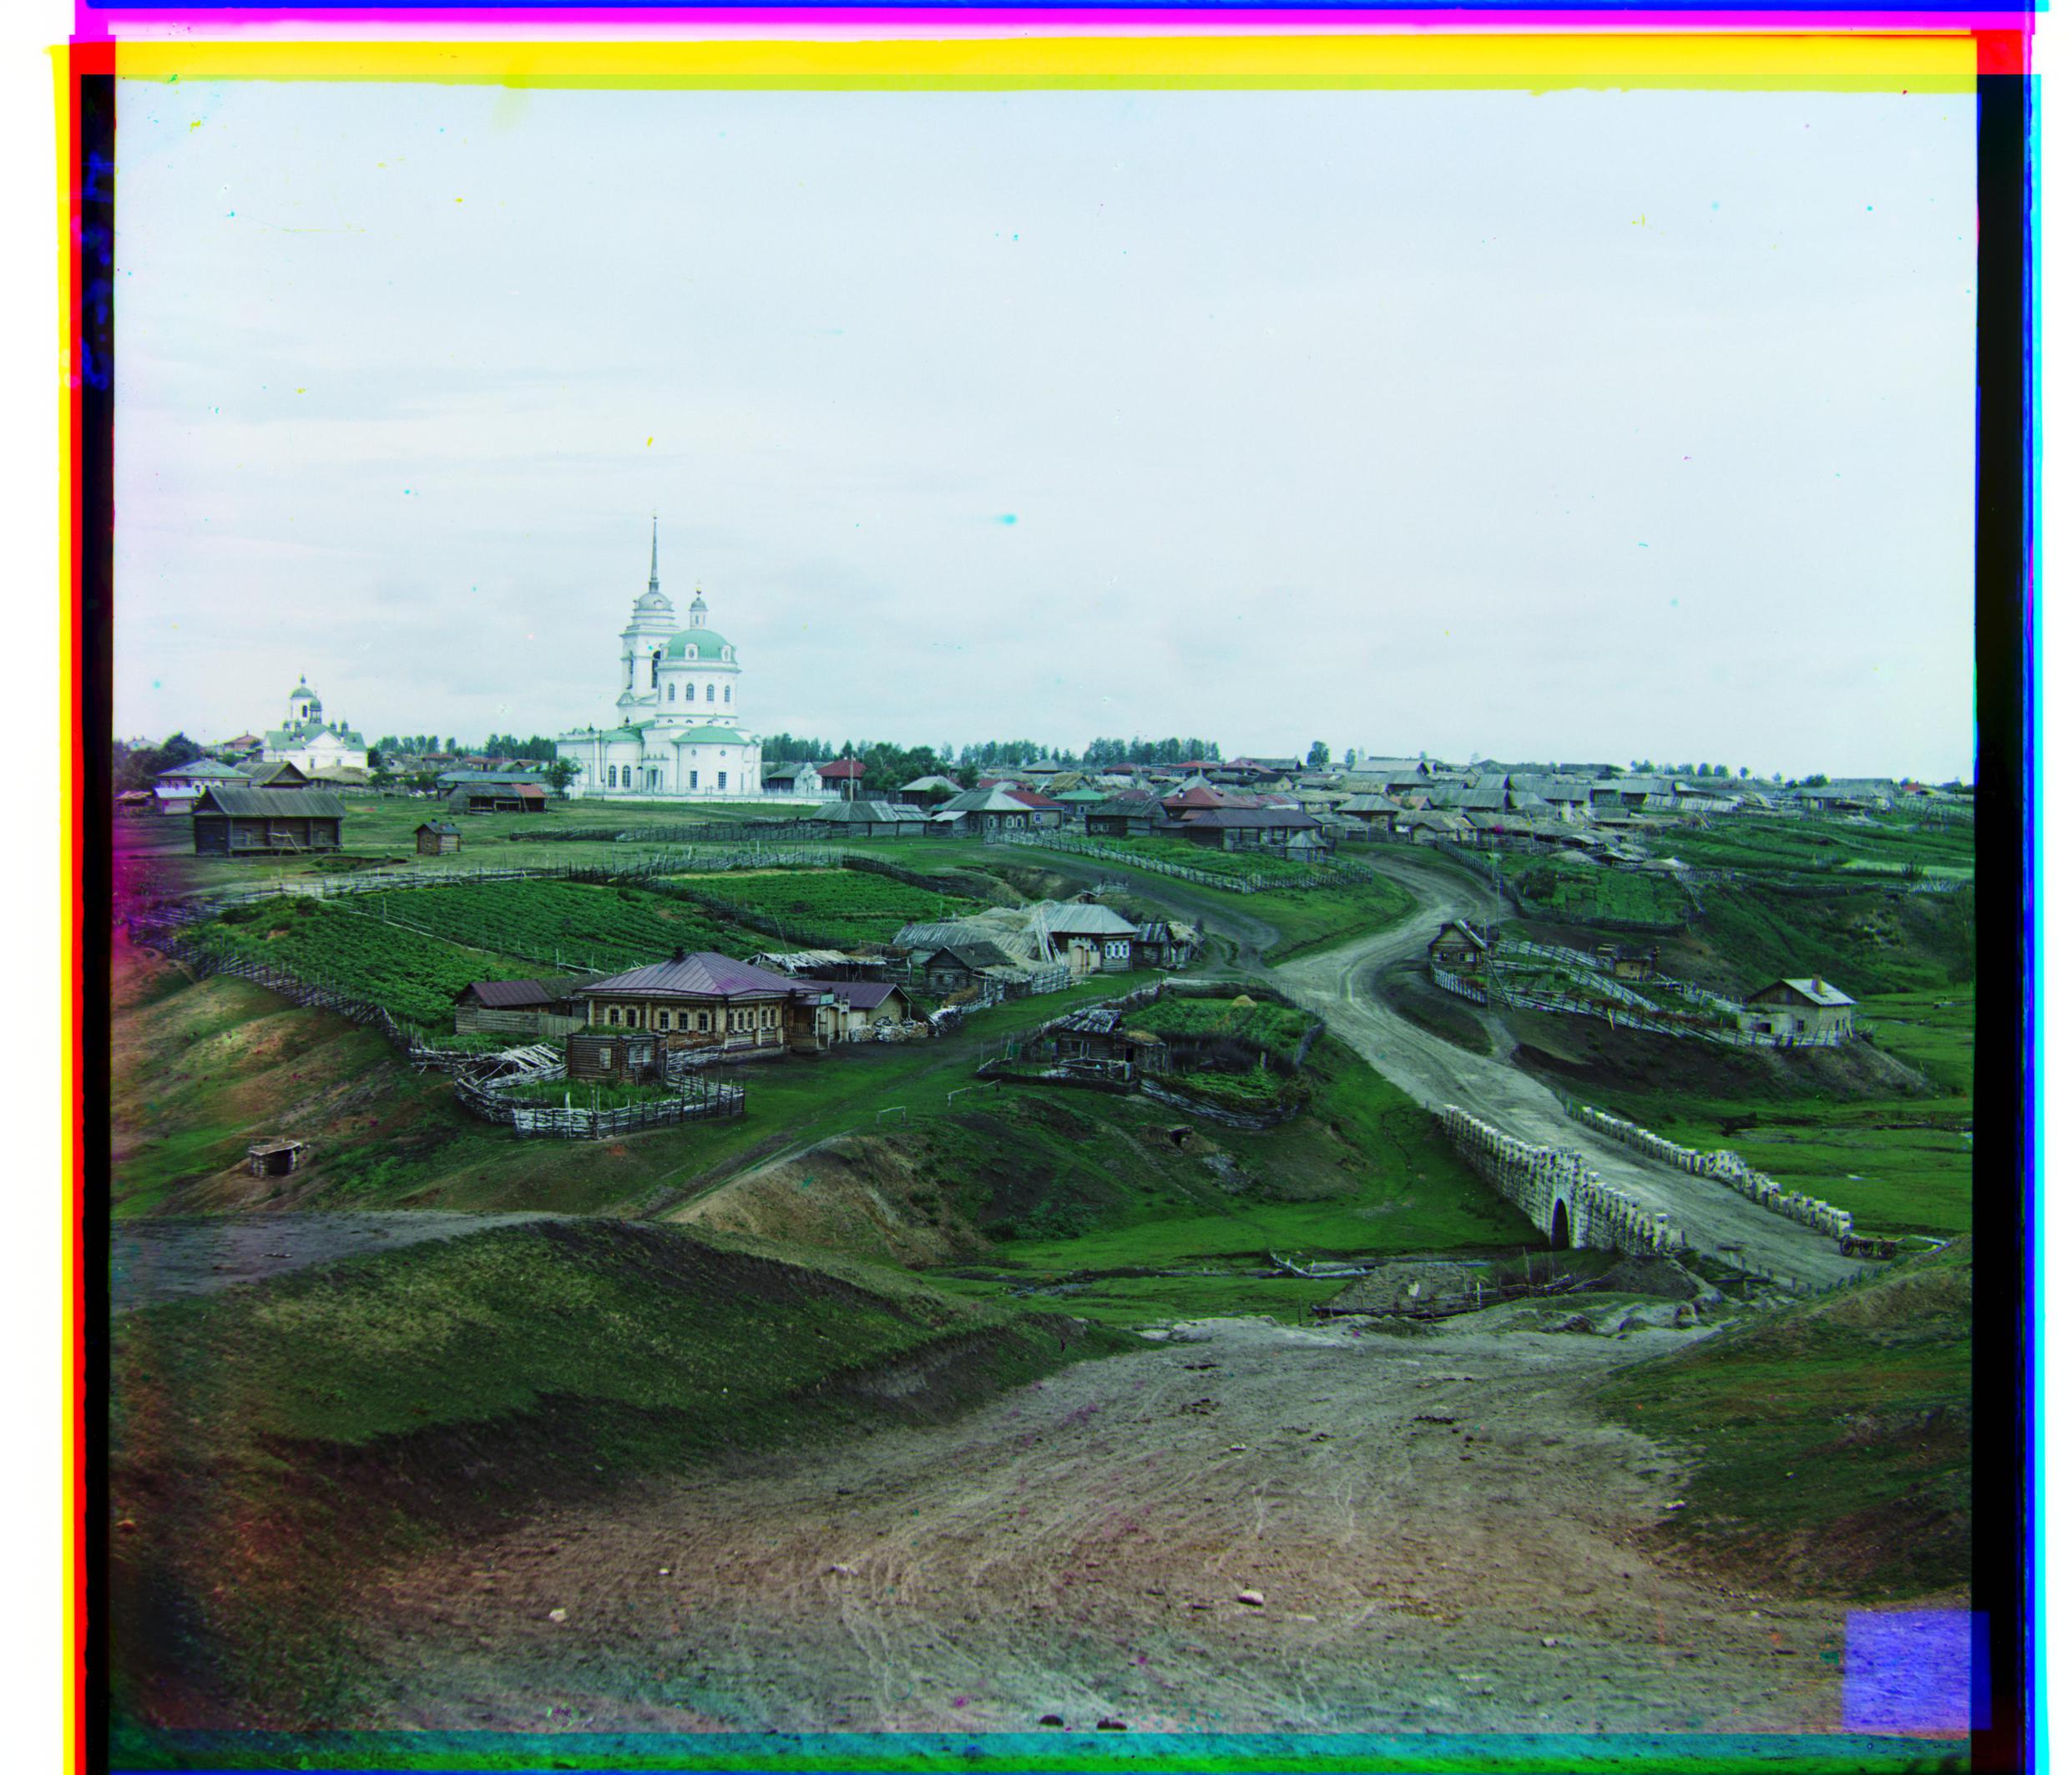
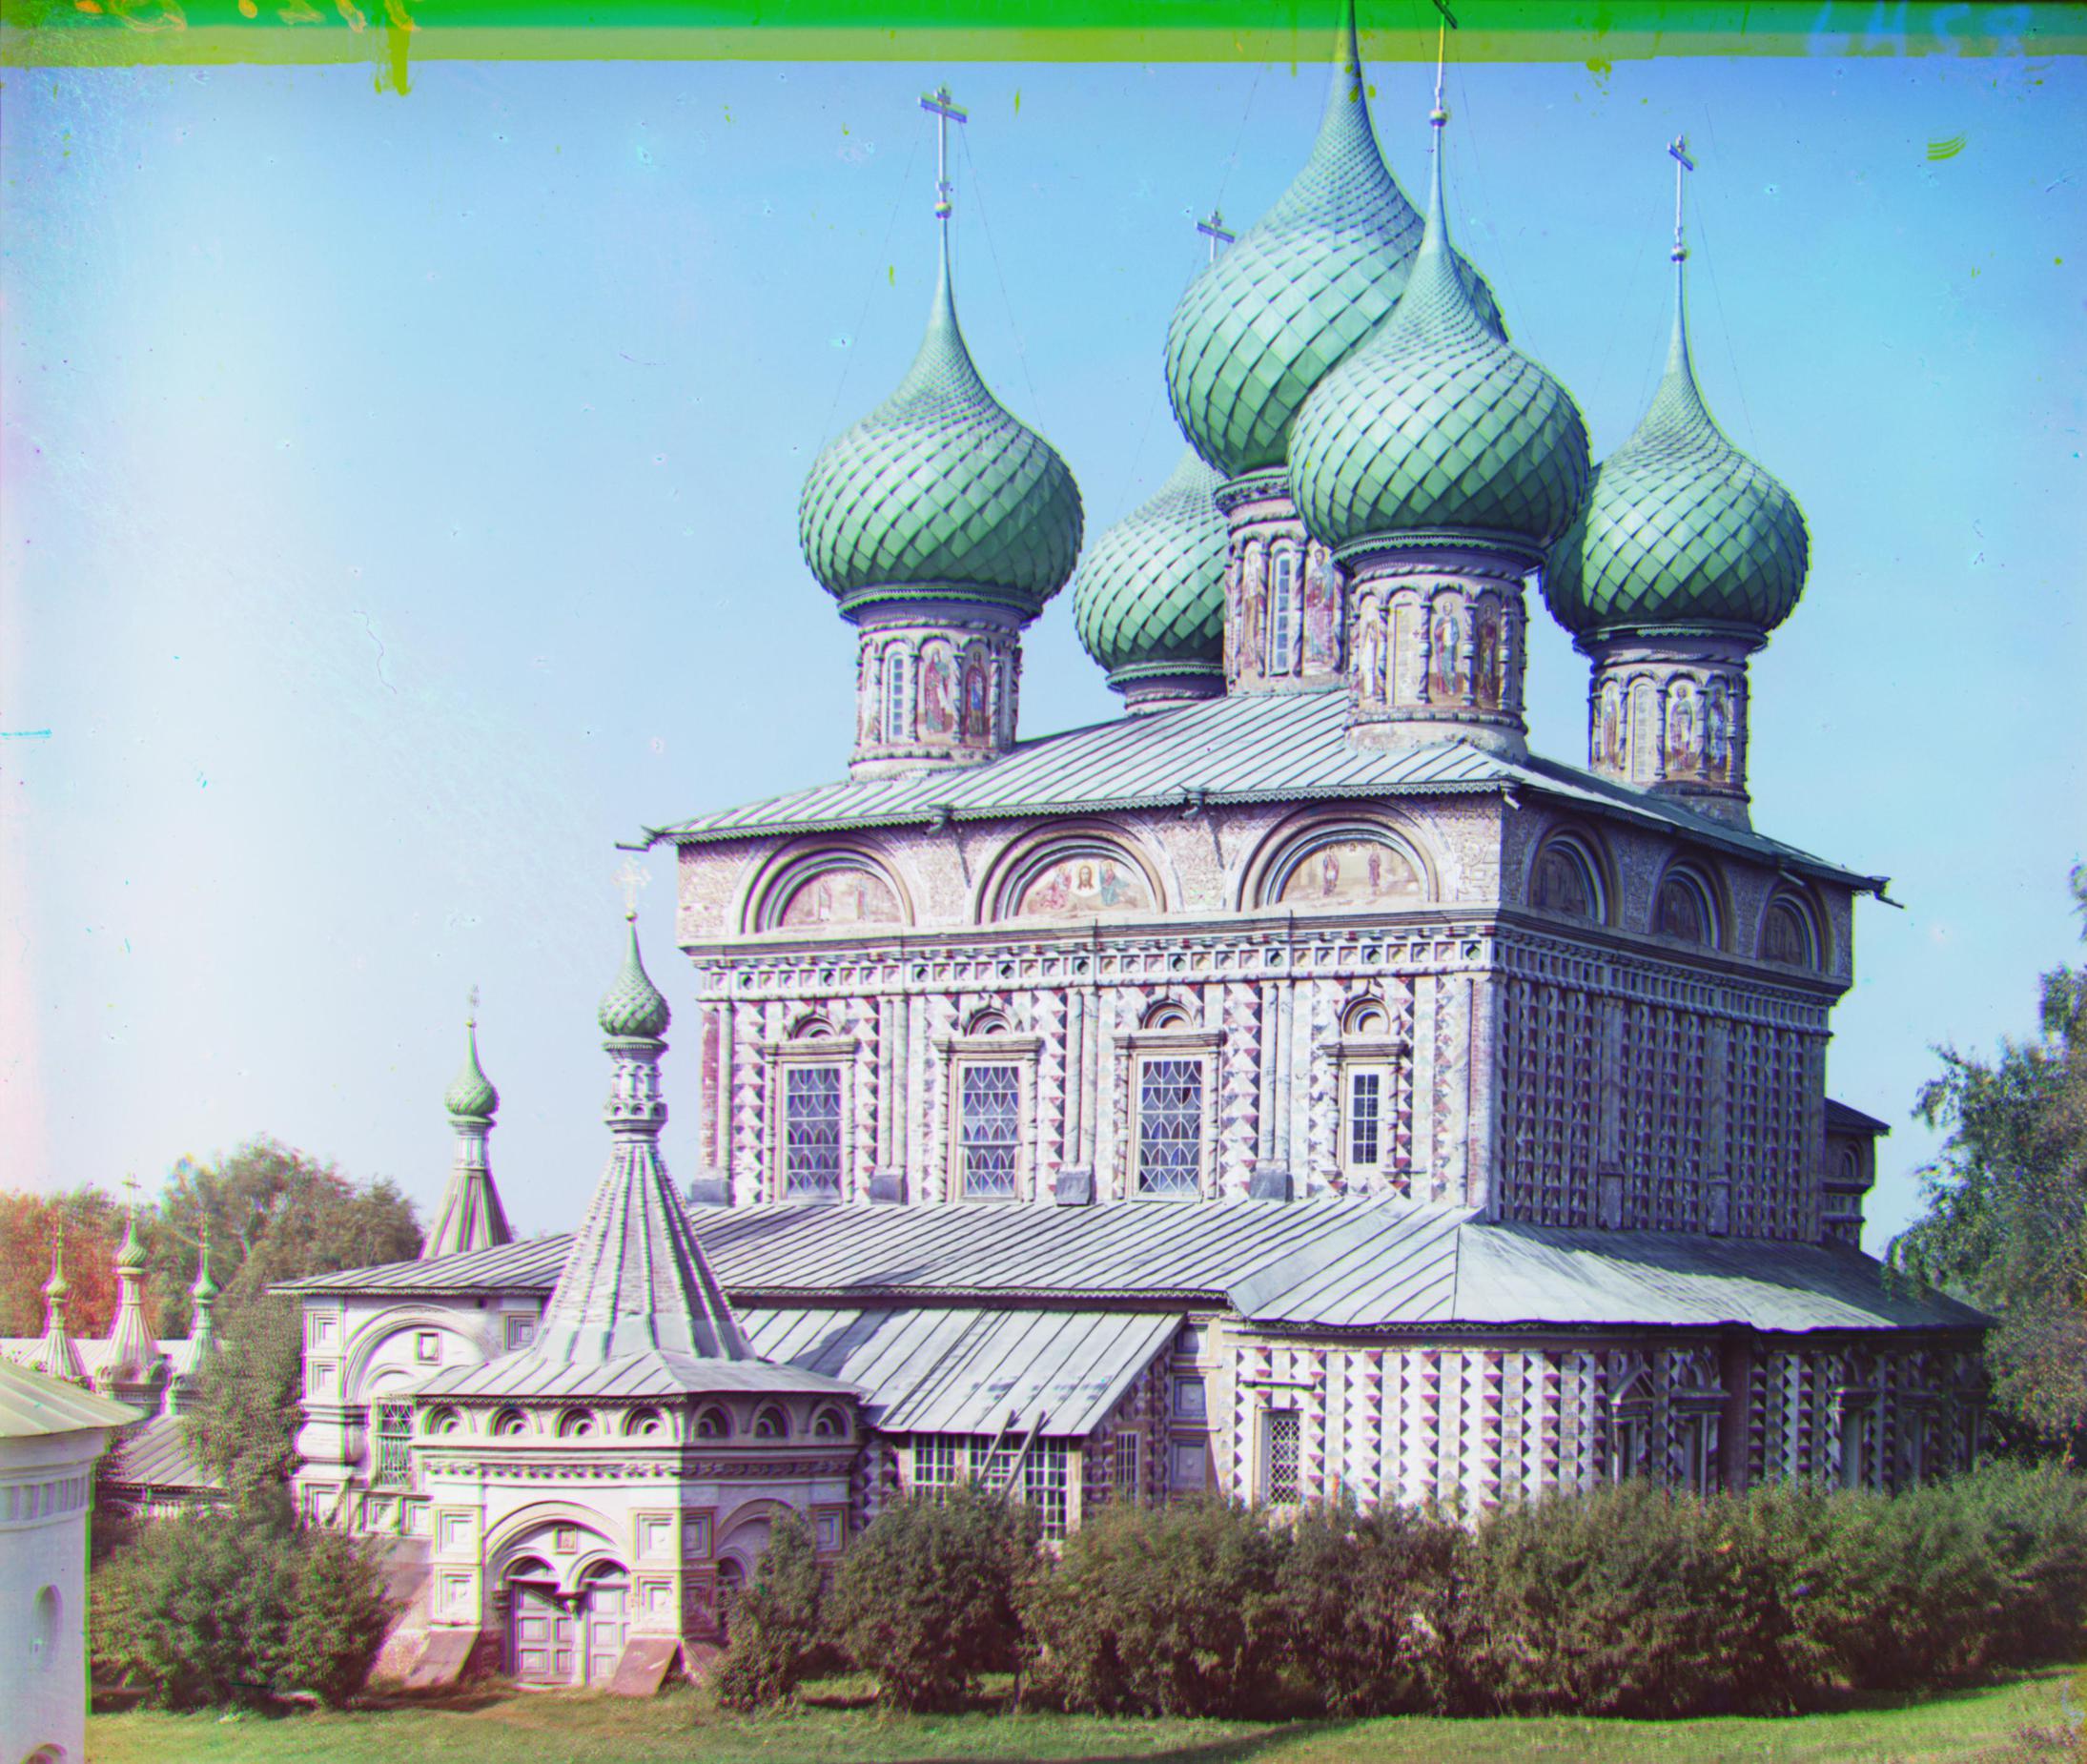
R: (131, -33) G: (60, -16)
R: (147, 38) G: (69, 27)
R: (109, 39) G: (47, 24)
R: (105, -26) G: (45, -2)

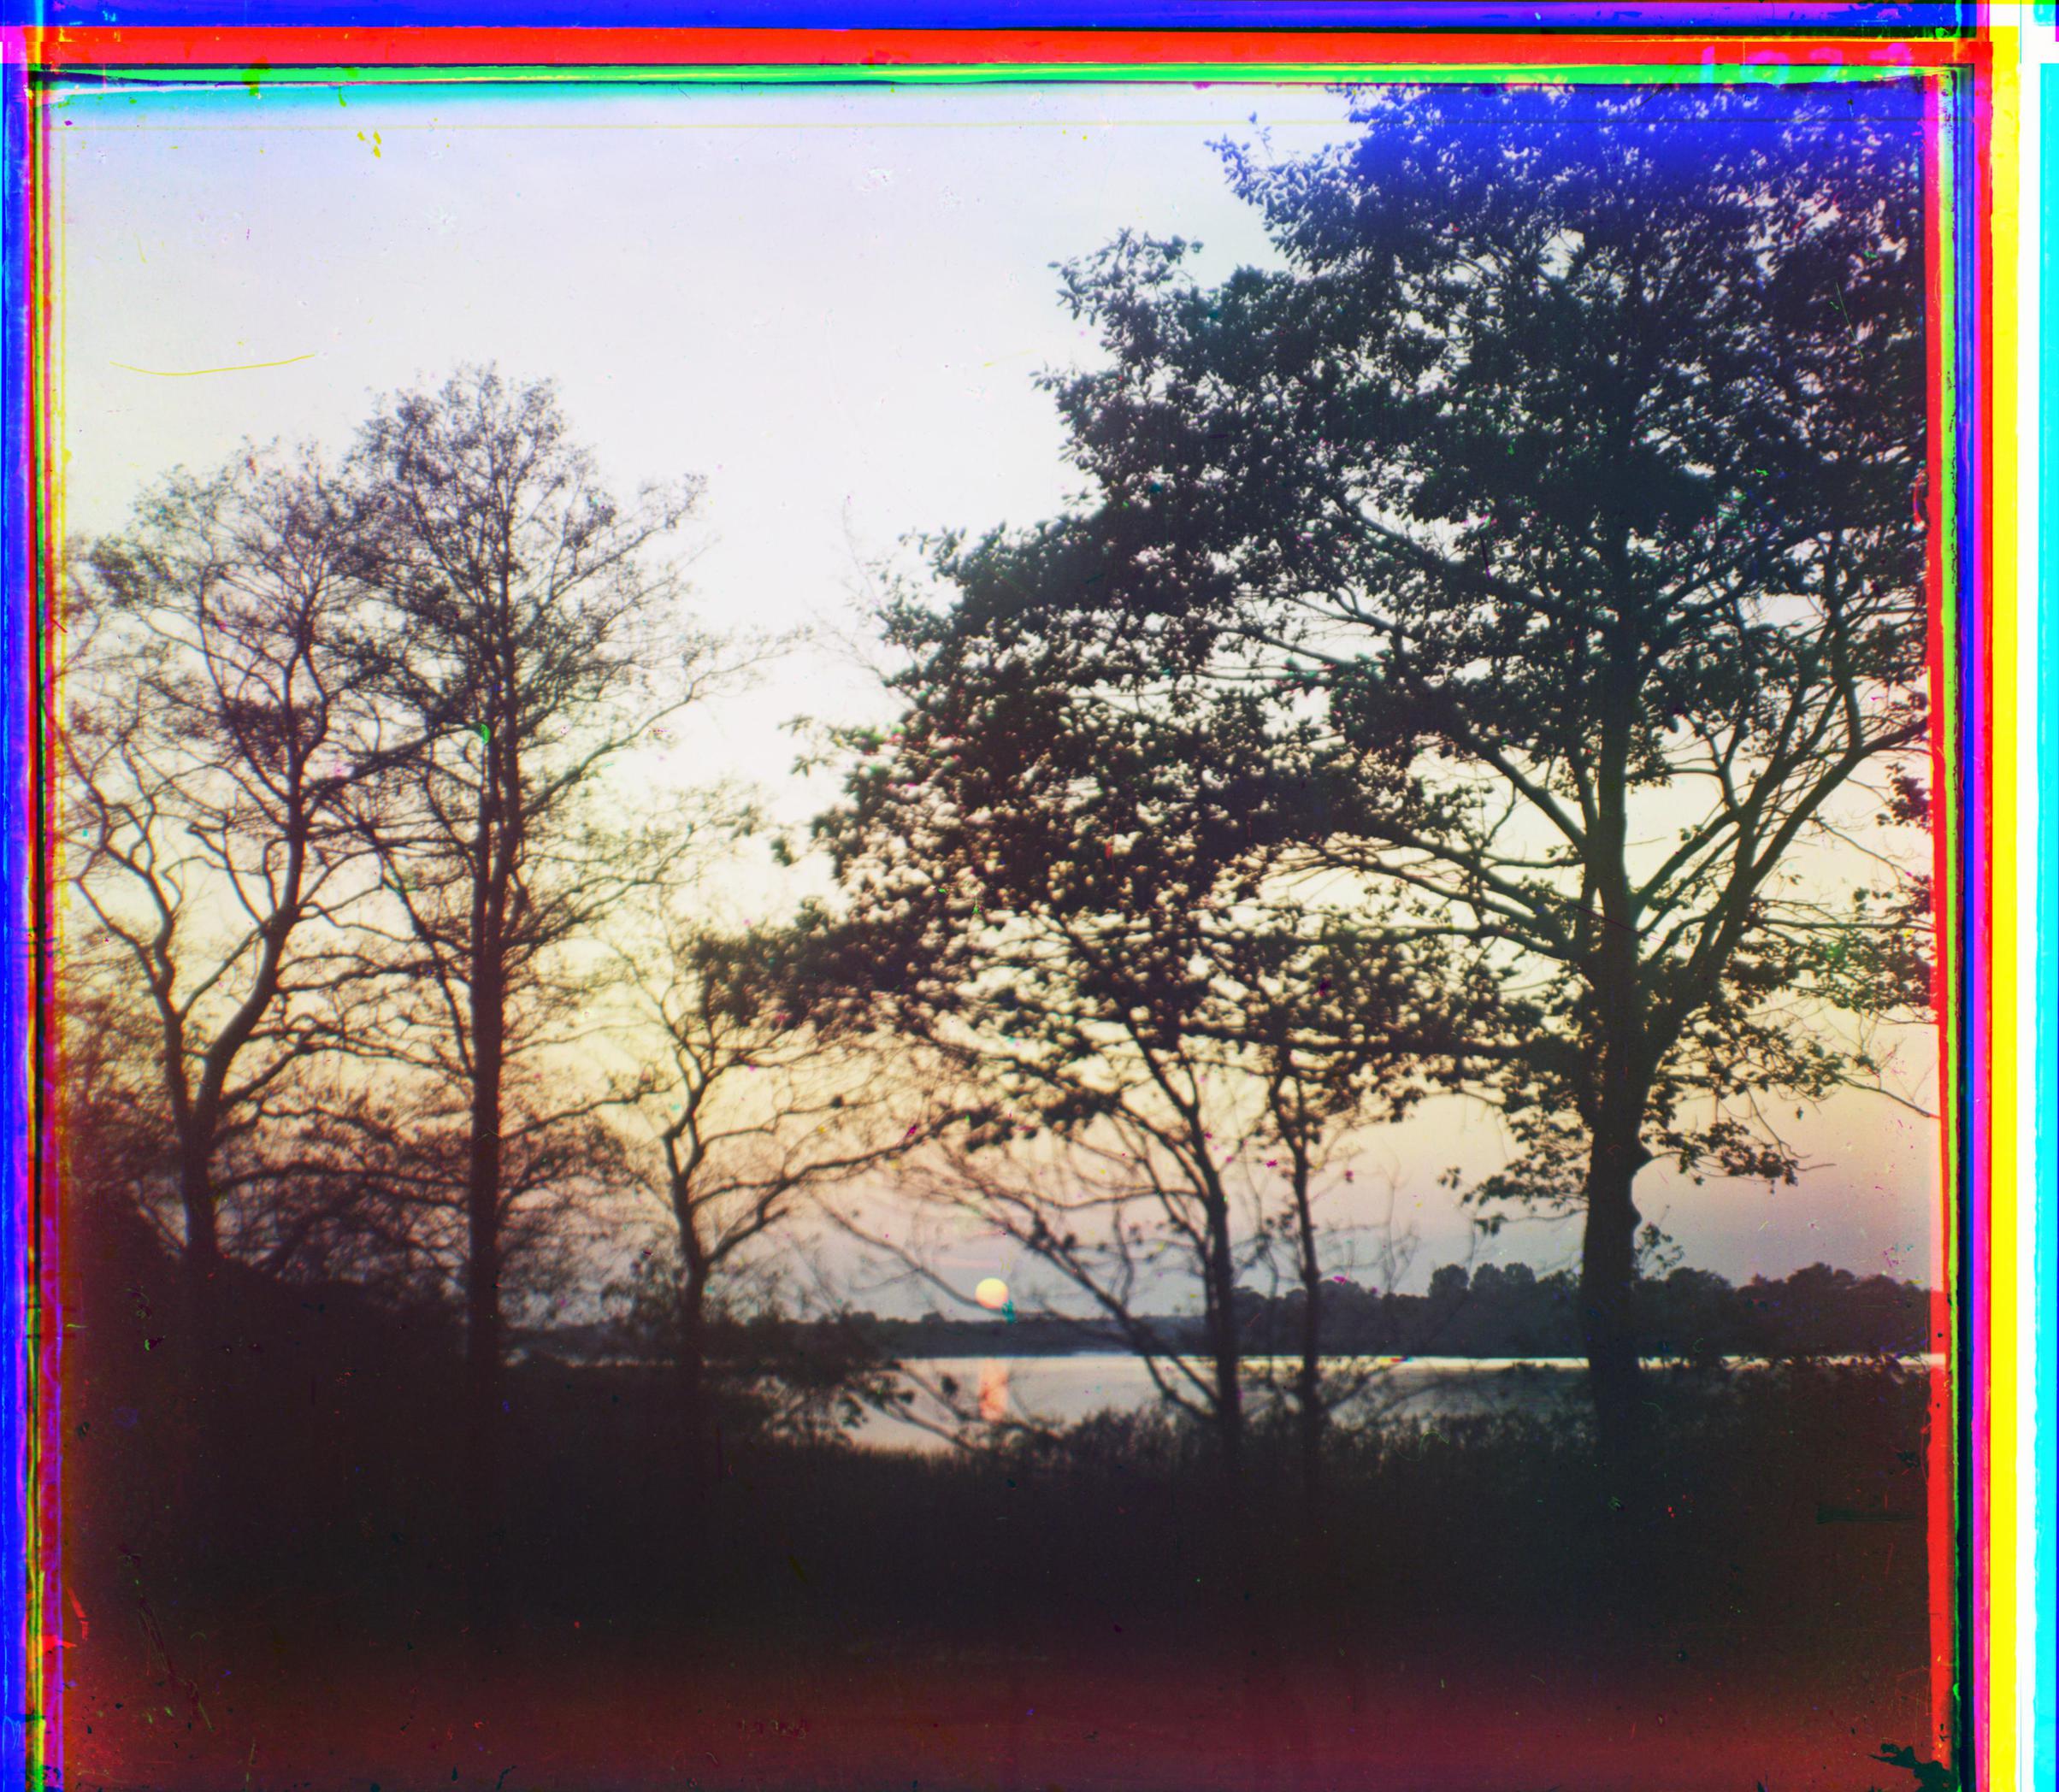
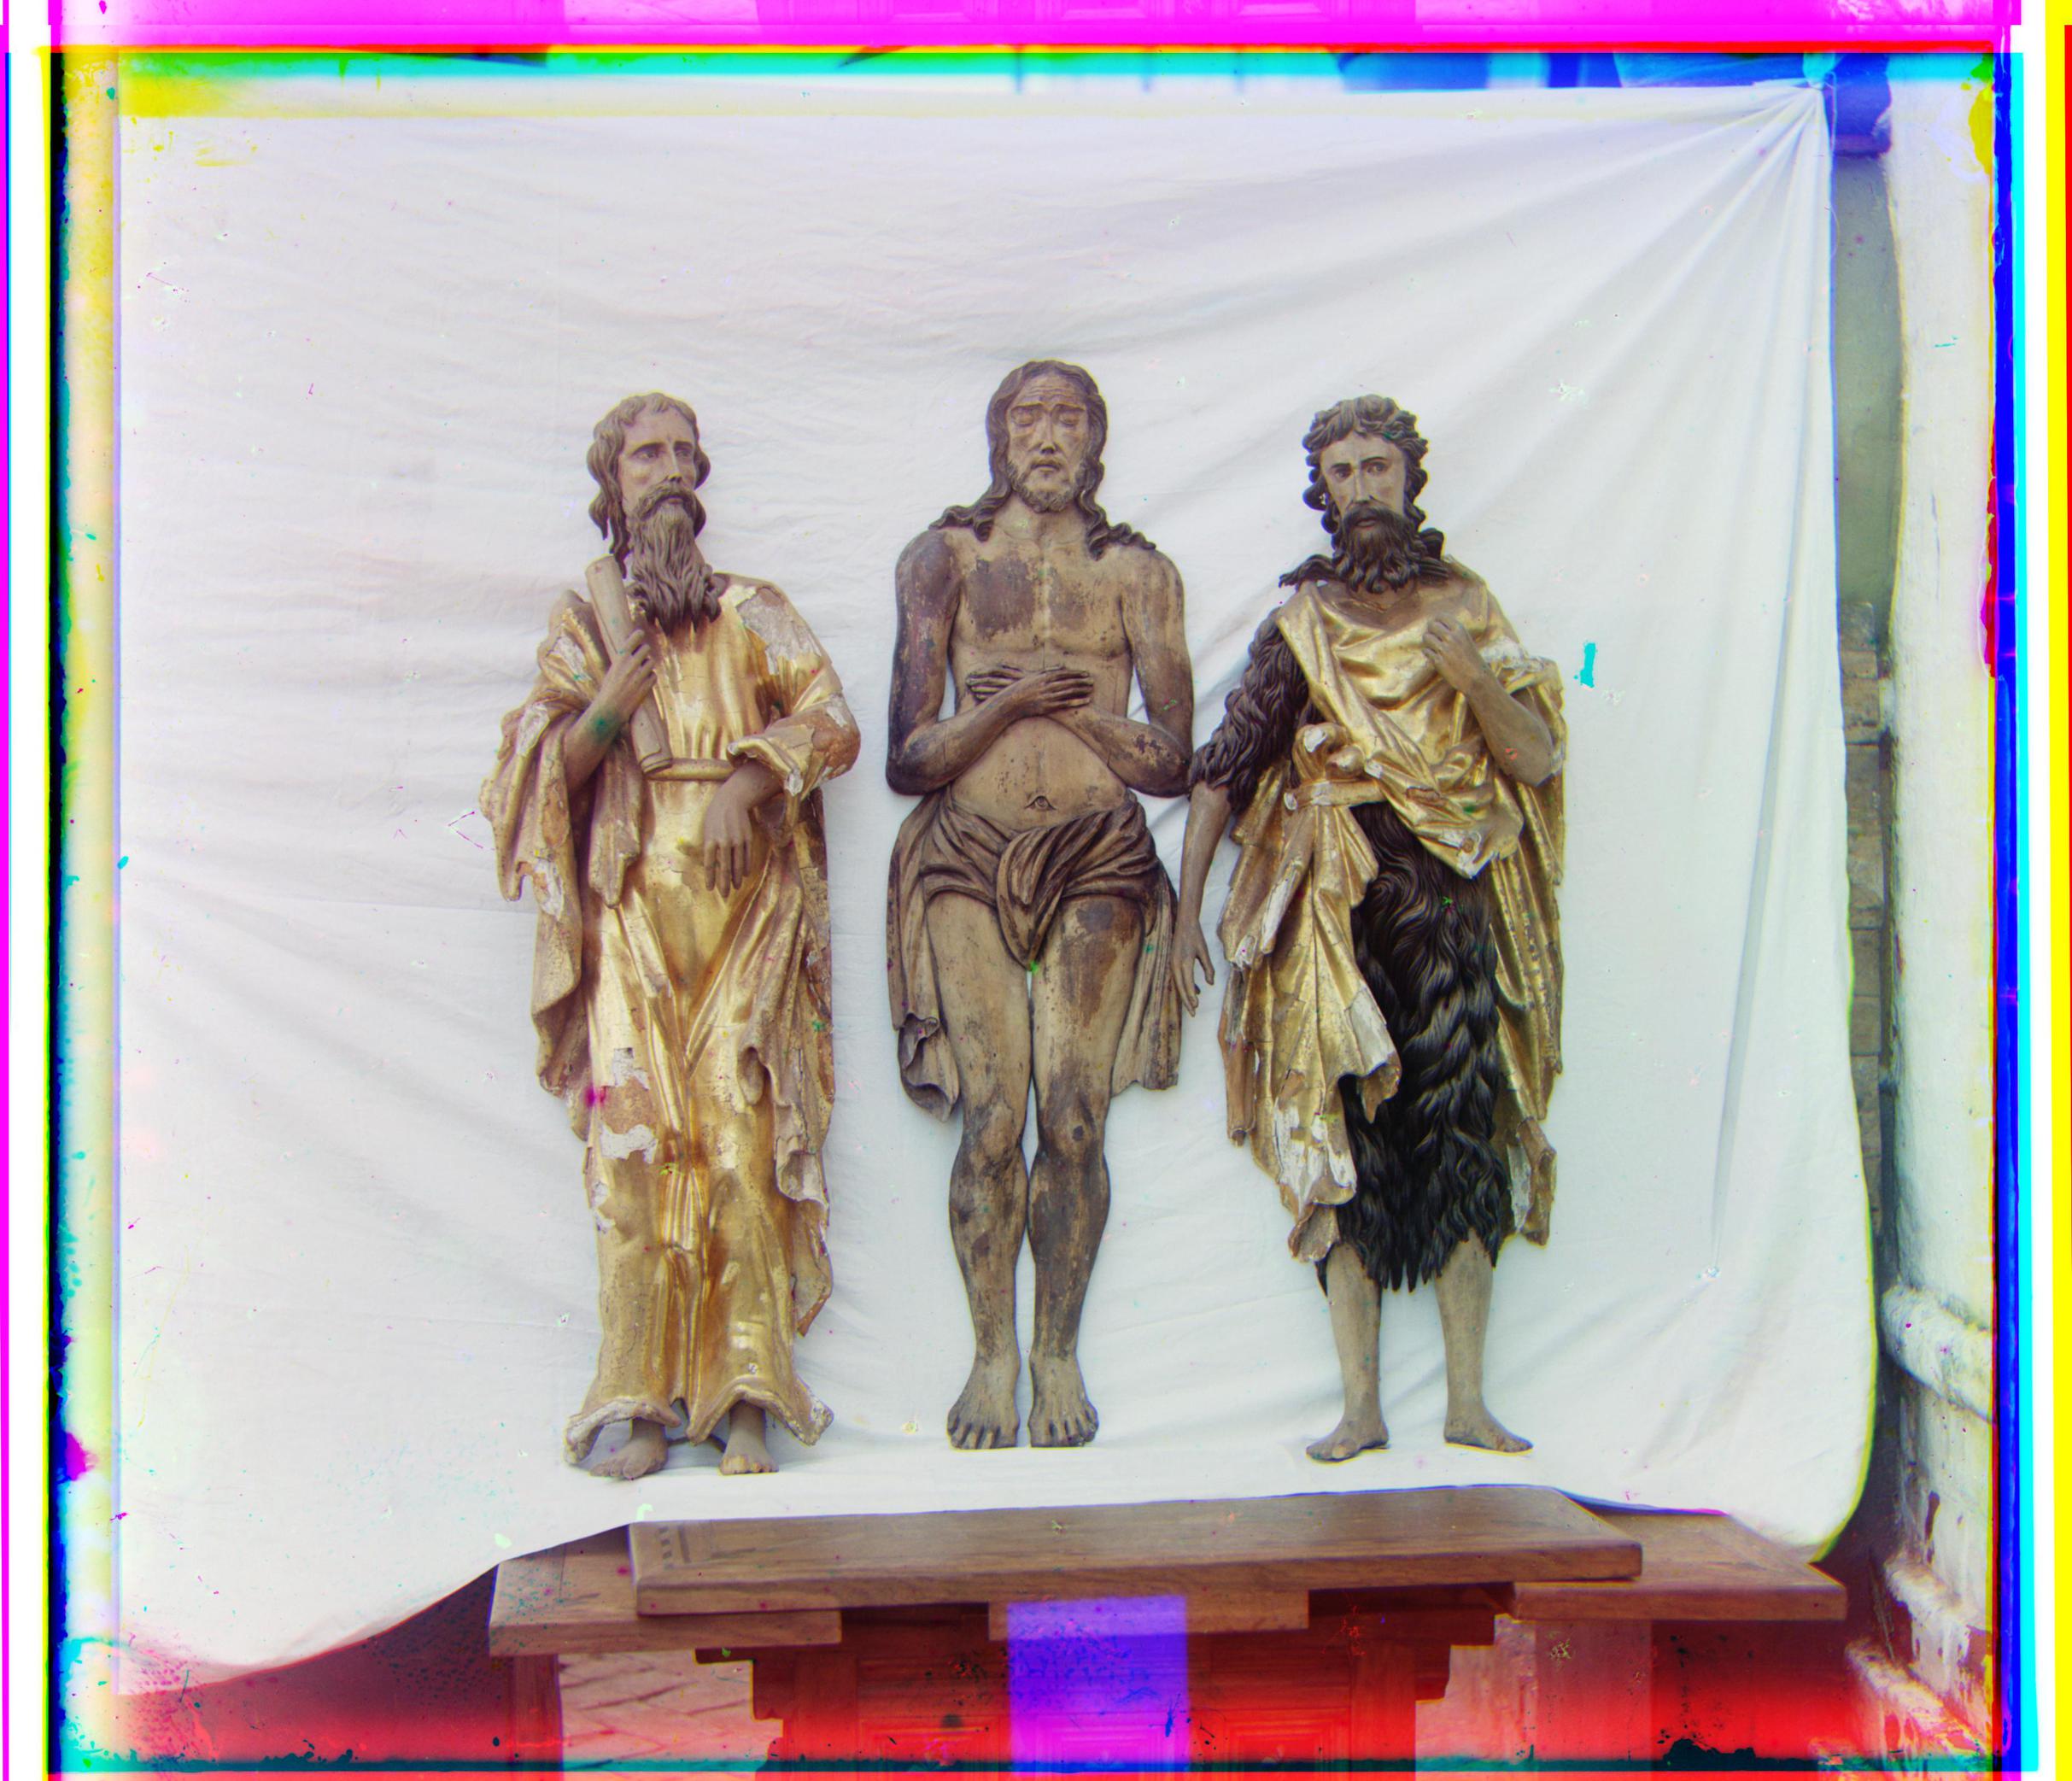
R: (117, -156) G: (53, 35)
R: (114, -68) G: (75, -41)
R: (95, 20) G: (45, 16)
All displacements are in form (dy, dx)
Bells and Whistles
In addition to the alignment of the photos, I attempted to implement auto-contrasting, auto-cropping, and white balancing to mixed results.
Auto-Contrasting
Auto-contrasting was fairly straightforward: I took each of the R, G, and B channels and applied a sigmoid function to every pixel before merging the channels to recreate the photo. I tuned the gain and cutoff values to what I saw as the best results. Notable examples are displayed below.
No auto-contrasting
With auto-contrasting
No auto-contrasting
With auto-contrasting
No auto-contrasting
With auto-contrasting
Auto-Cropping
Auto-cropping was a little more complicated. I limited the maximum cropping distance to be 7% of the total edge-length from any given edge. I then converted the image to gray-scale and ran it through the sobel edge detection filter. Finally, I set a threshold minimum value and tested every row and column in the available cropping area of the edge-detected image. I cropped the image at the row or column furthest away from the original edge that exceeded the threshold value.
The more successful images are displayed below.
No auto-cropping
With auto-cropping
No auto-cropping
With auto-cropping
No auto-cropping
With auto-cropping
Unfortunately, my auto-cropping algorithm worked better on certain images and worse for others. This is primarily due to the threshold value not being universally applicable to all images. If an image had a lot of edges near a border, the edges would be mistaken for a colored border and would also be cropped out. Slightly angled borders were also not fully removed because my algorithm relies on borders being perfectly parallel with the x and y-axes. And finally, some photos had borders that were much wider than 7% so those borders were either not fully removed or not removed at all.
No auto-cropping
Auto-cropping cropped too much on left, right, and top sides
No auto-cropping
Auto-cropping was successful on all sides except the thick top border
White Balancing
White balancing involved my re-use of the code provided in the Python tutorial from earlier in the semester. I first cropped the image by 10% on each side to discount any of the colored borders. Then, I converted the RGB image to gray-scale and found the pixel with the highest value. I took the pixel, calculated the R, G, and B displacements required to translate that pixel to [1, 1, 1] and applied the displacements to the rest of the uncropped image. Finally, I made sure to clip the image at 0 and 1 since the cropped region could have invalid values after applying the displacement.
Again this algorithm worked better on some images than others.
No white-balancing
With white-balancing
No white-balancing
With white-balancing
No white-balancing
With white-balancing (difference in roof and road)
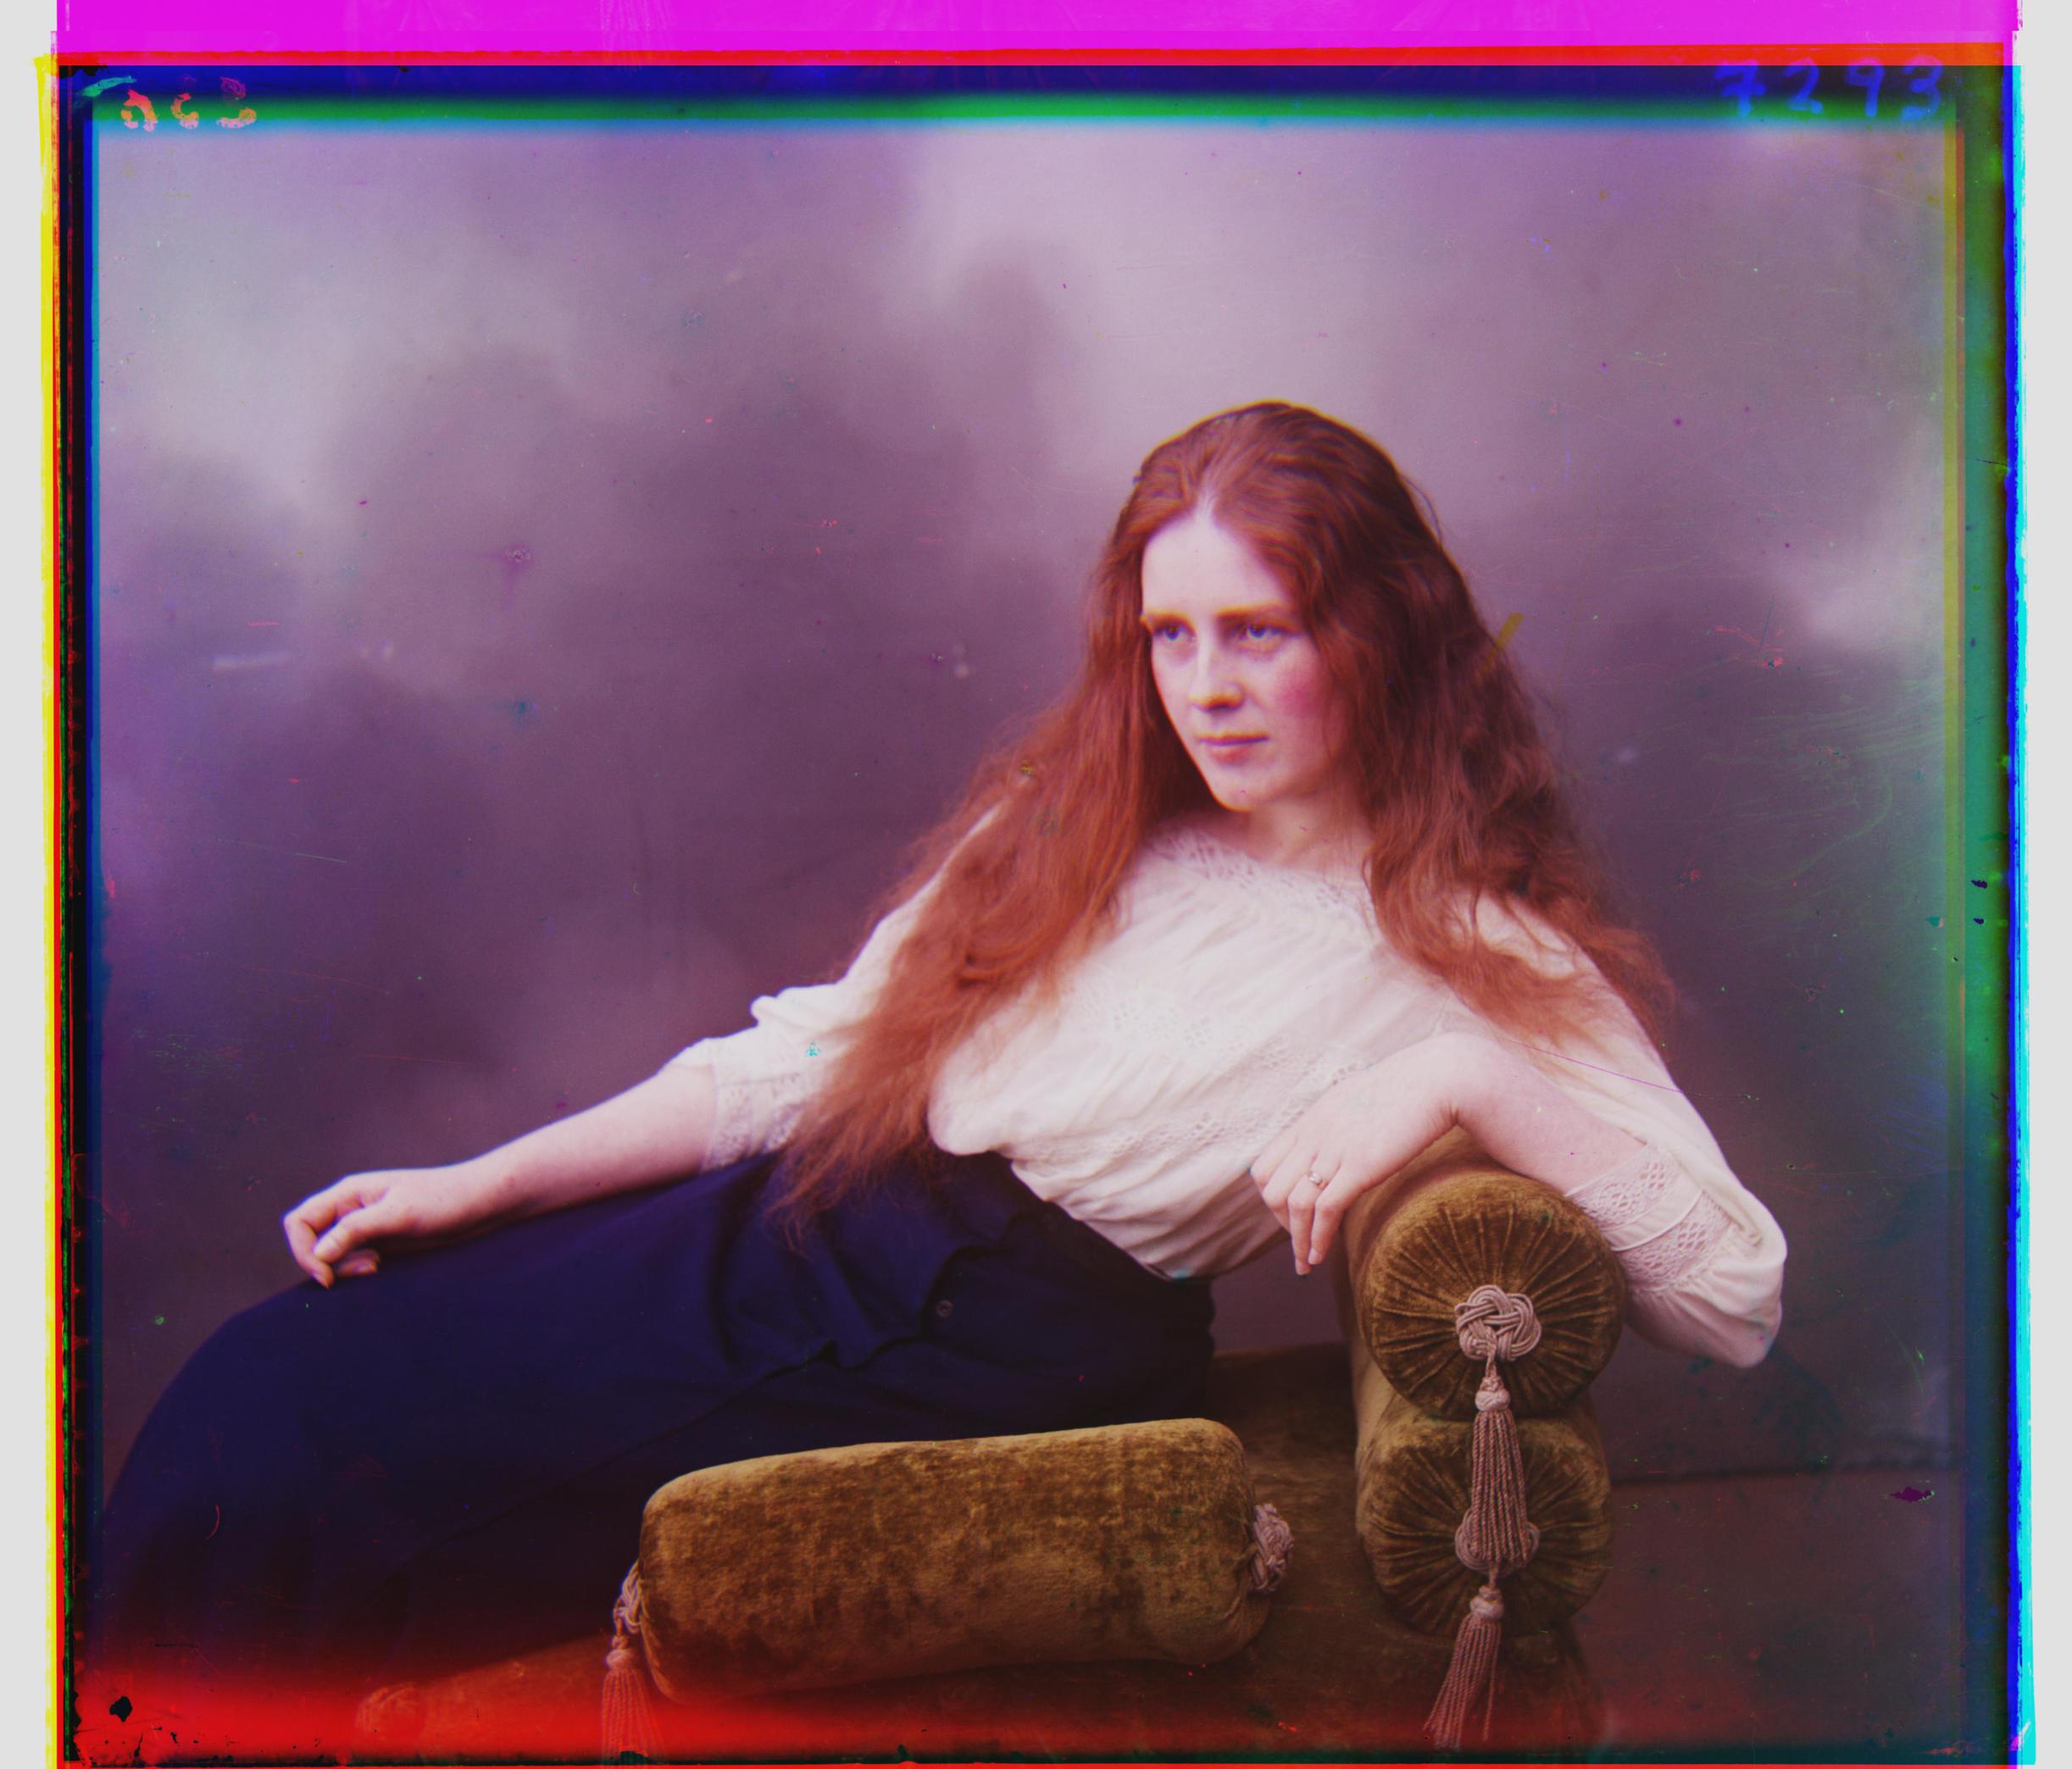
No white-balancing
With white-balancing (difference in blouse)
For many pictures, the difference white balancing made was practically invisible. This could be due to both the naive method of calculating the illuminant I used as well as the ineffectiveness of arbitrarily cropping 10% of the border where an accurate border cropping method may have been more successful. Additionally, if the image already has a very white illuminant, the displacement will not be very high.
No white-balancing
White-balancing has little visible effect