Fake miniatures is quite simple in concept but the effect is surprisingly convincing. The overall idea is to mimic
how our eyes perceive small miniature objects. When you look at a small object up close (for example the tip of your
pencil), the point of focus remains in detail while the rest of the object and background blur and become out of
focus. This is how the eye sees objects at close distances. We can create a similar effect artificially to trick our
eyes into believing the objects we are looking at are miniature.
In order to accomplish this, I used user defined points to determine where the region of sharpness should be.
Everything outside that region is blurred. A simple blurring of the exterior region may suffice for certain images
but the best results are attained when the exterior region is increasingly blurred depending on the distance from the
sharp region. This is because the increased blurring will add a sense of depth to the photo.
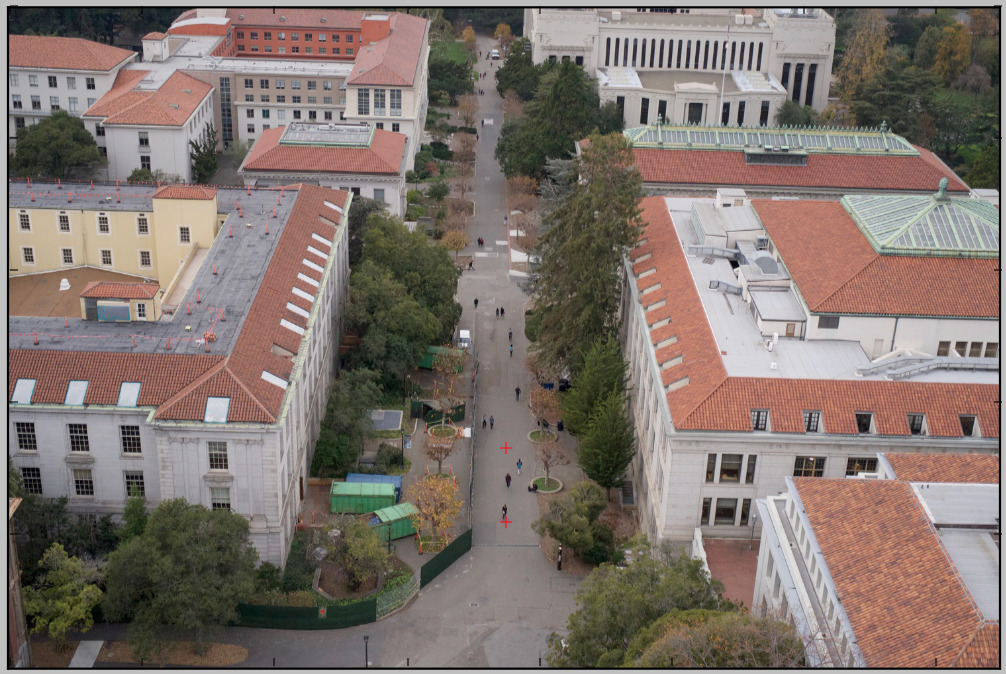
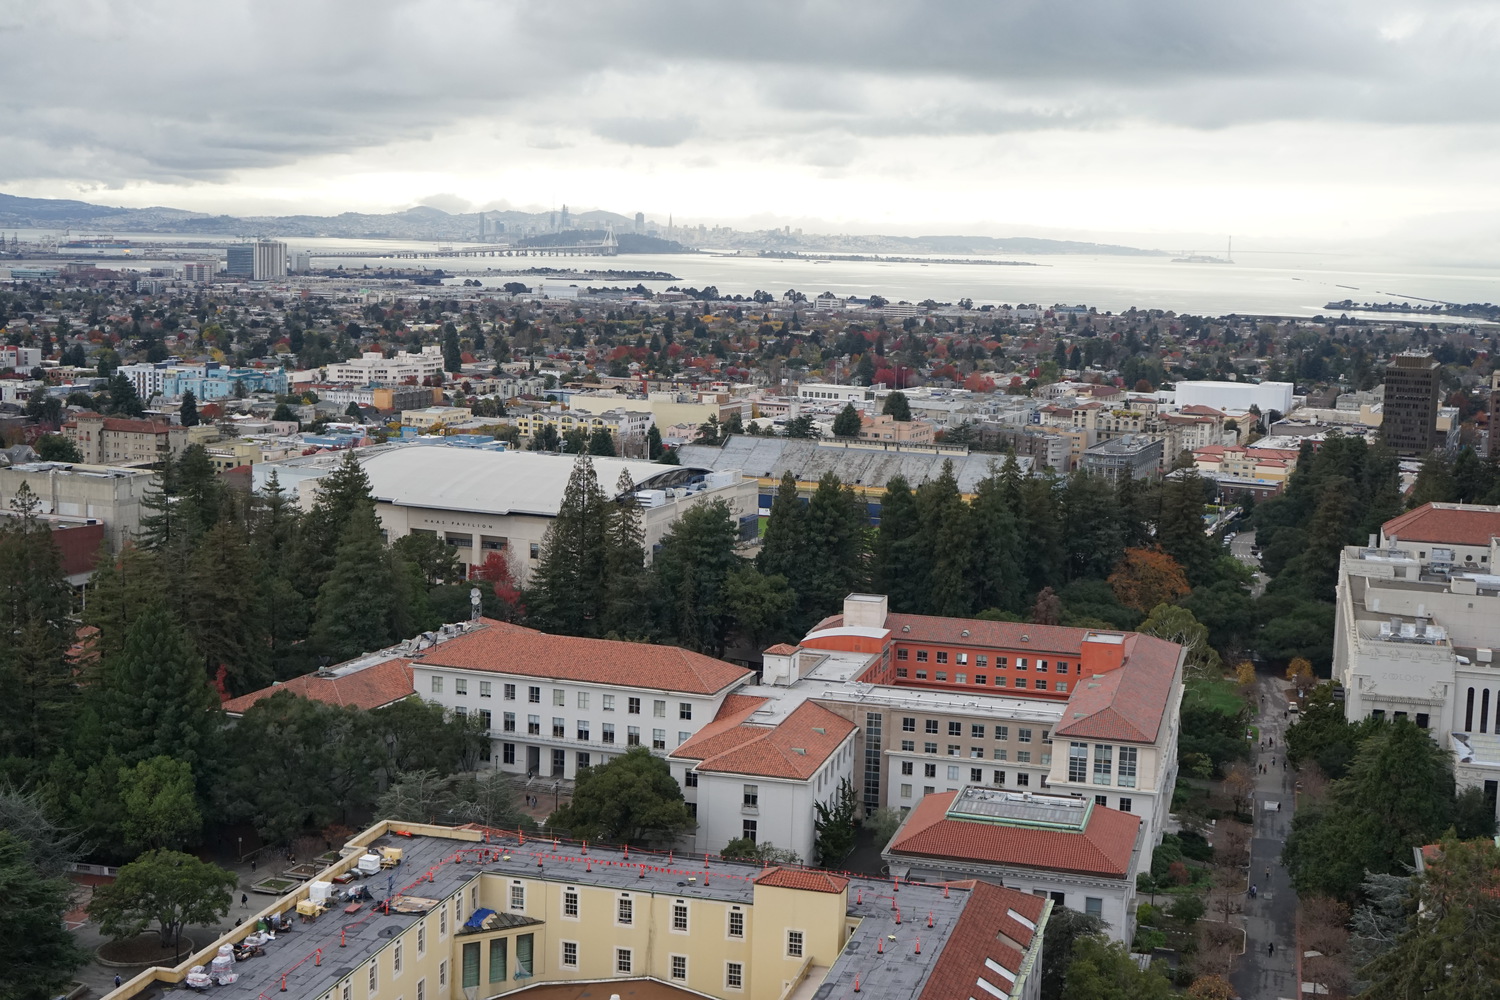
Original Image with Points Selected Marked by Red Crosses
In order to effectively blur the image, we first create a structure similar to a Gaussian stack. We don't need to
double the sigma for every level of the stack, however, since we will quickly completely blur out the image in doing
so. This is not favorable because higher levels of the stack will be used in the parts of the output image that are
further away from the sharp region and lower levels will be used for parts that are closer to the sharp region. We
still want to be able to see the blurred portions of the photo and aggressively blurring does not seem to increase
the effect. I found that instead of doubling the sigma value, adding 1.5 at every level of the stack was sufficient.
I started with an initial sigma value of 1.

The Blurred Versions of the Images
Sigma Values = [1, 2.5, 4, 5.5, 7, 8.5, 10]
I limited my stack to a length of 7 as this many levels was sufficient for the image sizes (mostly 1500px x 1000px) I
was working with and increasing sigma inevitably slows down the Gaussian blur portion of the code. I found that
with larger and smaller photos the size of the stack must be increased and decreased, respectively, in order to make
the progression of blurred regions granular enough to not be noticeable but not too granular that distortion is
introduced (which I experienced with smaller images).
Next, I split up my image into 7 evenly spaced and equal size horizontal masks (as seen below) to construct a stack of
masks.

Masks
I then blurred the masks using the same sigma values as my image stack.

Blurred Masks
Sigma Values = [1, 2.5, 4, 5.5, 7, 8.5, 10]
In order to reconstruct the blurred image, I took a weighted average for every given mask and image pair. I multiplied
the mask against its corresponding image while dividing by the sum of all the masks. This results in a well blended
image that blurs increasingly as distance from the sharp region increases. As a side note, the sharp region and a
corresponding mask (which will be unblurred) should also be considered with the rest of the stack levels pictured
above to ensure a clean blend.
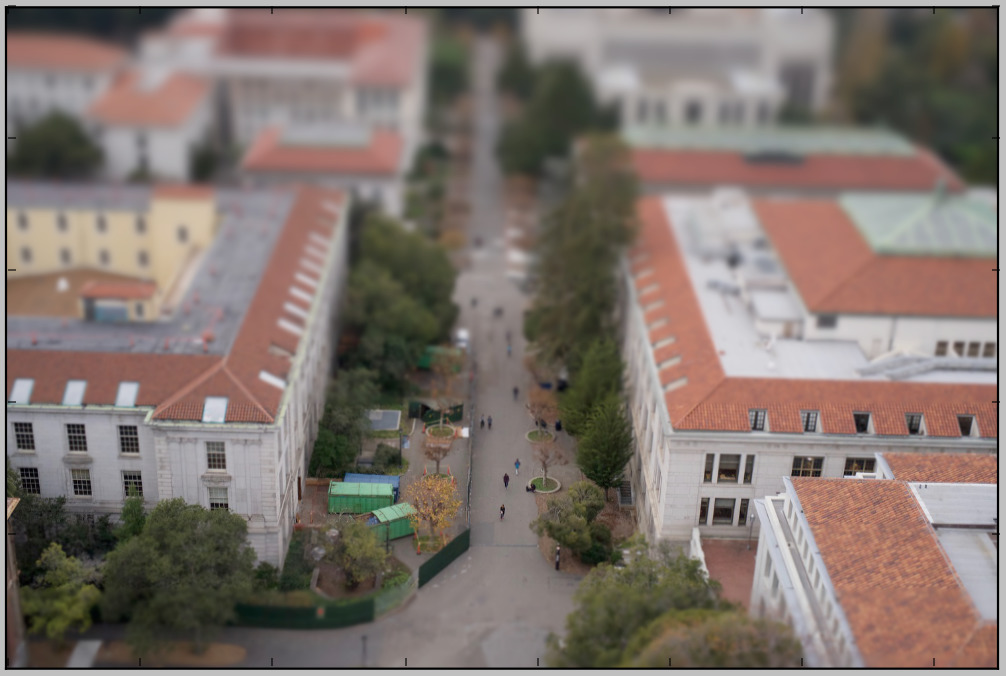
Blended and Blurred Image
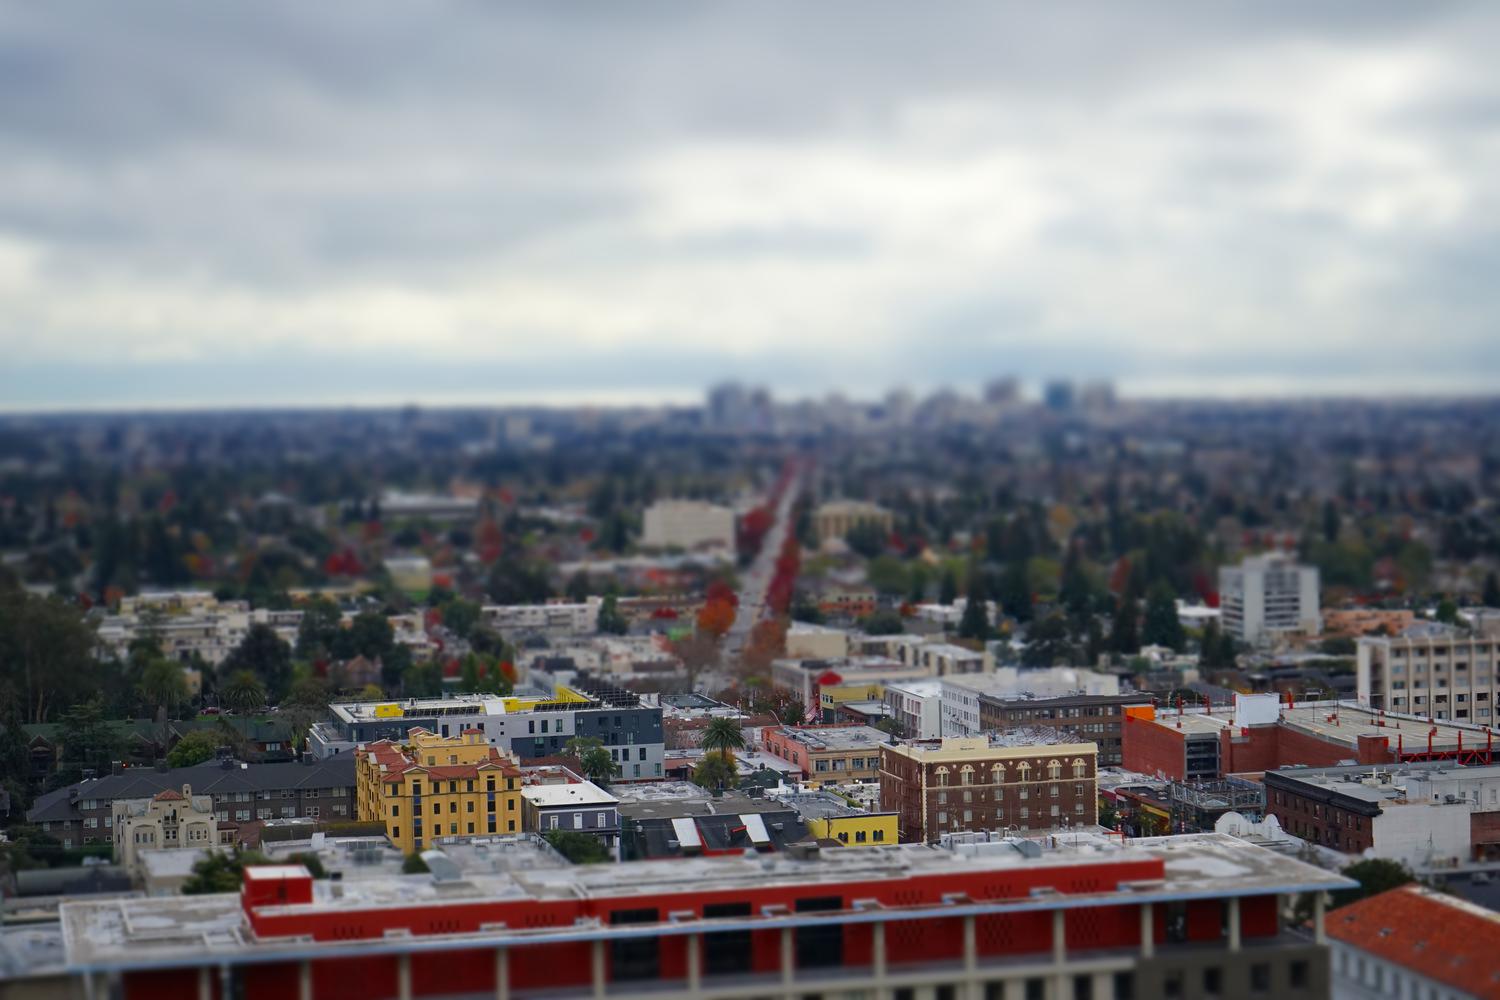
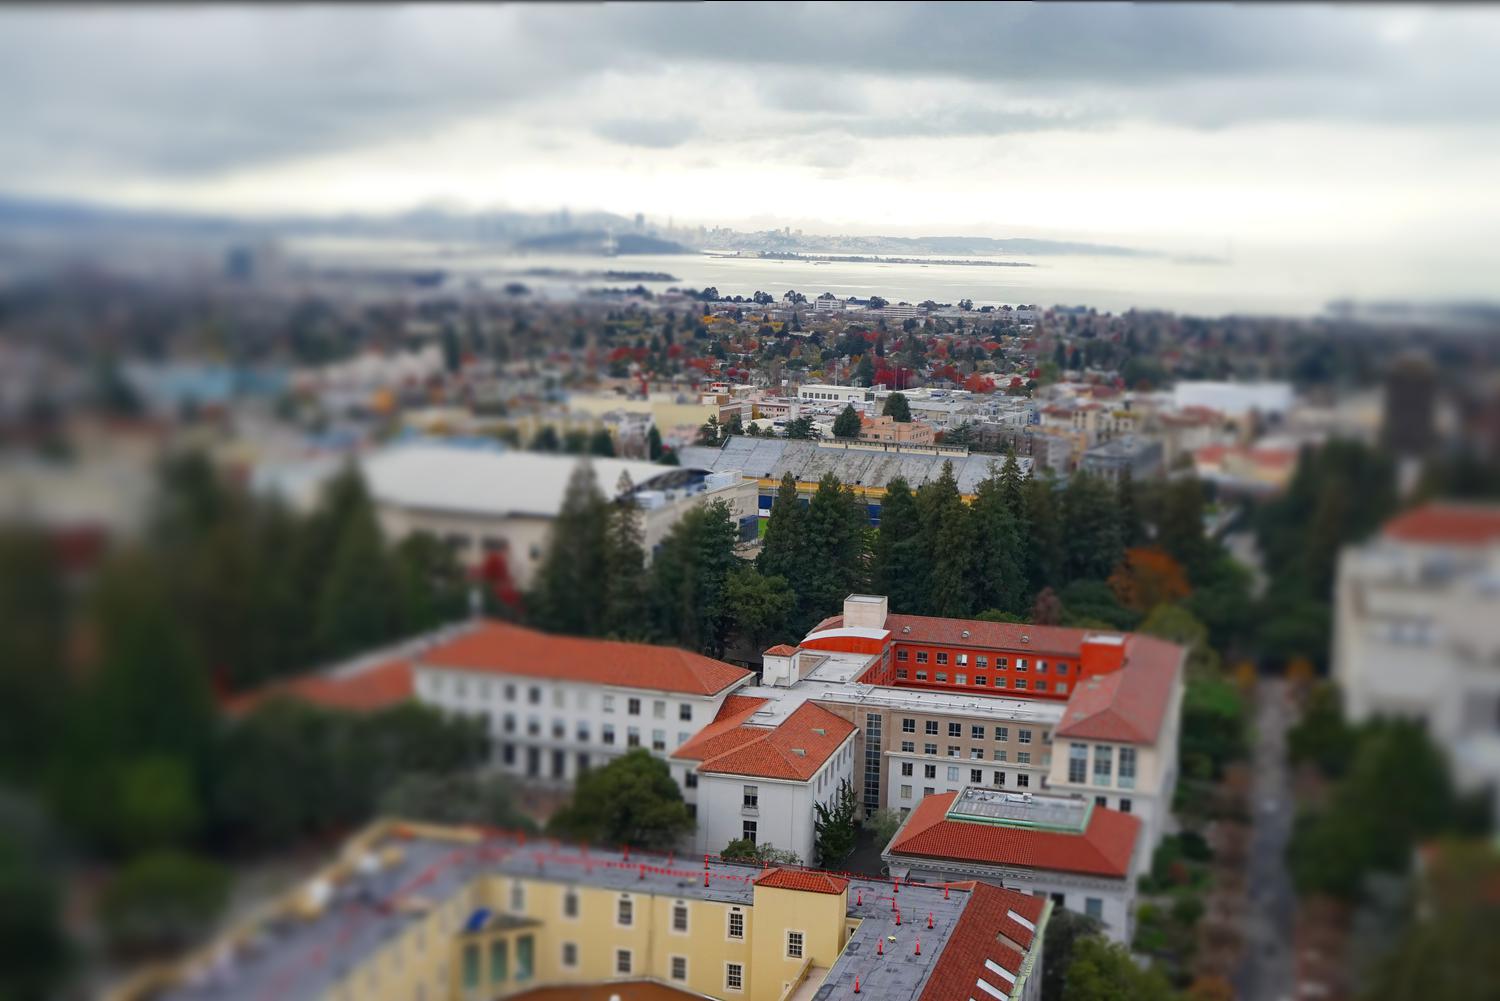
Finally, saturating the colors of the image will make the objects within the image appear more toy-like due to their
bright color. This is the finishing touch to the effect that really ties the effect together as you can see below
with the rooftops of the buildings appearing to be painted.
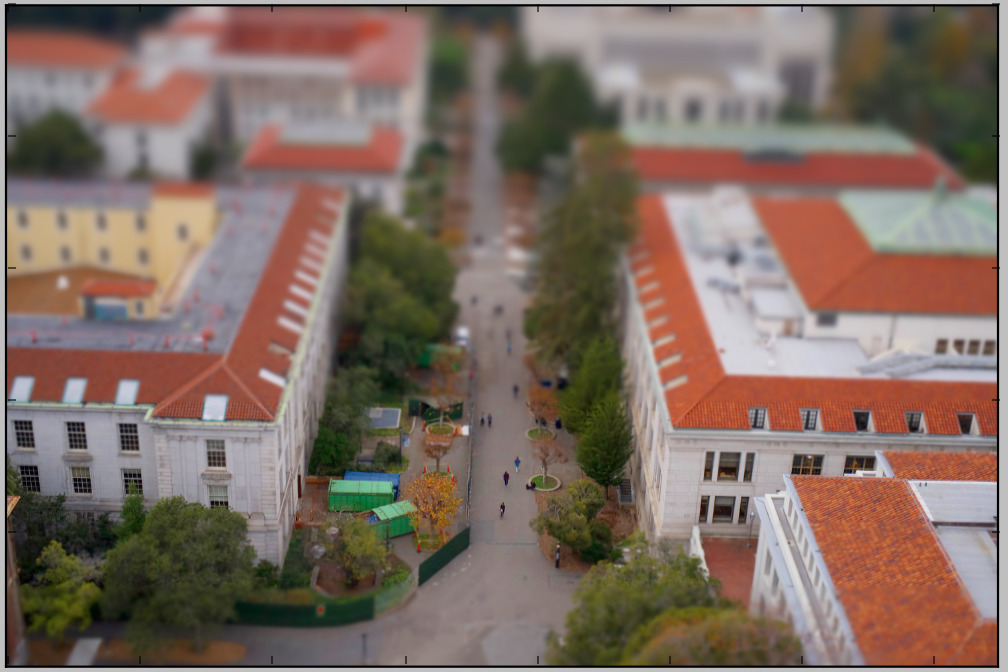
Saturated Image
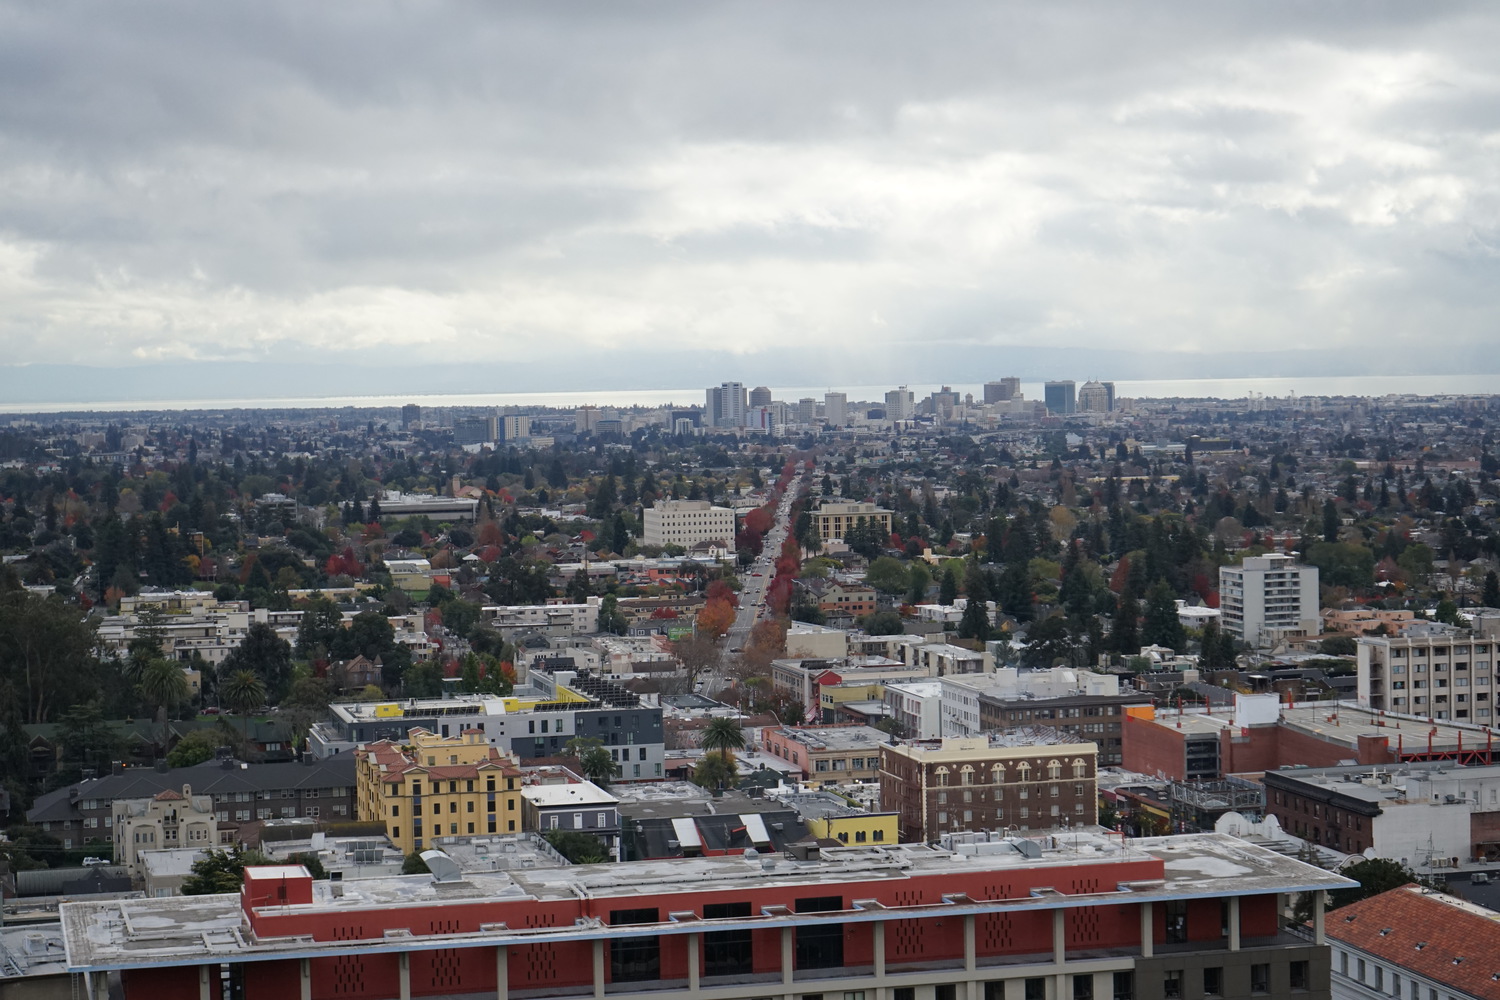
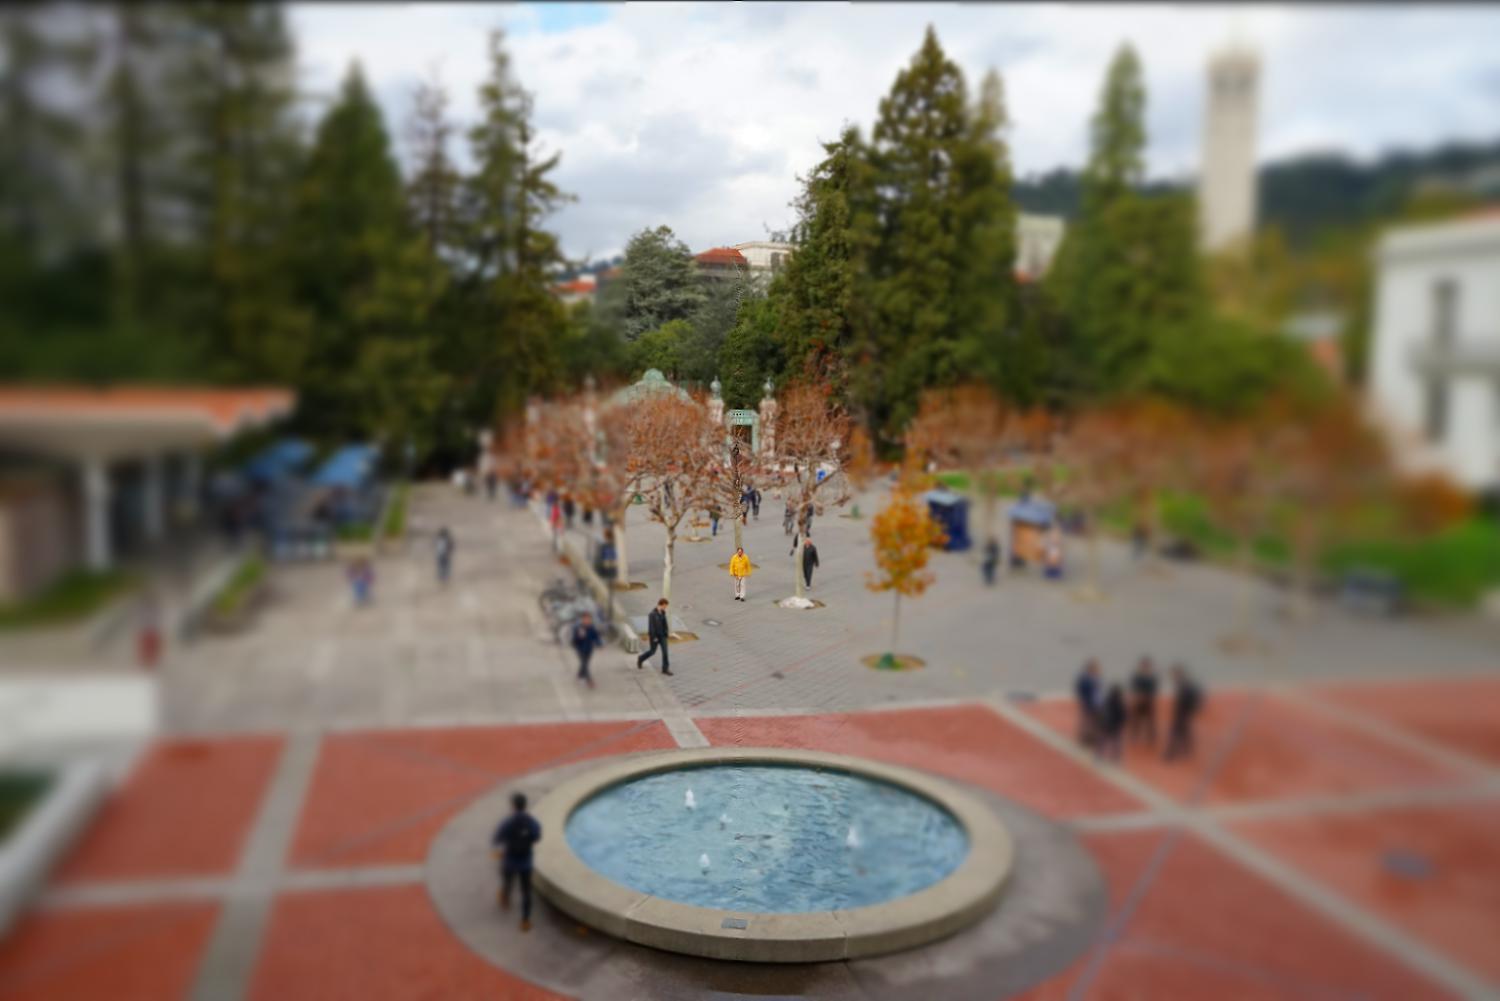
Below are some of my favorite results. Many of the shots came from on top of Berkeley's own Campanile tower with a few
from the tops of the Eshleman and Martin Luther King Jr. buildings on campus. Please feel free to click the images to
enlarge to inspect them more closely.
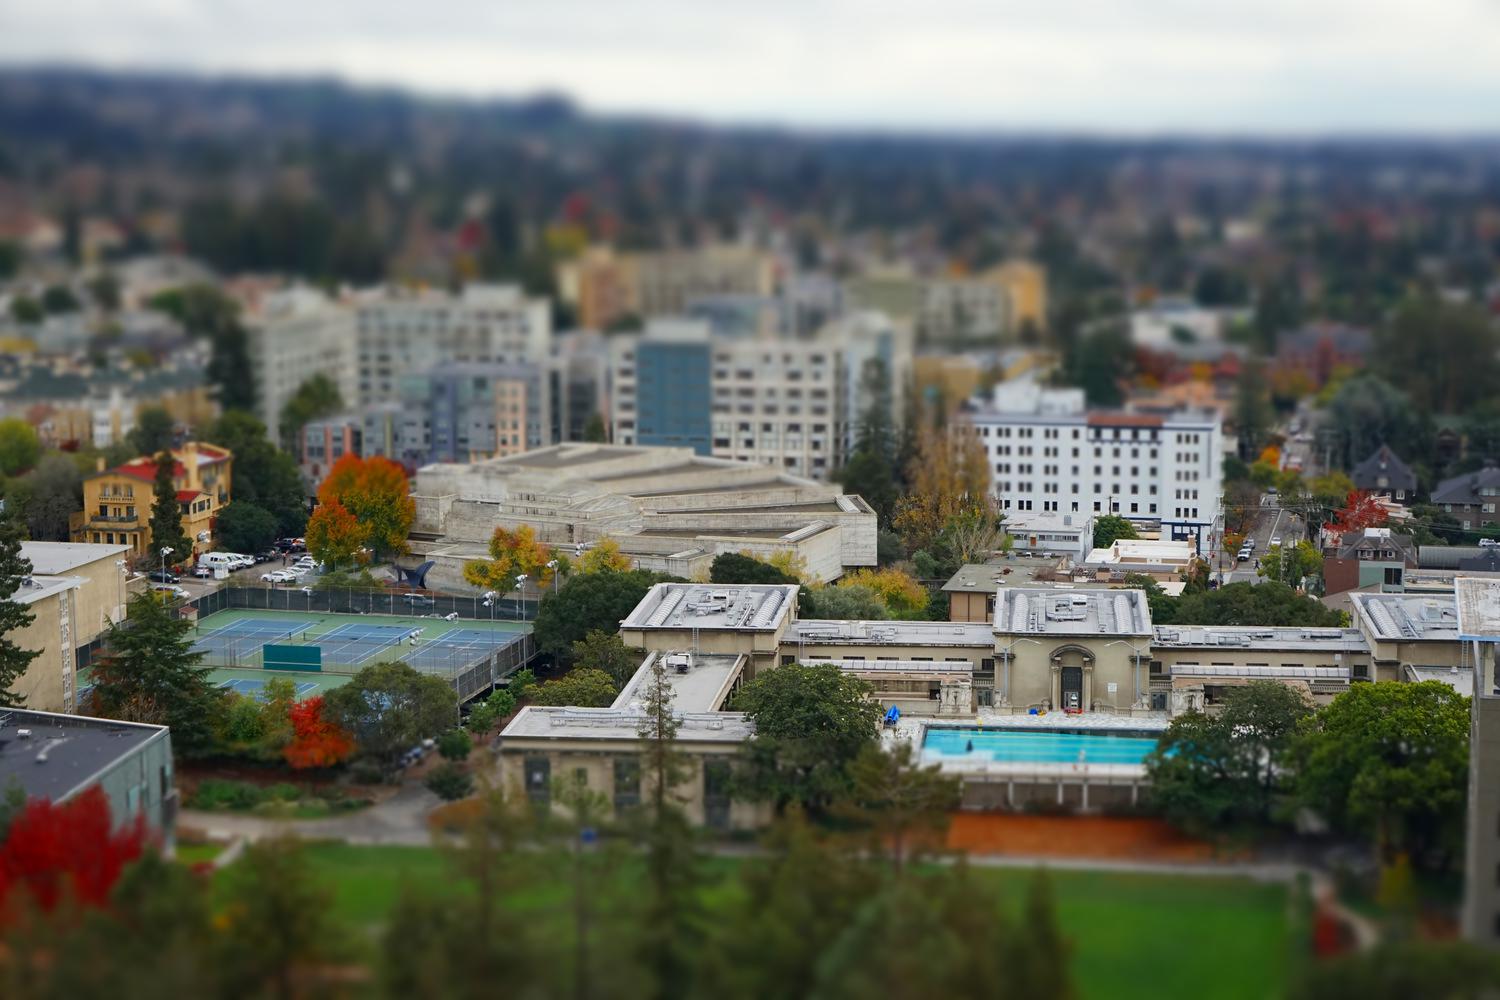
The World's Smallest Swimming Pool
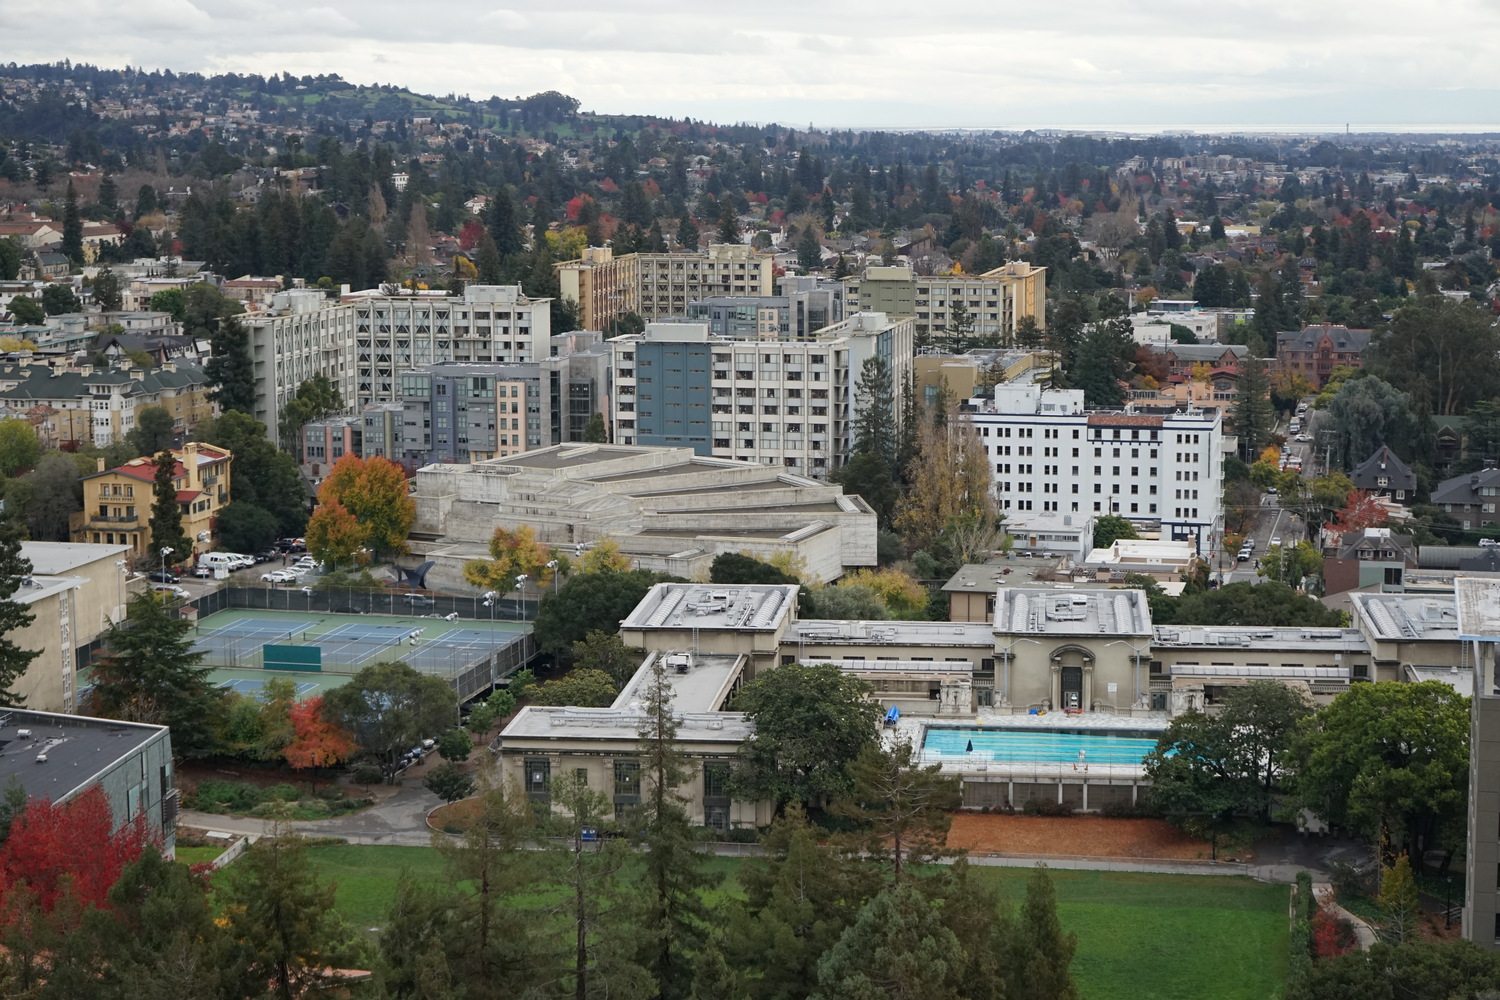
Original
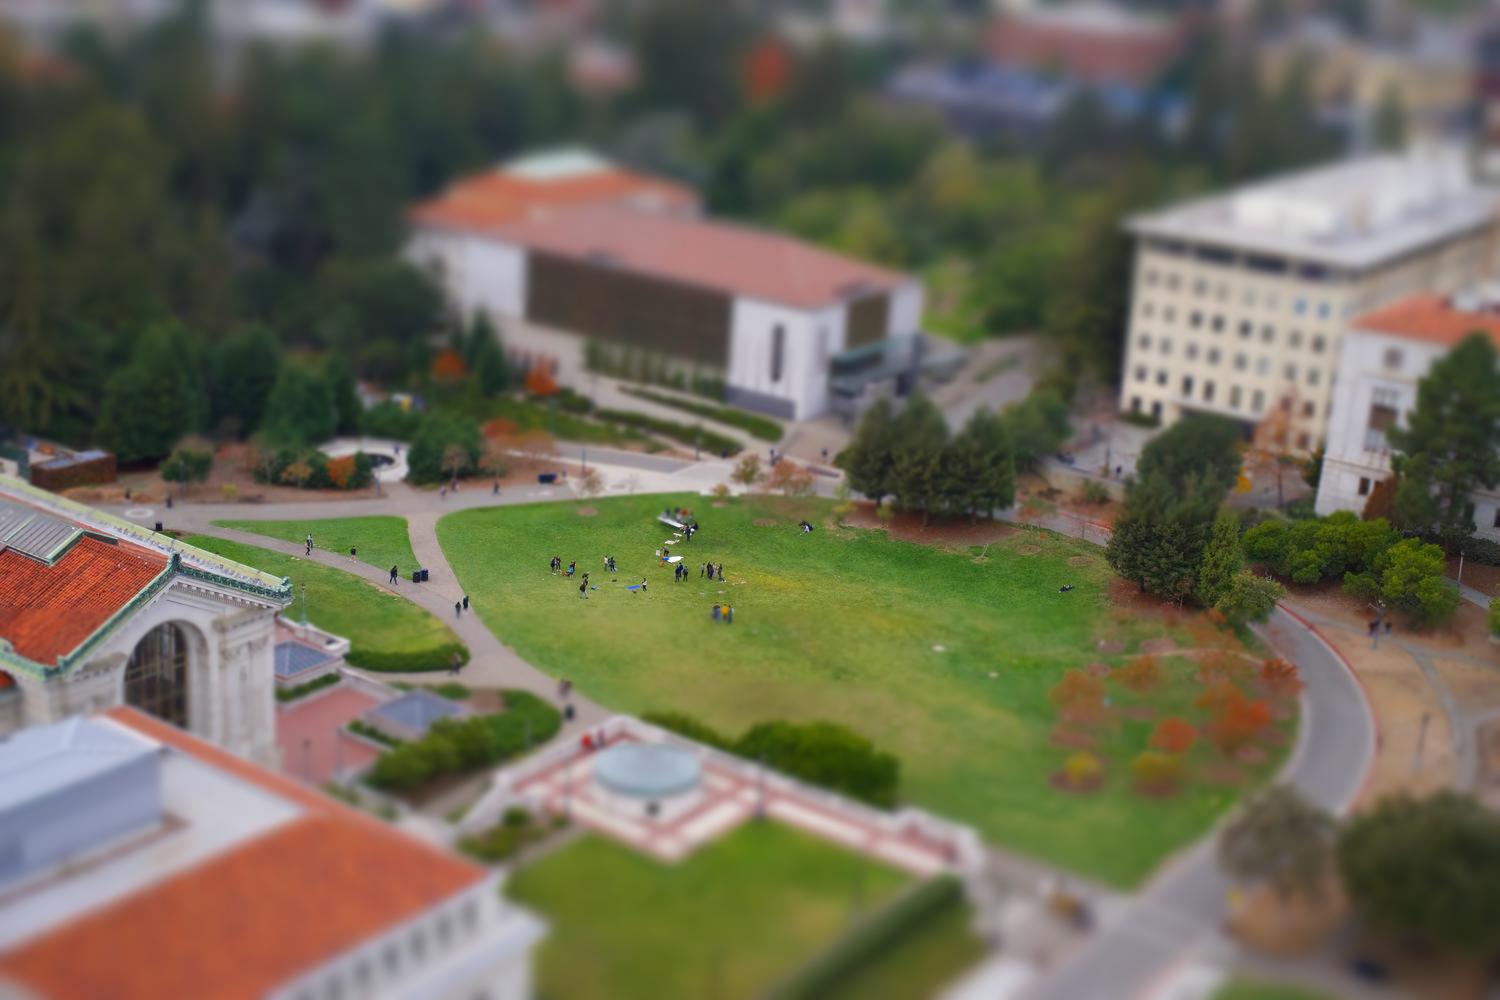
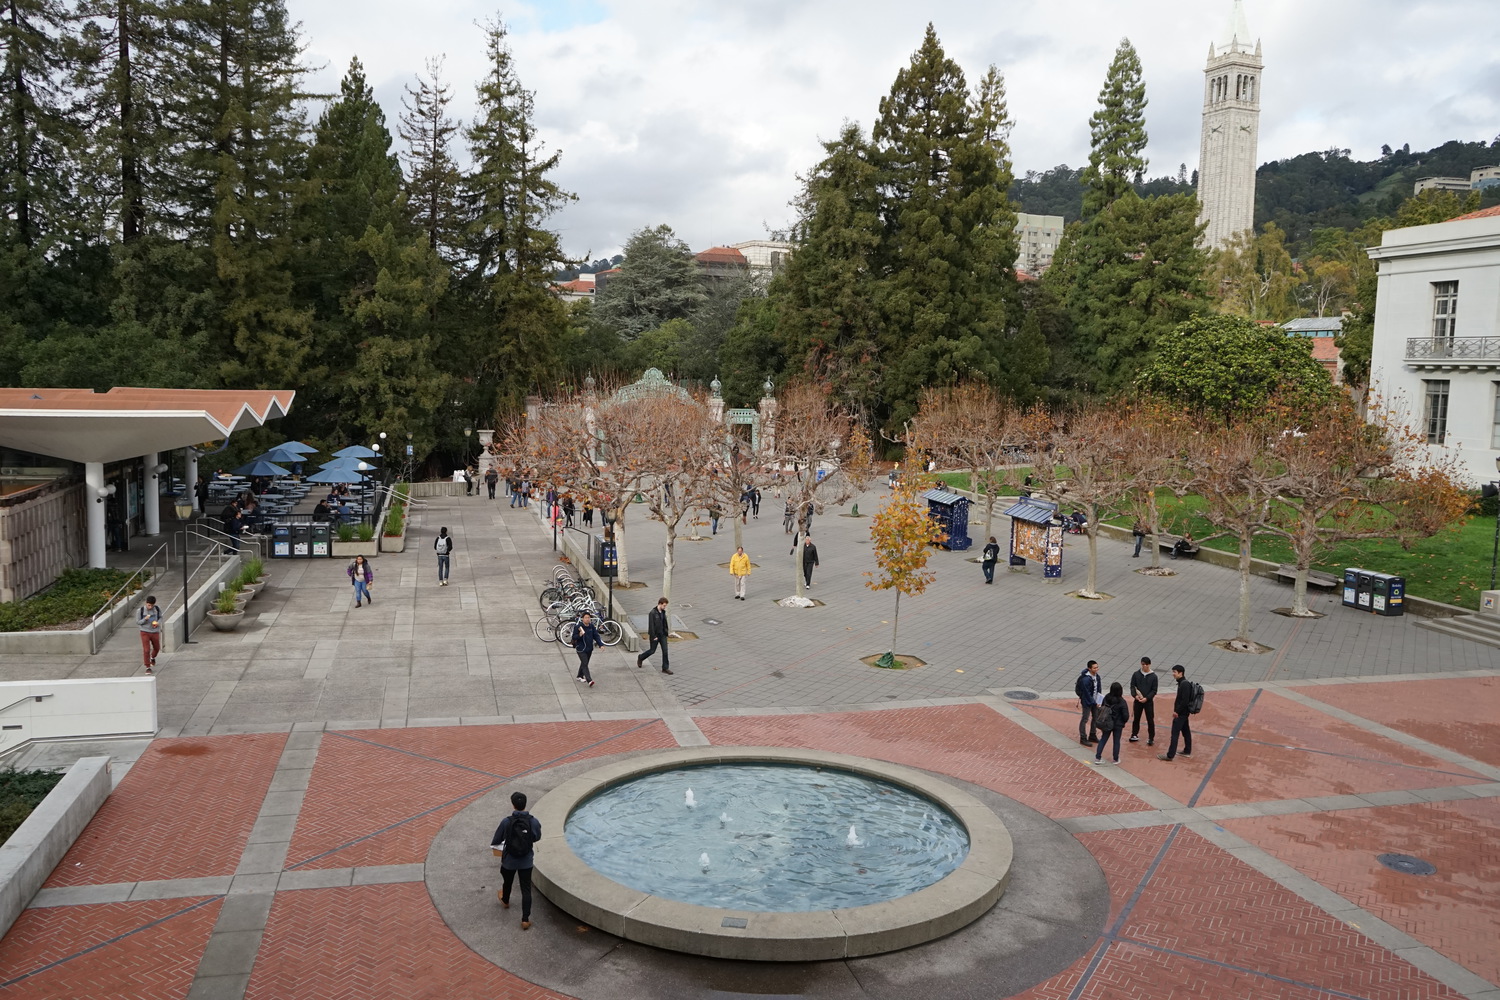
Miniature Memorial Glade
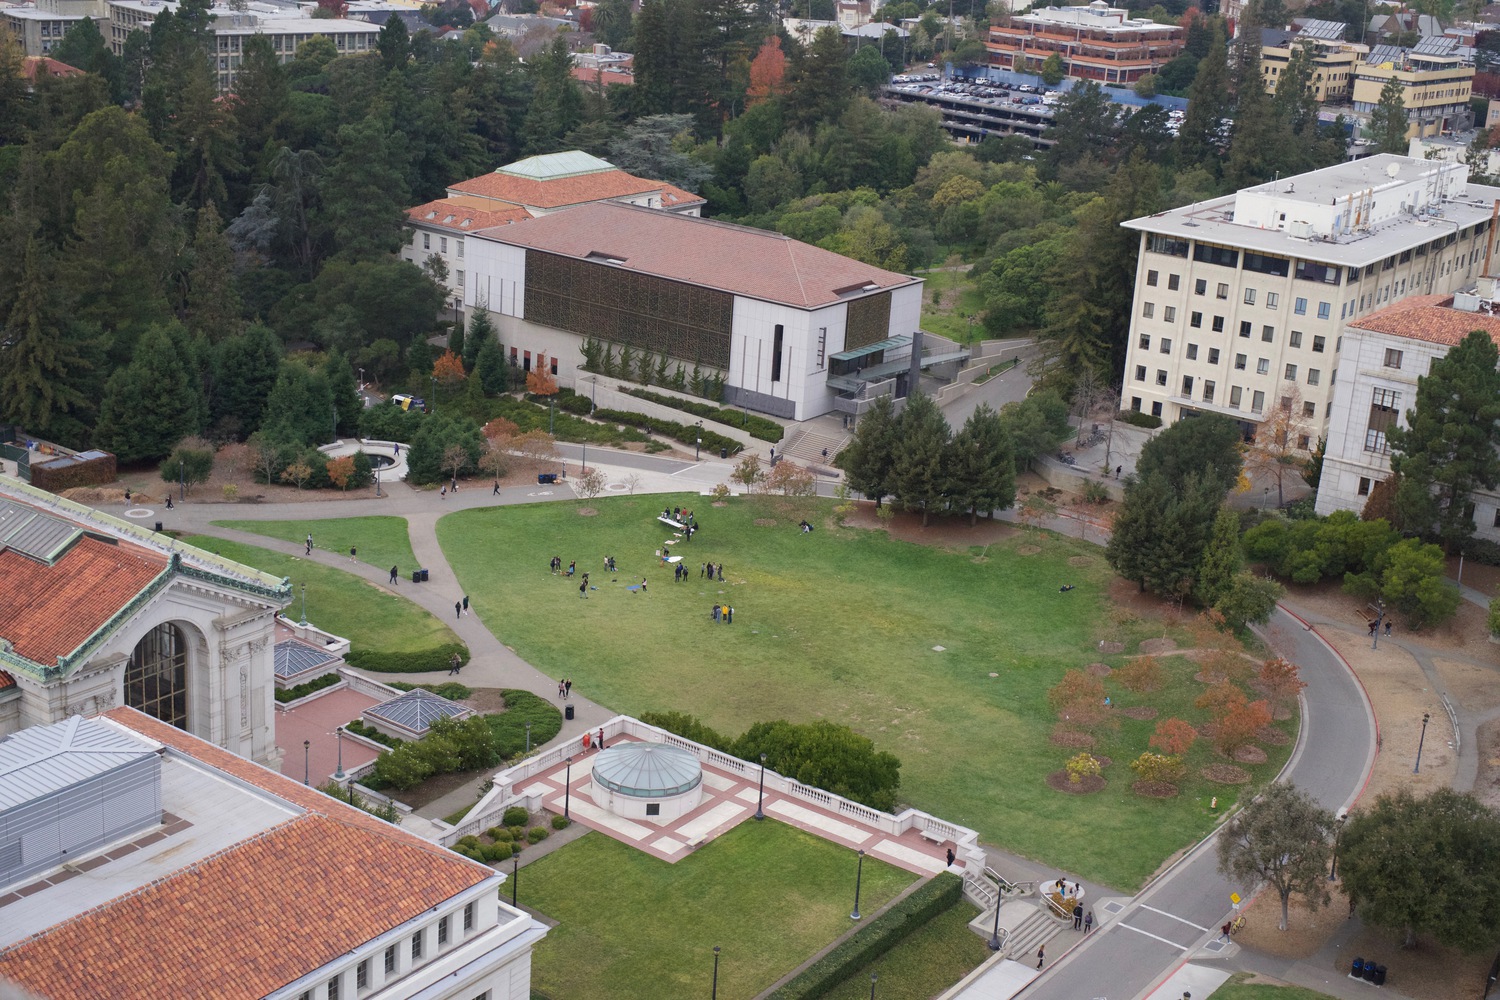
Original
Off-Campus Housing Options
Original
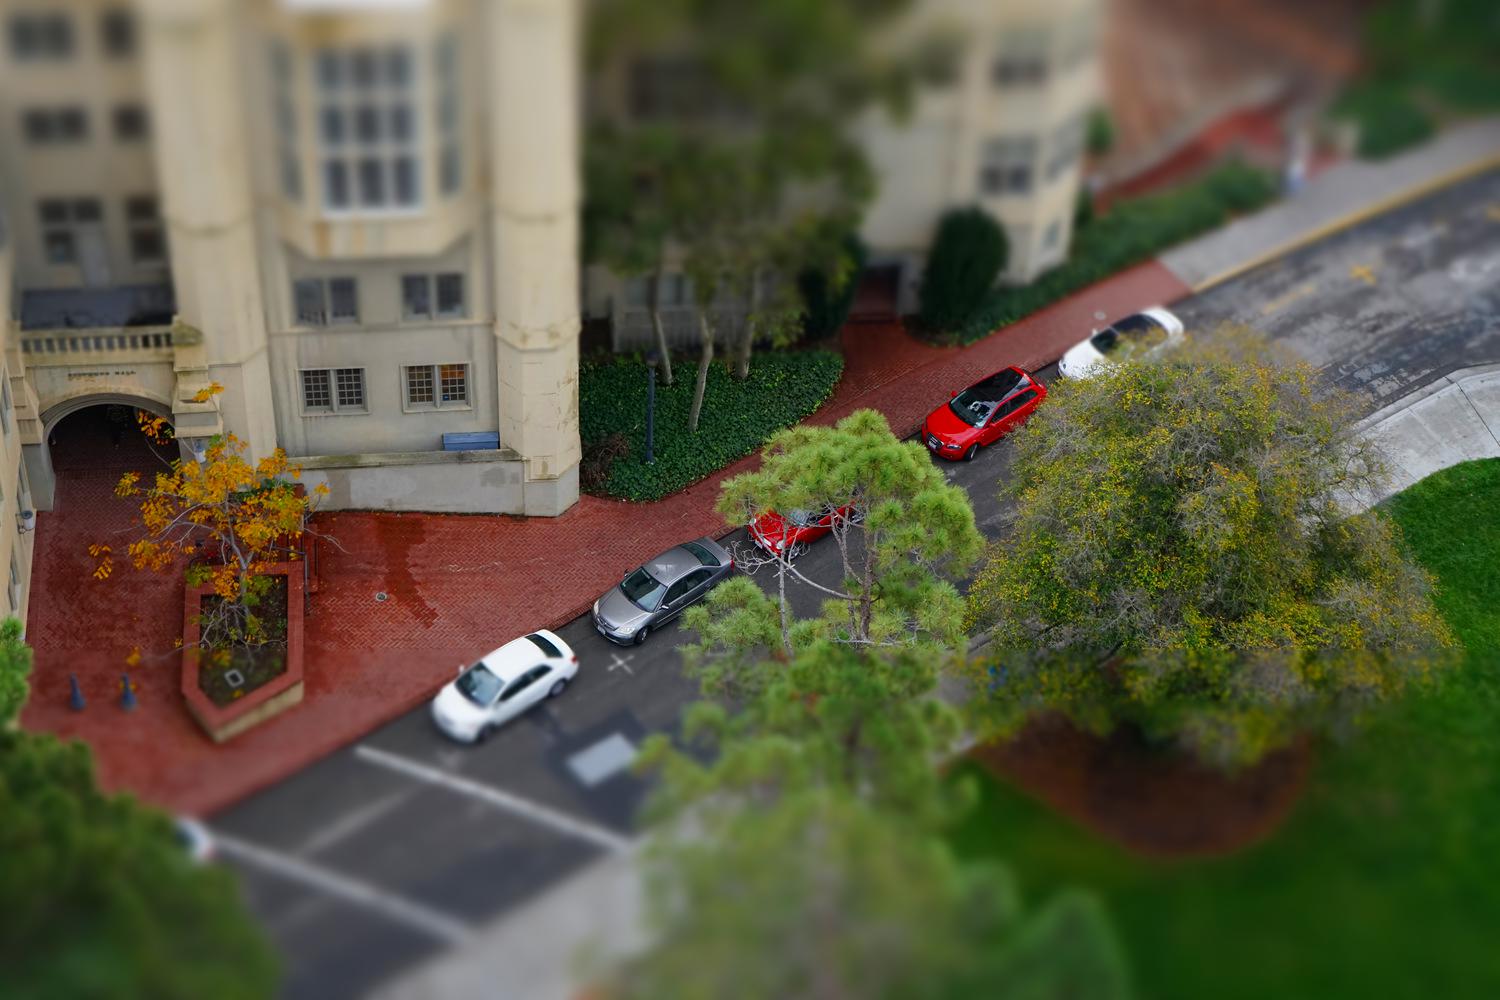
Very Expensive Toy Cars
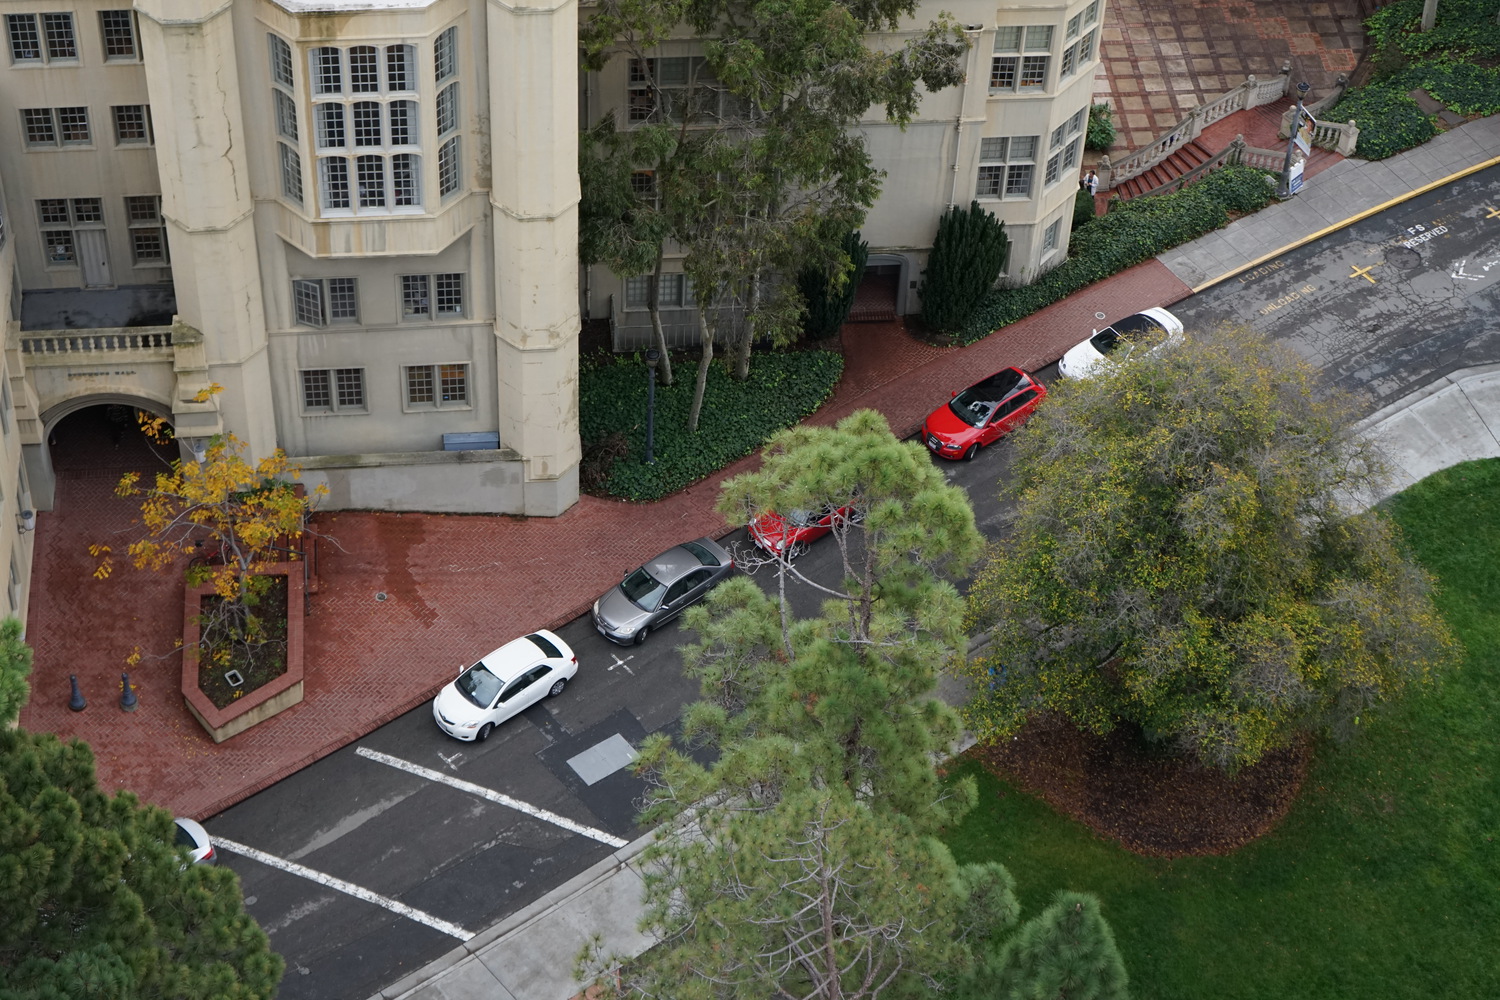
Original
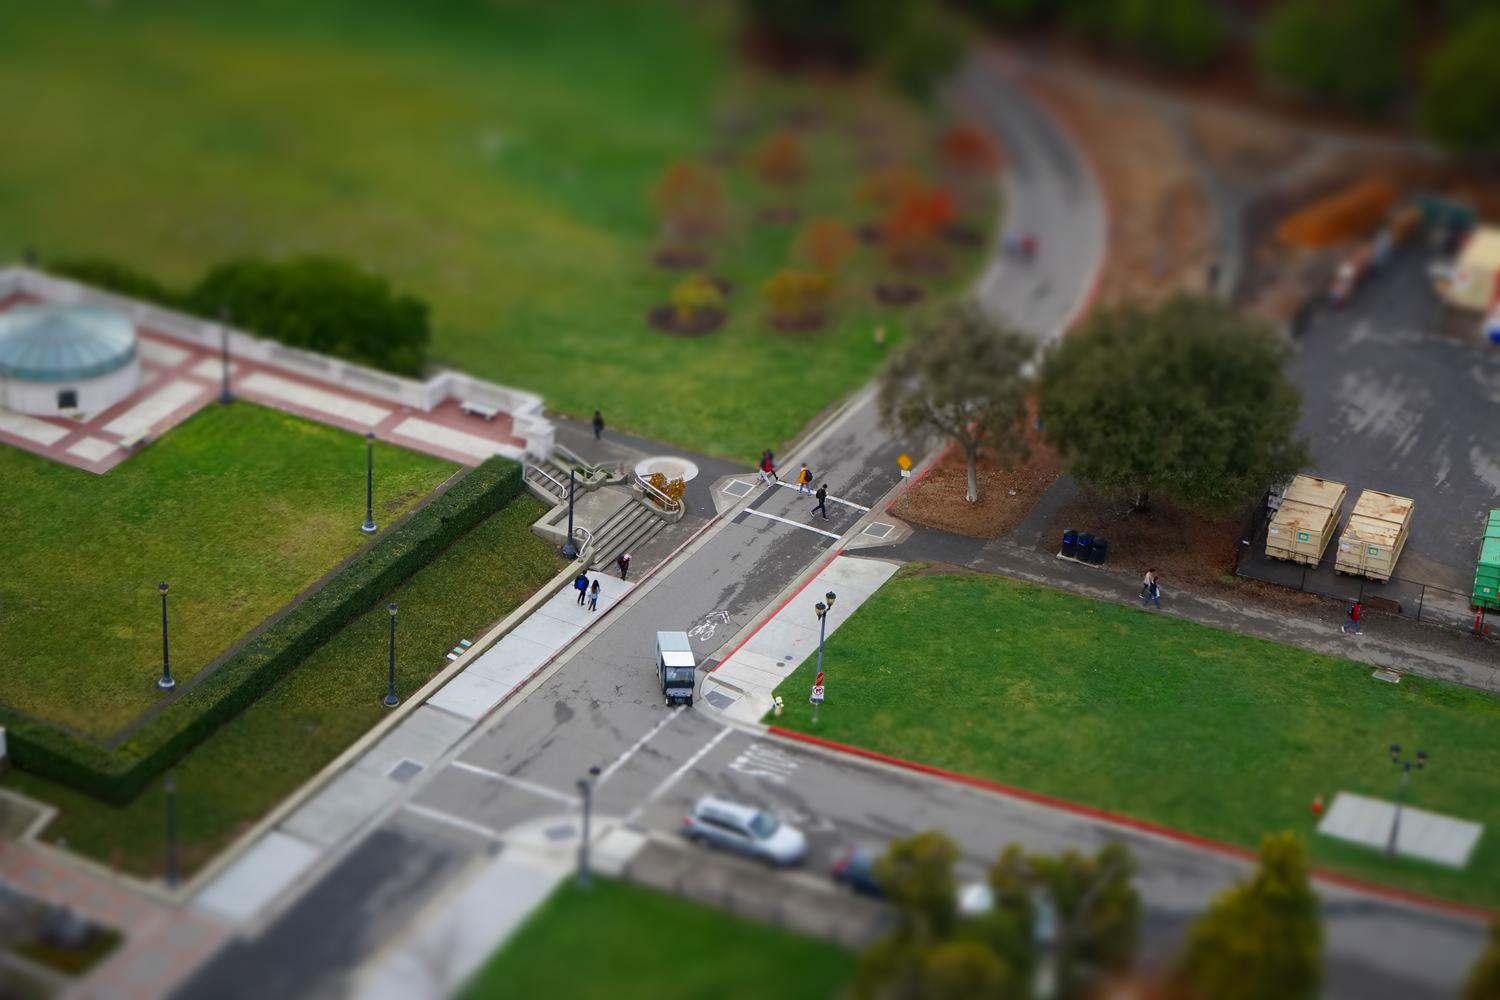
Students and Truck on their Way to Class
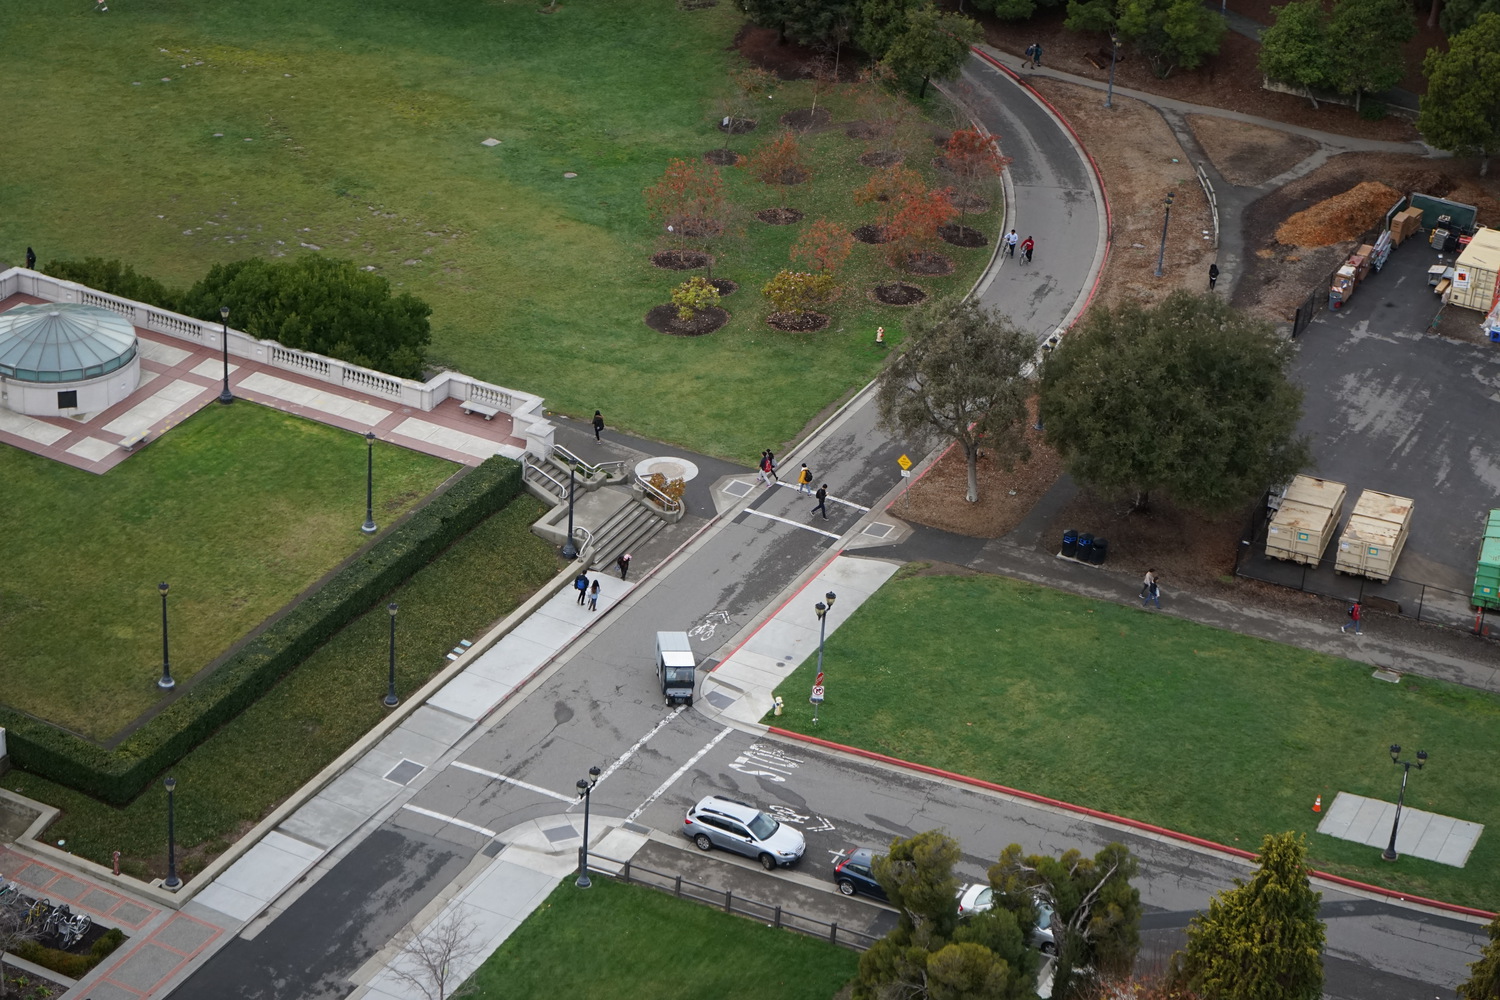
Original
I additionally chose some interesting images online, taking inspiration from some tilt shift photos I found via
Google, and ran them through my code. Below are some results on photos taken by photographers more talented than myself:
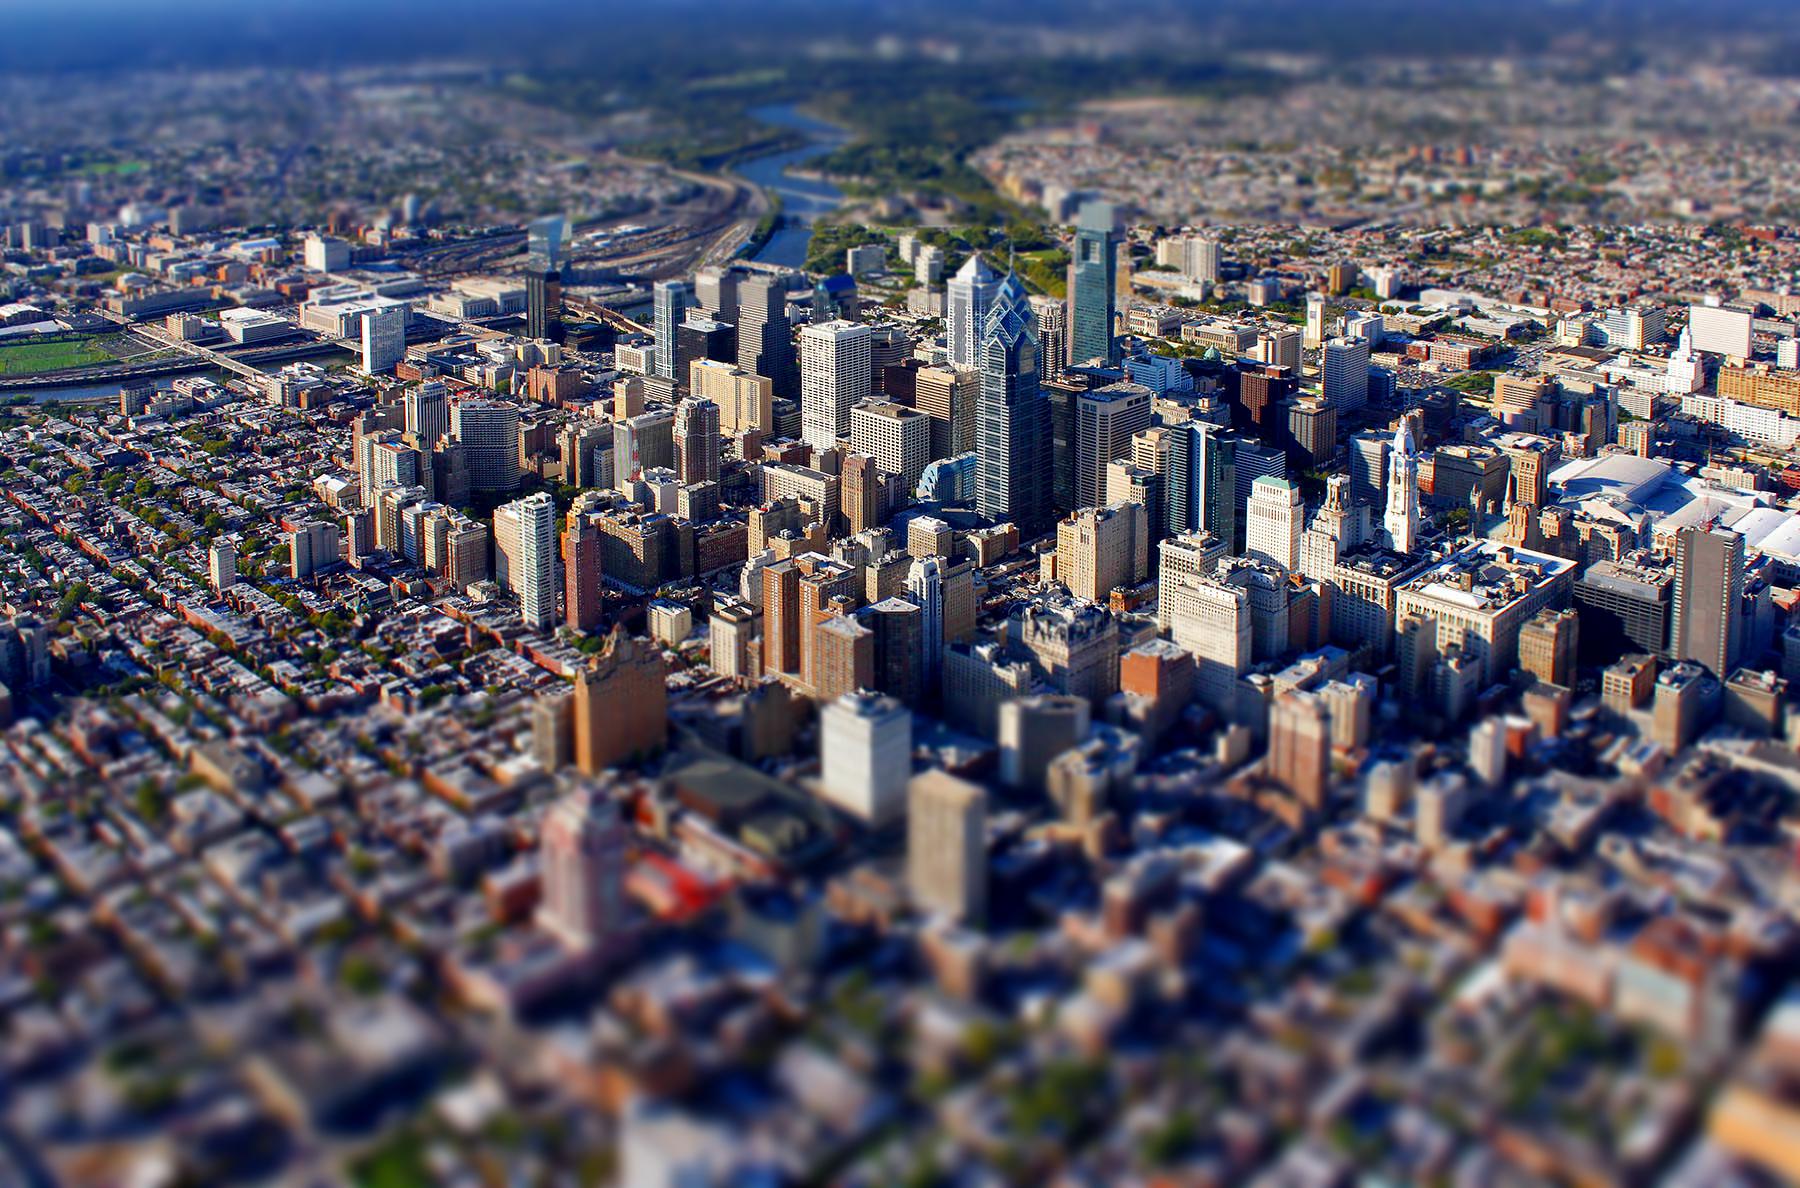
Tiny Skyscrapers
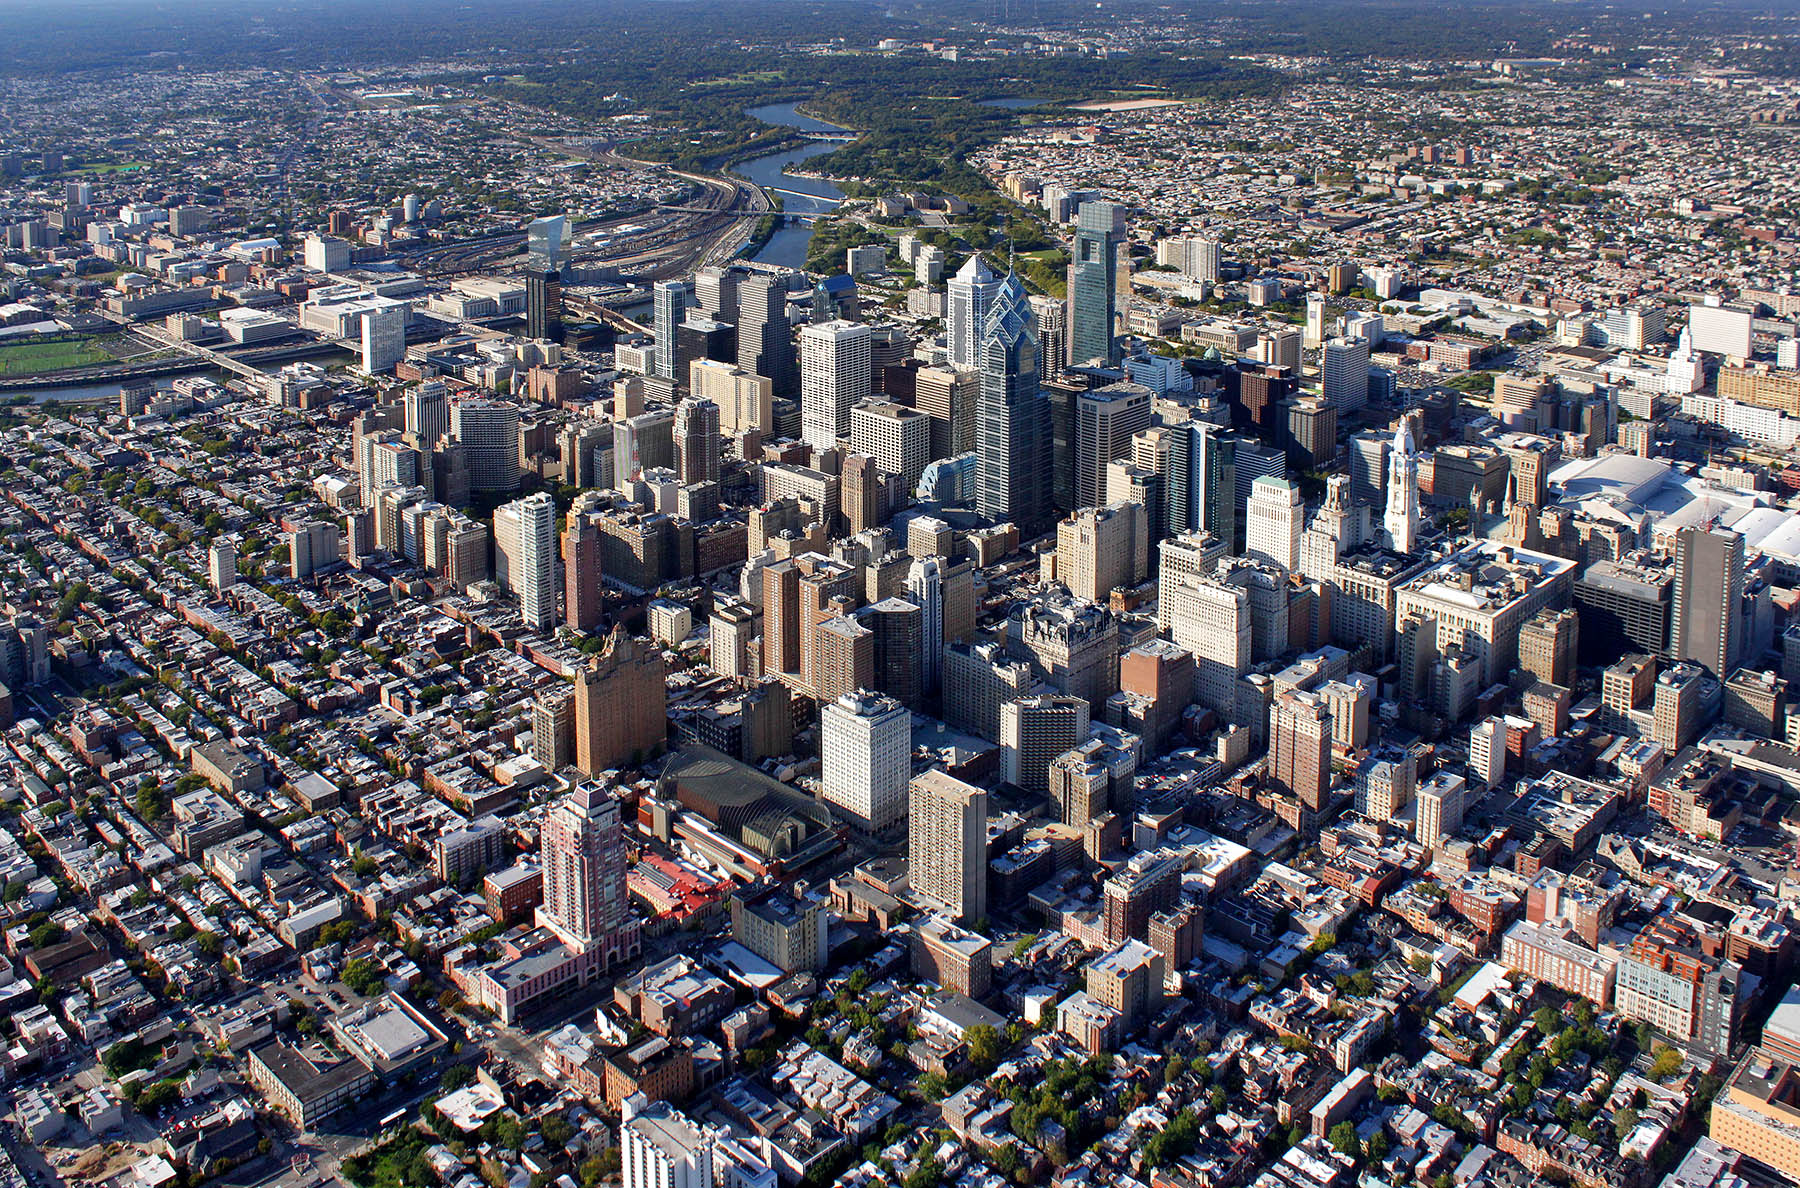
Original
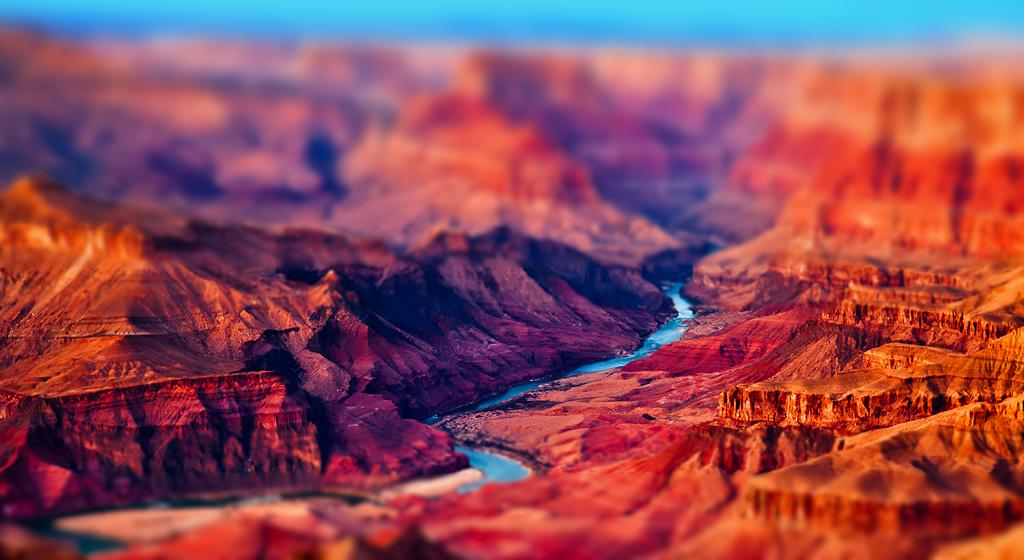
My Model of the Grand Canyon Complete with Fully Functional Running River
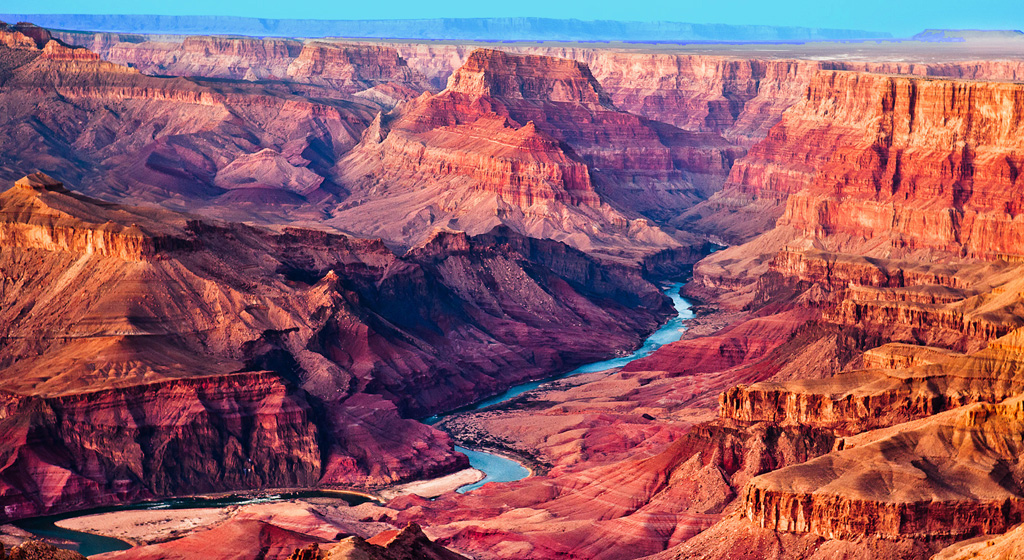
Original
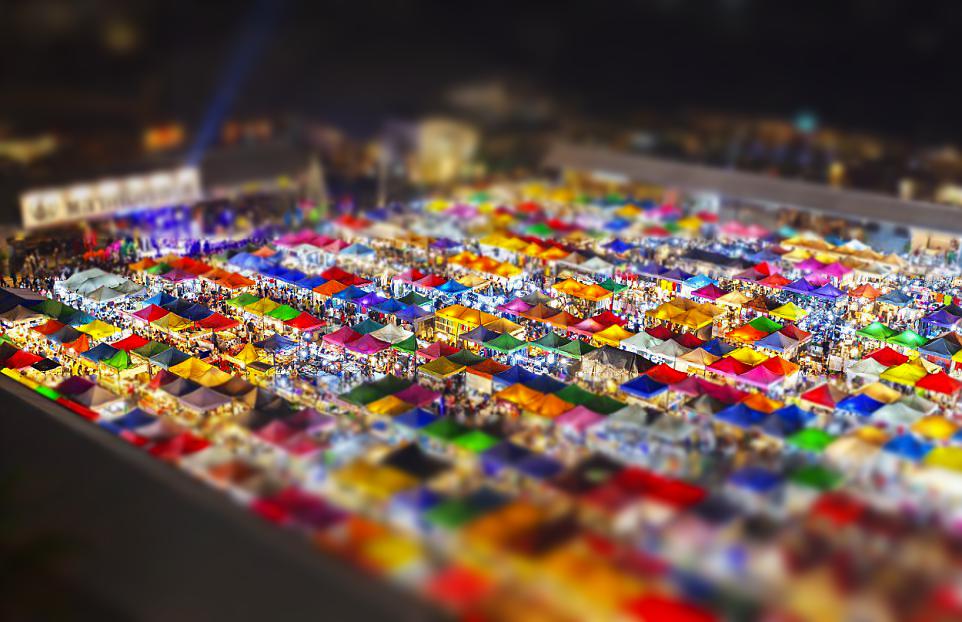
Mini Night Market in Thailand
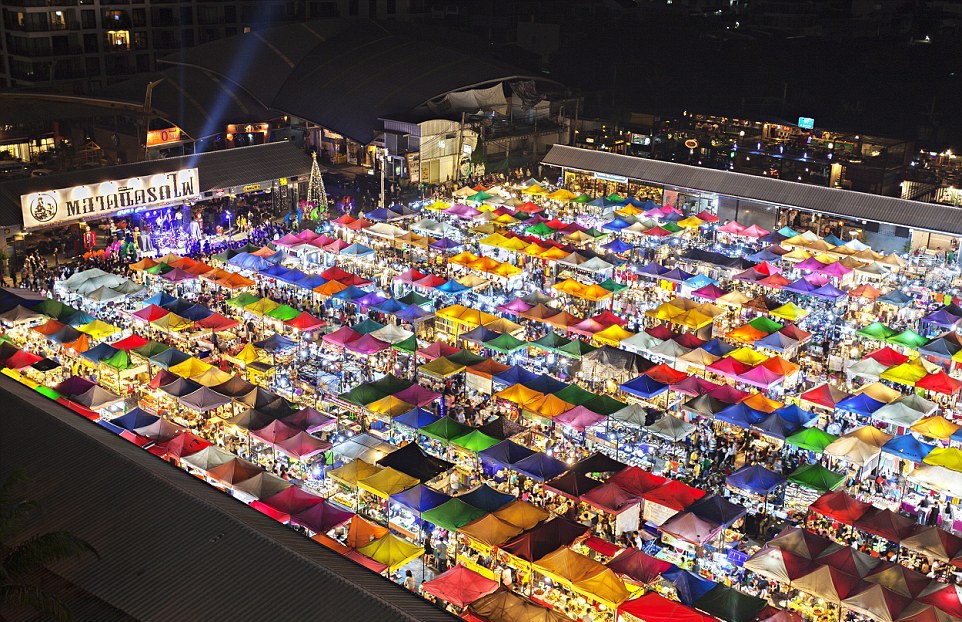
Original
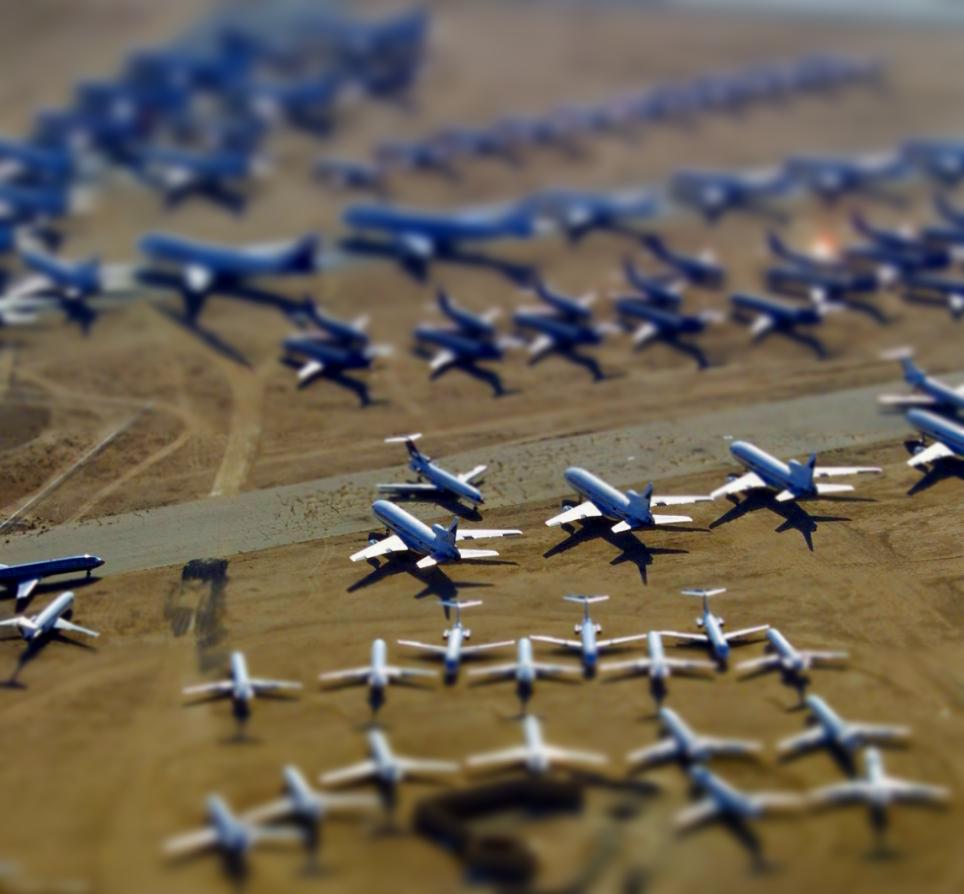
More Expensive Toys (planes this time)
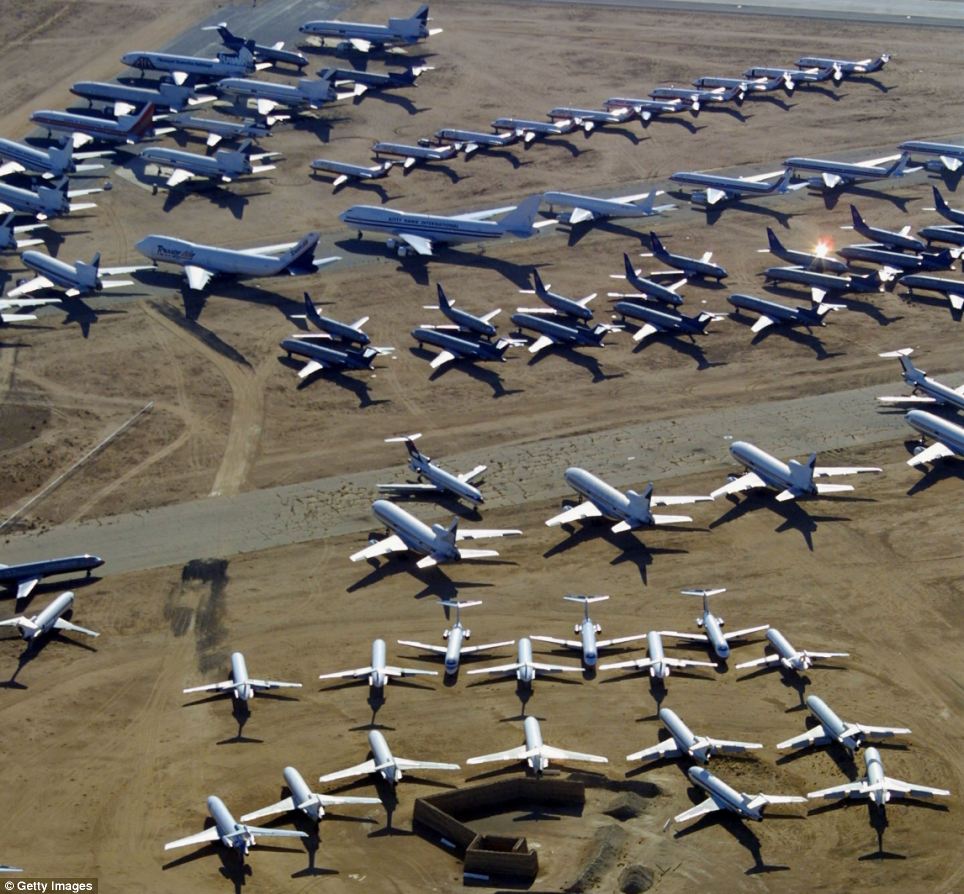
Original

Elevated Train Tracks because Land is Pricey
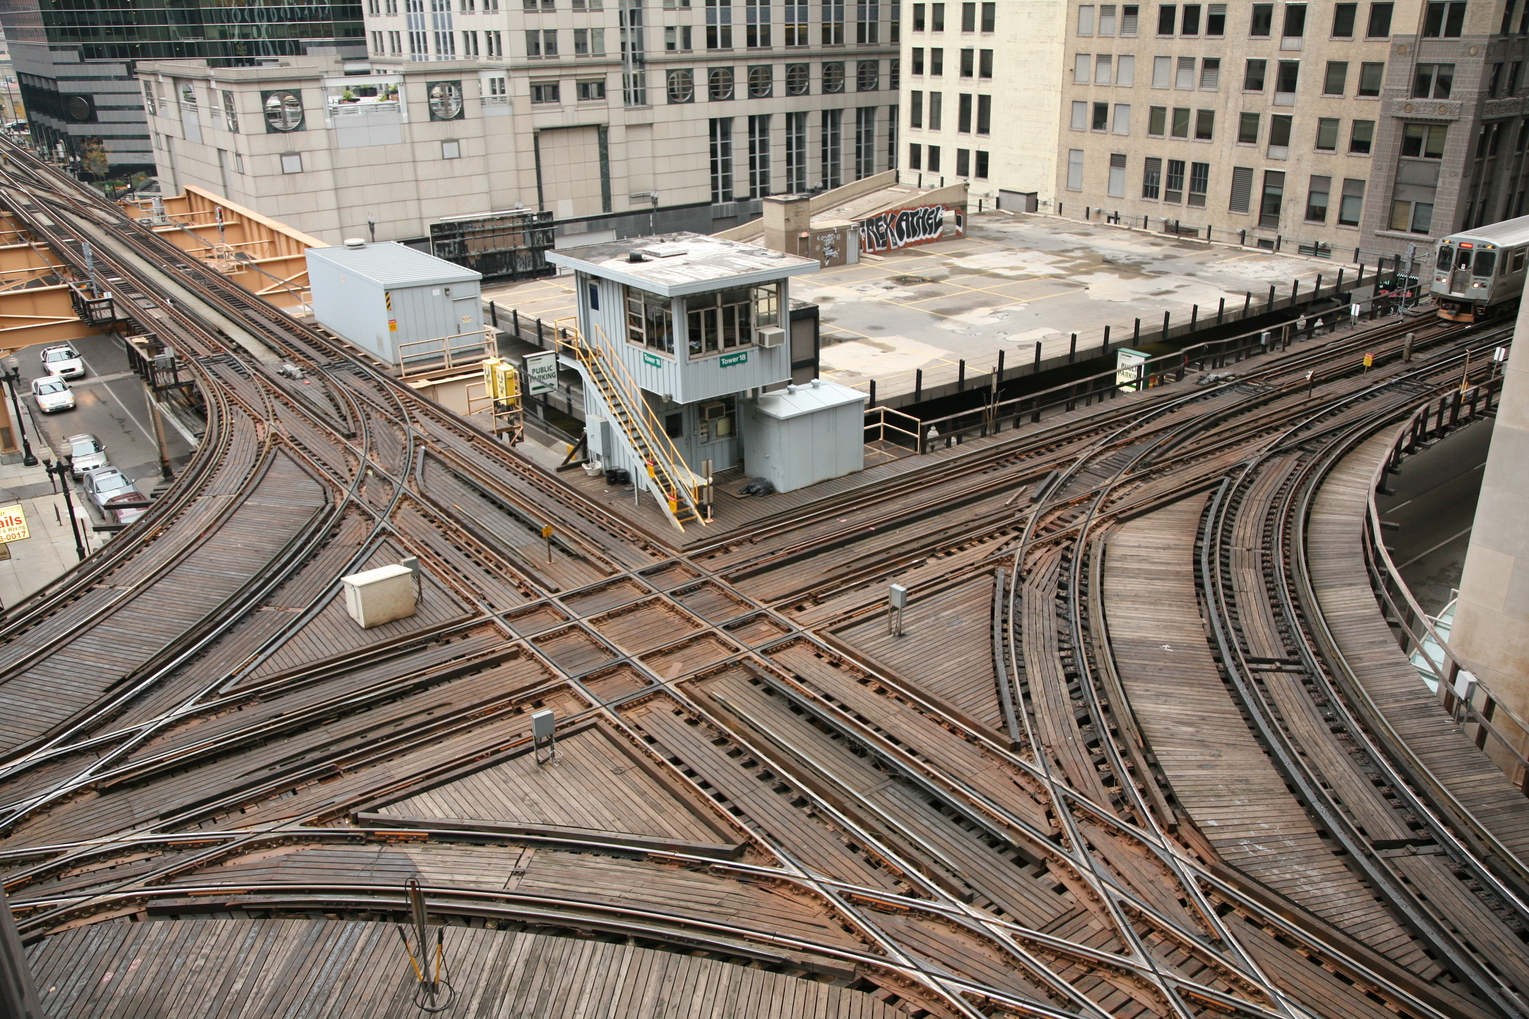
Original
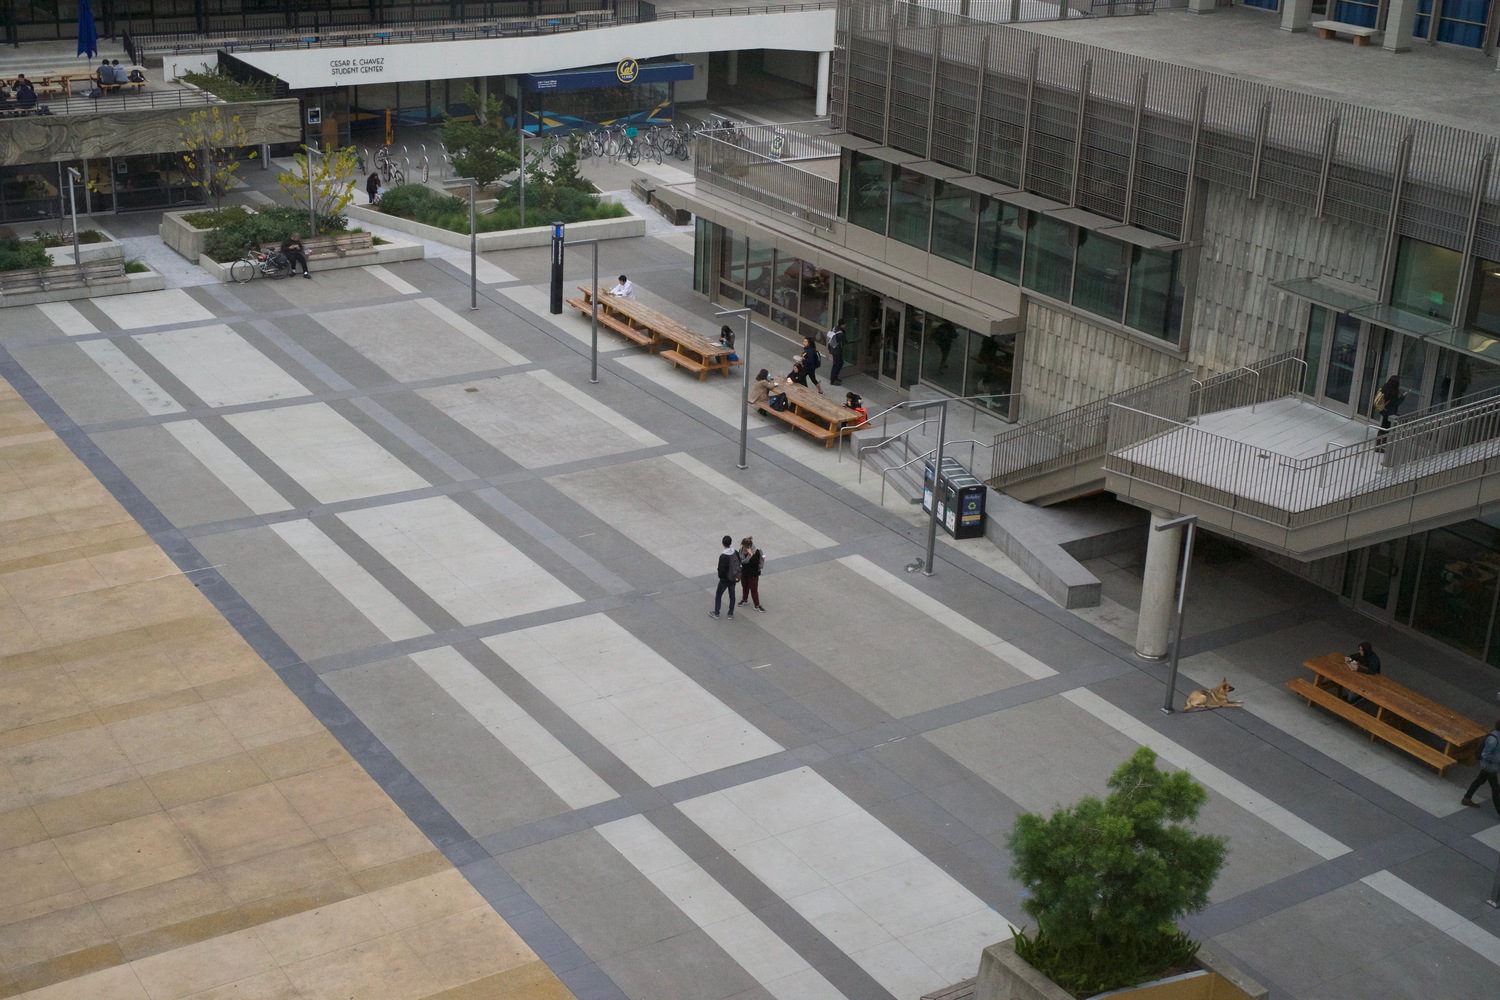
I also tried to use a few photos for vertical regions but it does not seem to have as good of an effect. I suspect
this occurs because objects on the same horizontal line are more likely to be at the same depth but including a
vertical section that is sharp involves objects at many different depths and thus the eye is not as easily tricked.
We can apply the same principles as the horizontal region tilt-shift as long as we rotate the input image by 90
degrees counter-clockwise prior to blurring and blending and then rotating it back before outputting it. Here are
some results:

Vertically Miniatured
Vertically Miniatured
Vertically Miniatured
Original
Original
Original